A step-by-step tutorial on how to DIY framed Intaglio art in just 4 steps.
What exactly is an Intaglio? The word “Intaglio” can be used as either a noun or a verb. As a verb, Intaglio is the art of engraving or impressing an image (usually a face or a scene) into a medium such as plaster. As a noun, Intaglio is the piece of work created. The word is Italian, and became popular in the 18th and 19th centuries. Intaglios were commonly sold as European souvenirs, mounted into books, jewelry and even sometimes framed.
Today, Intaglio art is still popular and usually pretty pricey. I love the look, and decided to find a way to make my own.

This post contains affiliate links for your convenience which may reward me in the event of a sale. Note that I only recommend tools and products I have personally used and loved.
SUPPLIES TO CREATE DIY FRAMED INTAGLIO ART
-Matted, framed shadow box
-Fabric
-Putty/clay knife
-Baking Sheet
-Parchment Paper
-Elmer’s Extra Strength Spray Adhesive
-Small Paint Brush
-Hot Glue

STEP 1: Choose your Canvas
This project all came together thanks to a trip to Dirt Cheap. If you aren’t familiar, Dirt Cheap is a discount store that originated in Hattiesburg, Mississippi about 30 years ago. In Dirt Cheap, you can find manufacturer buybacks, closeouts, overstocks, liquidations, returns and out-of -season goods at at least 40% off discounts (eventually reaching 70-90% off!). With locations throughout the southeast, Dirt Cheap is a fun option to keep in my rotation of discount stores I frequent with nothing particular in mind, I just love a good treasure hunt and the idea that you never know what you might find (similar to thrift shopping)!
I came across this matted and framed shadow box wall art at 70% off, so I decided to buy it. I didn’t love the bright blue geodes (although I have some ideas on how to up-cycle them into something I will like), so my wheels started turning on how I could repurpose this shadow box into something that would work in our master bedroom. Similar to all other things DIY– if you find something with good bones, you can always customize it to fit your space.
As I was dissecting the frame, I realized this is something I could easily build in the future. A frame, 3 mats spaced out from the glass with an inner wooden frame, fabric across the back mat and an elevated square that protrudes to be the focal point of the shadow box with layered cardboard. Good to know! So, you could build your own framed canvas shadow box, use a frame similar to the one I found, or just plain canvas as the backdrop to this fun DIY Intaglio art project.
STEP 2: Make the Intaglios
Imprint the clay using molds
I purchased 3 colors of Sculpey oven-bake clay to see which I would like best to create my DIY Intaglios. I compared White, Pearl and Translucent colors.


To make the Intaglios, I used one stick of clay per mold. I kneaded the clay in my hands, then rolled it into a ball. I pushed the clay into my silicone mold, making sure it spread out to touch the entire circumference of the pattern. Next, I gently pulled the mold back, popping out the clay. This should create a perfect imprint of your pattern! I did this for each color, and made 4 different patterns of each so I’d have a few mix and match options to choose from.

Trim your Intaglio
Once you have your Intaglio, trim off the edges to make sure you have a perfectly traced out imprint. I would recommend a tool made for clay, like a putty or clay knife. But I used a knife from a charcuterie board set and that worked just fine too.


Bake
Once your intaglios are trimmed, line a baking sheet with parchment paper and bake for about 15 mins at 275 degrees. This was a good time and temperature for mine. The package does warn against over baking, so definitely keep an eye on them.
Optional: Gold trim
Once your Intaglios are dry, you can add painted gold trim around the outer edge if you like. I’ve seen Intaglios both with and without the outer gold edge, but I thought it would add contrast to my wall art. Using Rub ‘n Buff, I painted a thin line around the outside of my Intaglio using a fine tip paint brush.

STEP 3: Prep Canvas
Depending on what canvas or background you choose to use, you may want to customize the texture or color first. I found a blue/gray woven fabric from Joann’s that I wanted behind the Intaglios.


To adhere the fabric, I used Elmer’s spray adhesive. I used a bead of hot glue around the corners to ensure a tight and neatly pulled corner crease. You could always paint the background, leave it as is, or use another type of fabric. Whatever you like to fit your space.

STEP 4: Adhere the Intaglios
Once your canvas is ready, it’s time to adhere your Intaglios to your background of choice. I recommend using hot glue to attach them to the fabric. Be sure to pay attention to the edges that come in contact with the background. The back of the Intaglios were not perfectly flat, and the glue in the valleys did not aid in adhering. I recommend applying the glue to the Intaglio directly so you can ensure you are getting glue on the raised areas, then pressing it to the canvas. Otherwise, they may fall off (I know from experience).

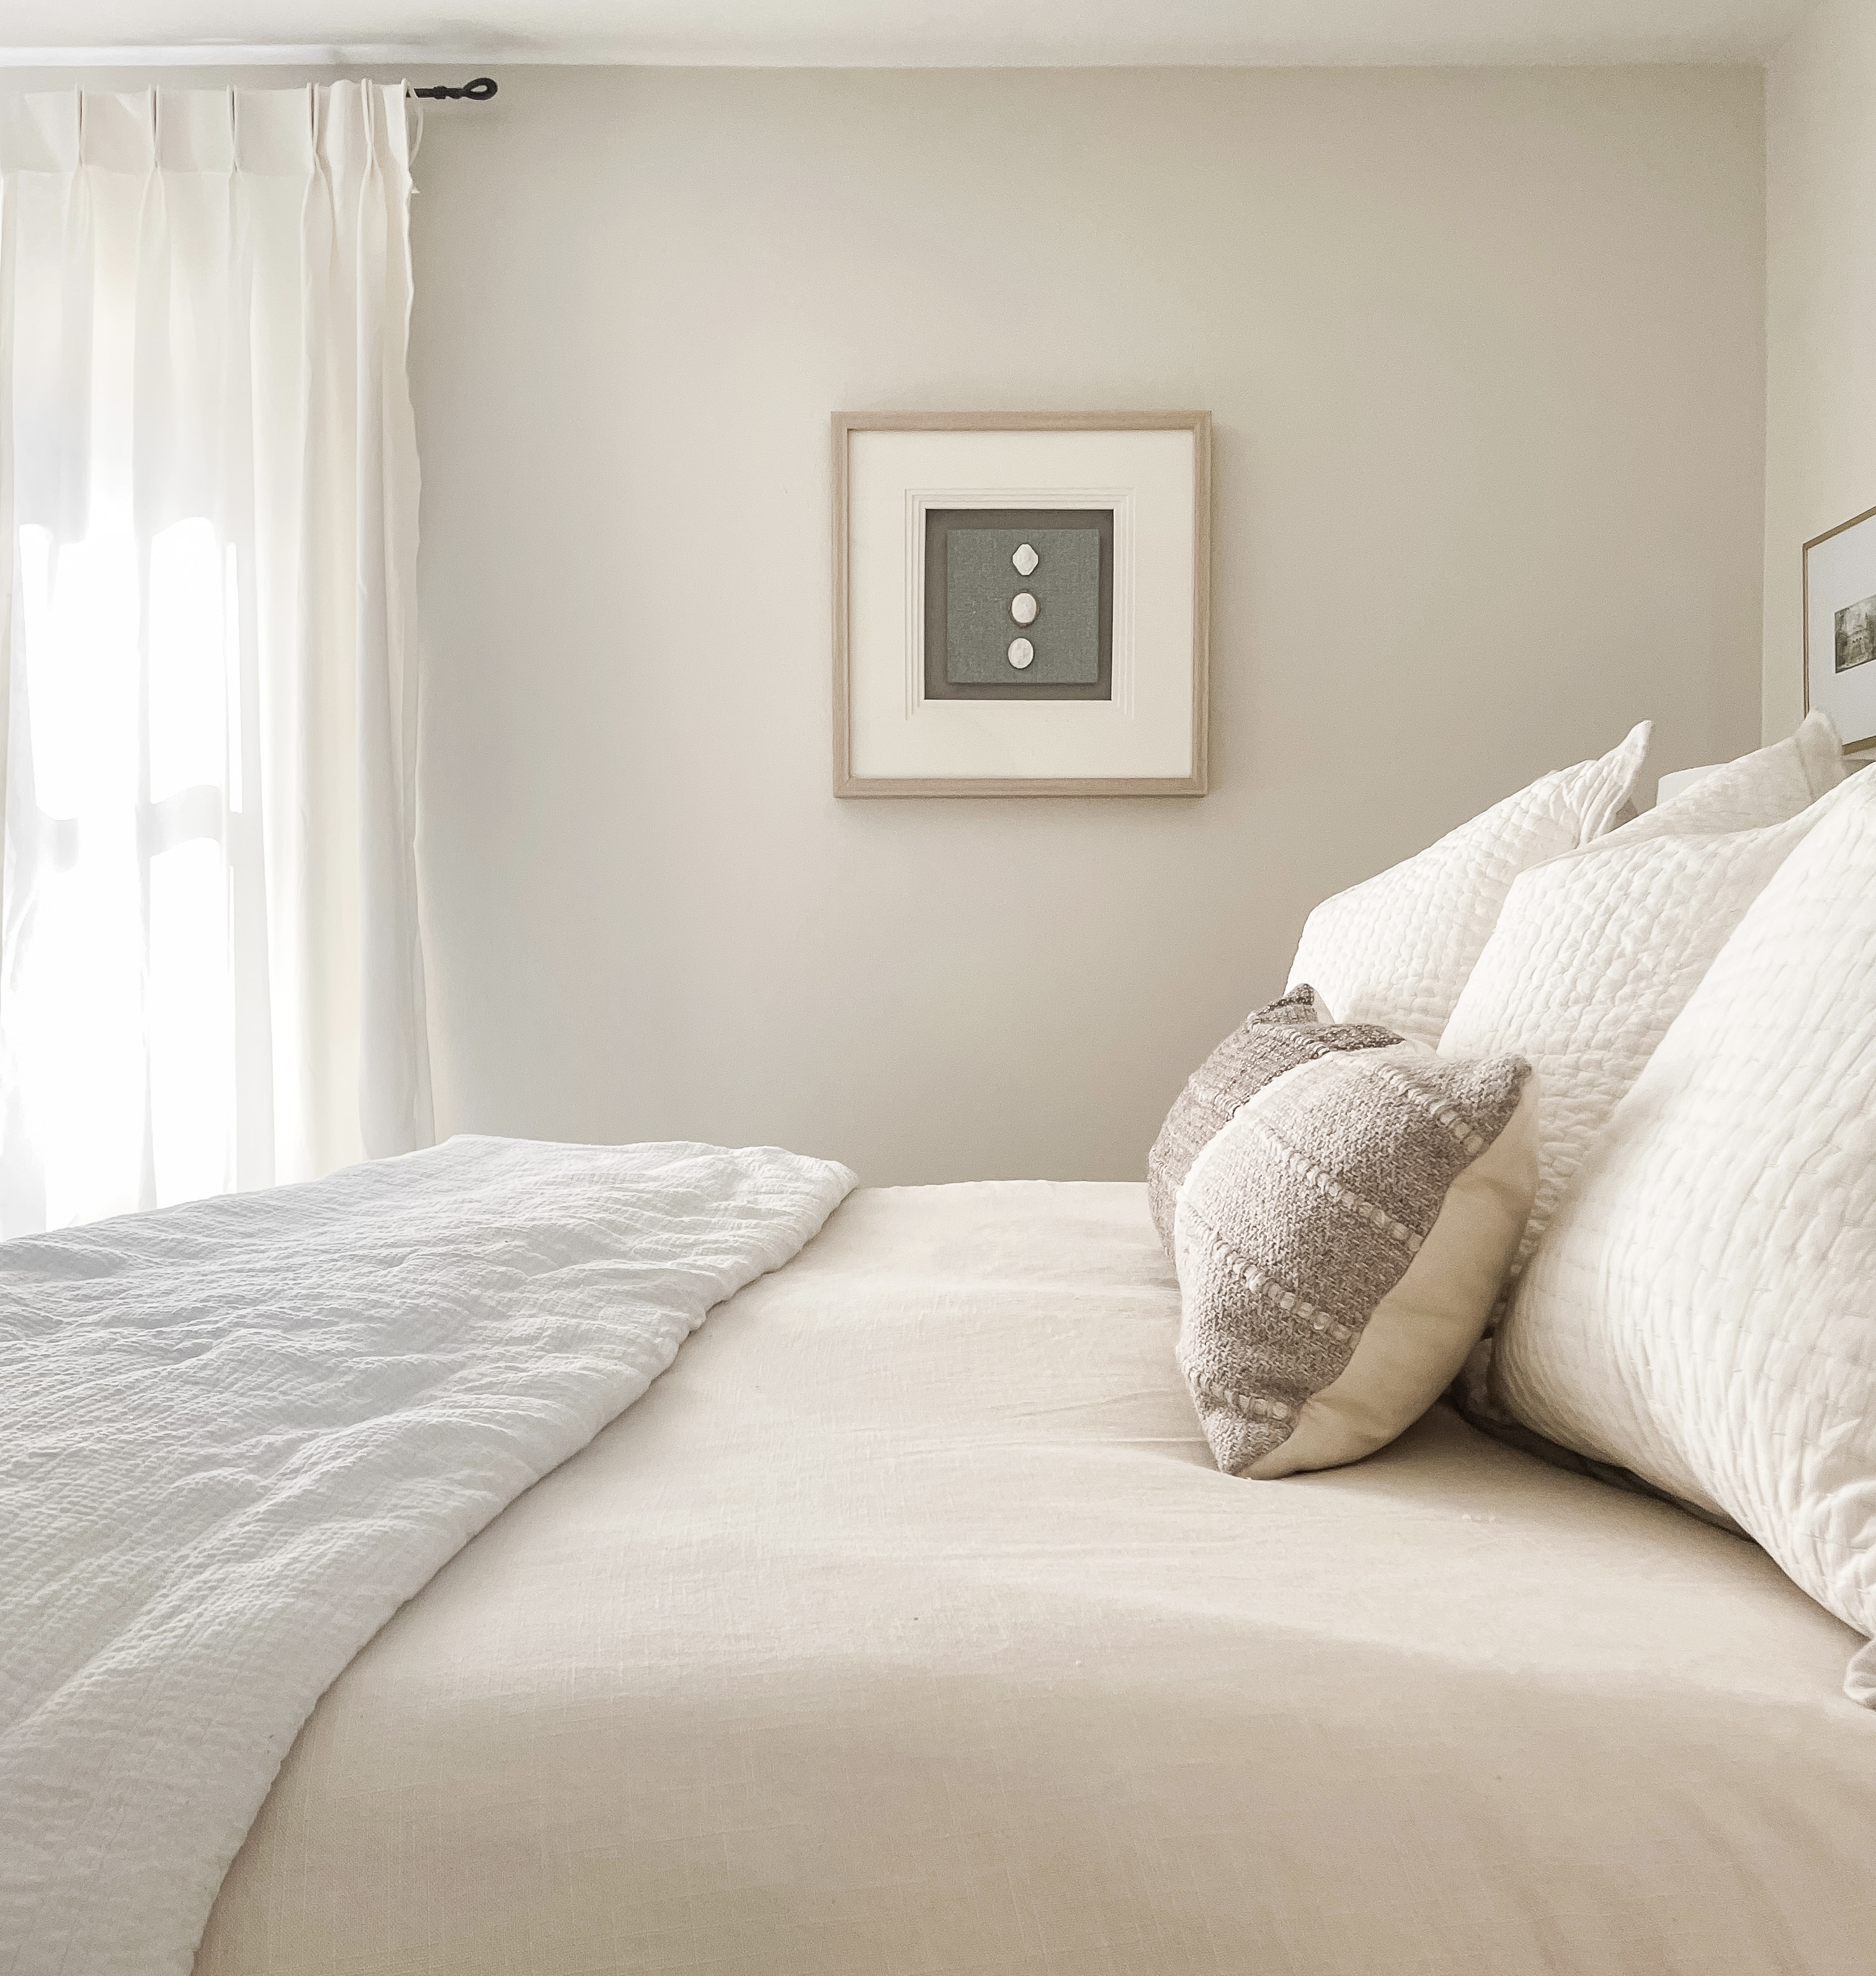
I’ve also seen Intaglio art in all different formations and groupings. You could feature a single Intaglio, frame a pair, or a group of 3 like I chose.
This is just a general tutorial outlining my process, but this DIY Intaglio art project leaves room for so much customization. Intaglio art is historically pricey. I’ve seen it for sale at local boutiques for $150+. Additionally, true antique Intaglios are extremely valuable and will cost you a pretty penny.

So appreciate this tutorial for what it is, a cheap and easy tutorial to create your own DIY Intaglio wall art for a fraction of the price you may find something similar sold somewhere else.
Although today is all about DIY Intaglio wall art, I want to share a few other options that have now filled blank wall spaces in our Riverdale Ranch, including:
–DIY textured abstract wall art
These are all affordable options to help decorate your walls, bringing texture and color and life.


