You pour so much love and energy into creating your family Christmas cards. Let me share how to turn your past Christmas cards into DIY Ornaments you can enjoy year after year!
I love getting nostalgic around the holidays, and this year I decided I wanted to find a way to turn past Christmas cards into ornaments I can hang on our tree each year.

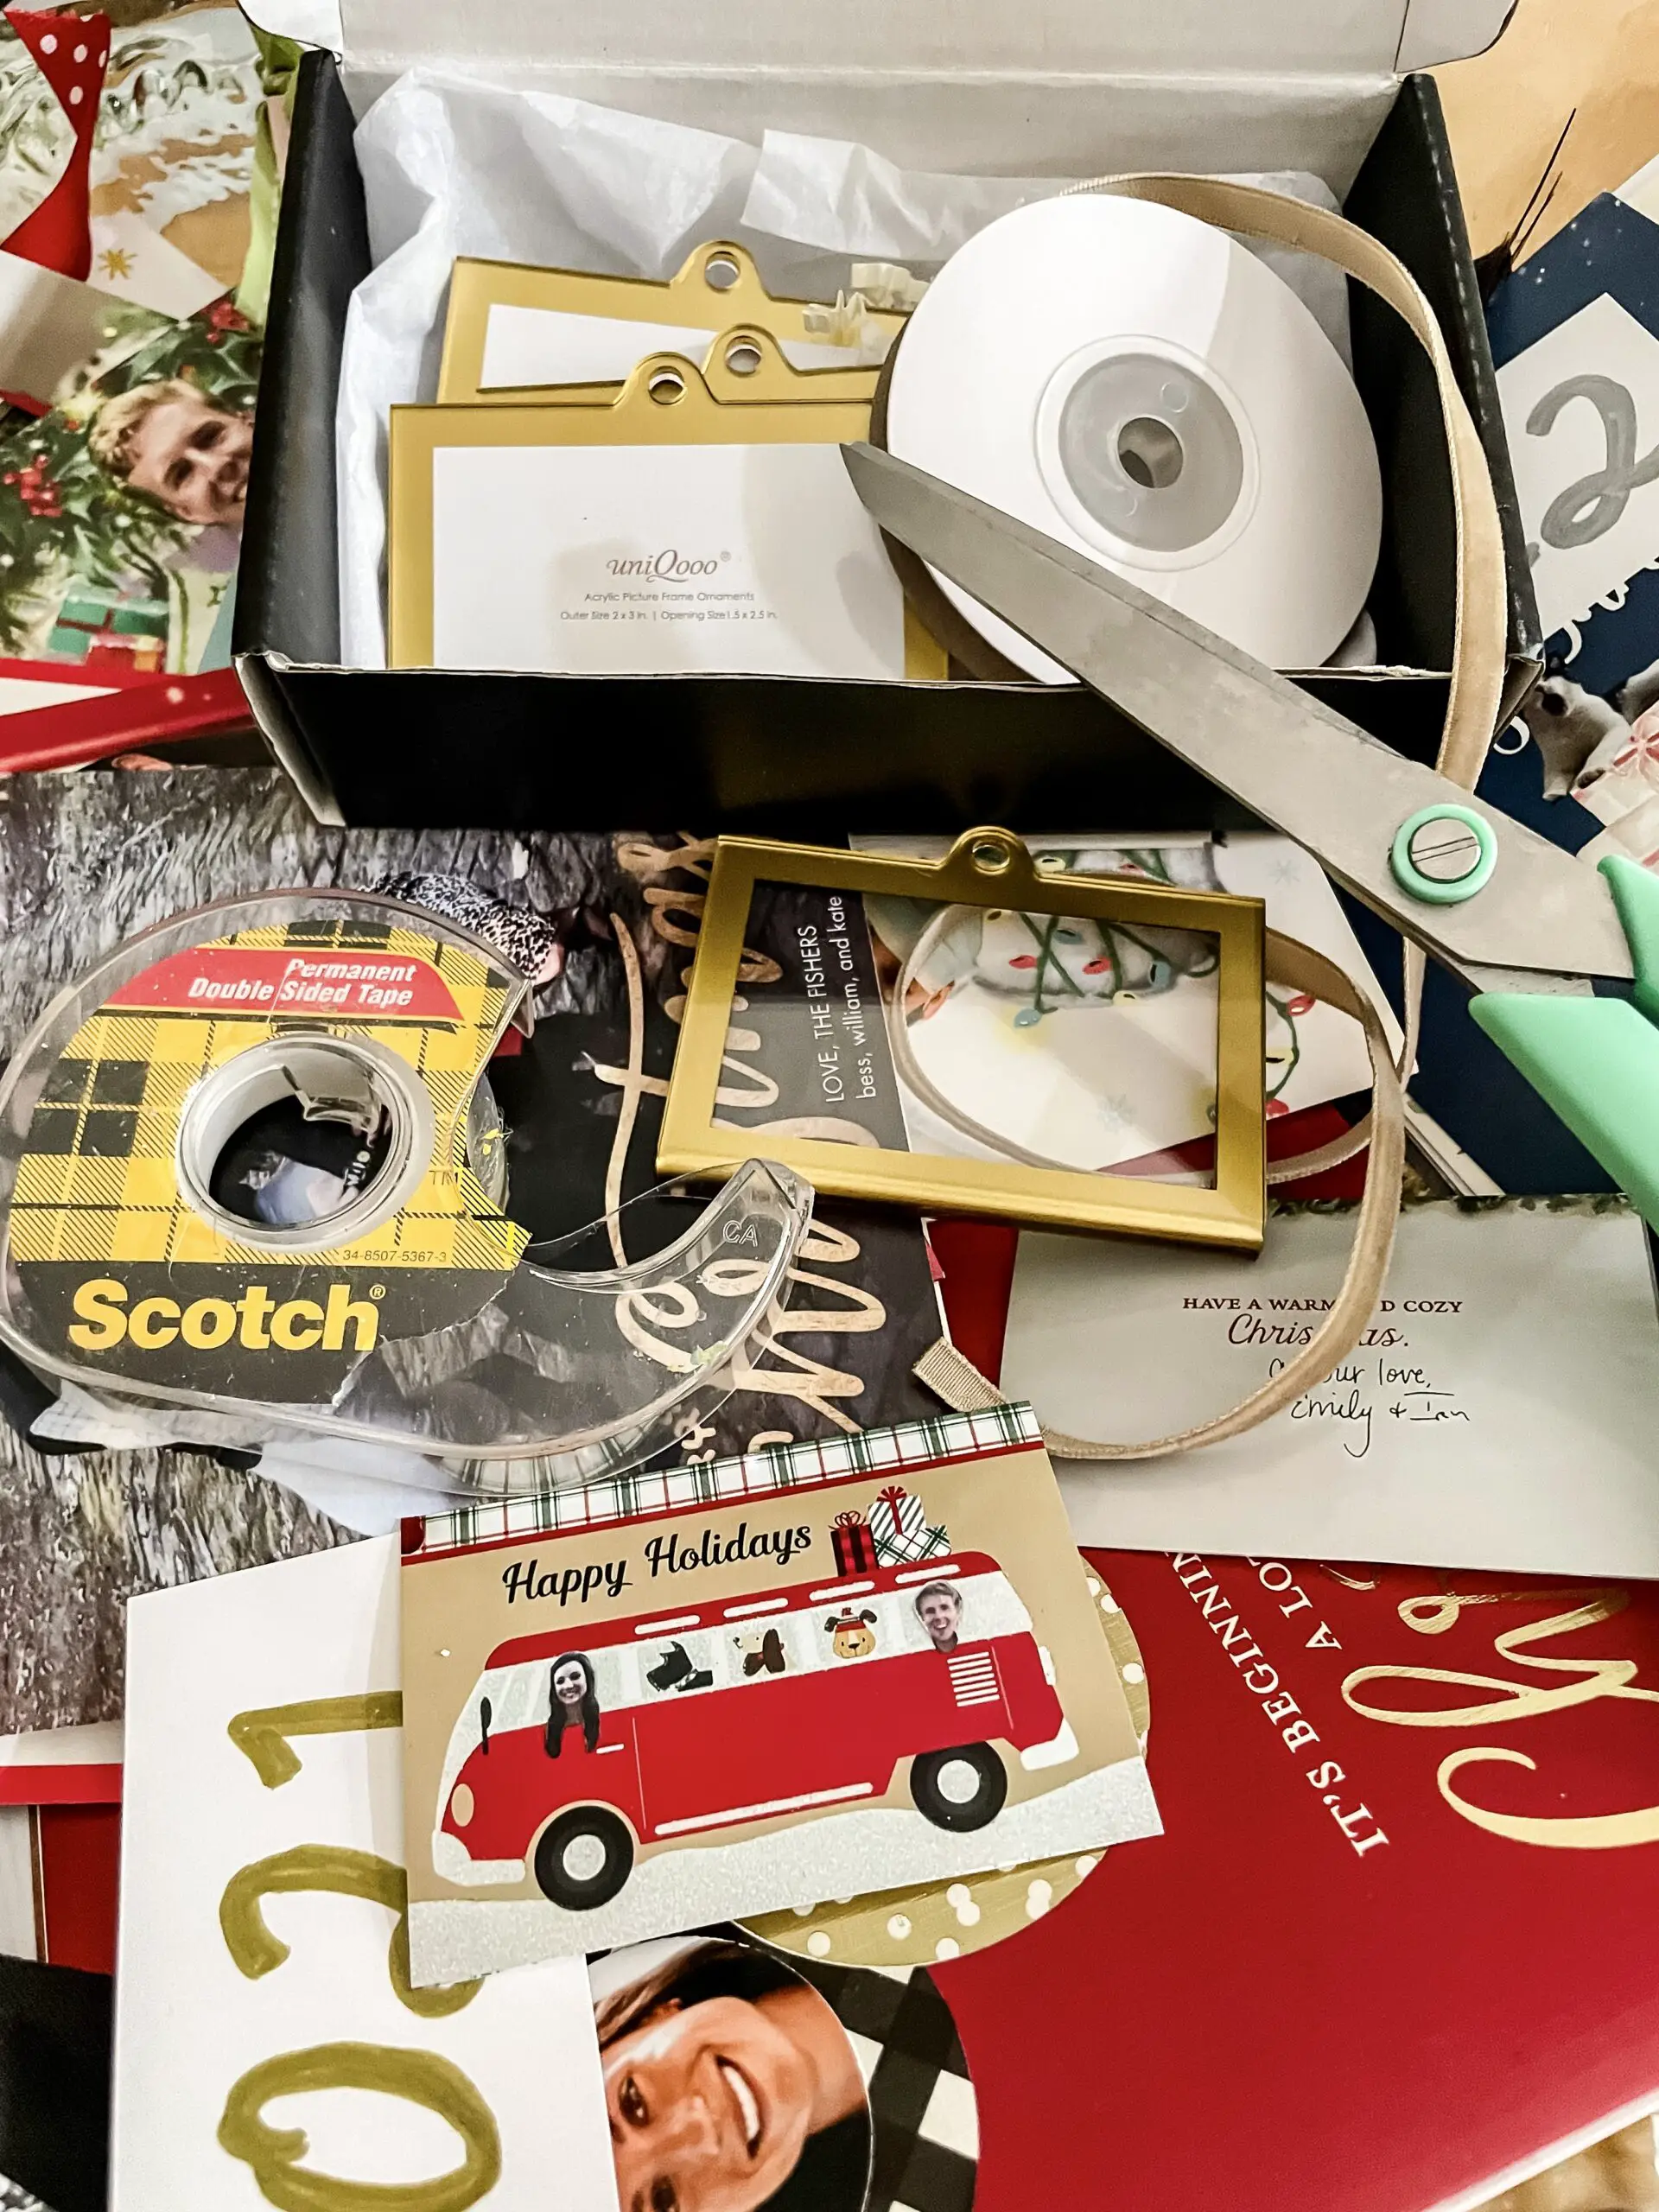
I found this set of gold frames that perfectly fit a 2×3 wallet sized photo. Check out my Instagram reel to watch the entire process and learn how to transform old cards into photo ornaments easily and affordably! Otherwise, keep reading for the entire step by step tutorial.
Step 1: Locate your Christmas card
I did this project for the first time in 2023, and had kept Christmas cards I’ve made every year since 2017. I was able to easily locate all of the cards since I store them in a bundle tied together with ribbon and labeled so that I can display all the cards we get each year. Watch my Instagram reel if you re interested in storing and displaying your cards this way!
Step 2: Take a photo
Using my iPhone, I took a photo of the front and the back of each Christmas card. Make sure the lighting is good, and you don’t have any funny shadows over the image. Crop the image so that all you have in the photo is the card itself.

Step 3: Order 2×3 prints
I personally use Walgreens for photo printing, and electronically sent my pictures of the Christmas cards to the Walgreens app. Then, I ordered a set of 2×3 wallet sized photo prints which should be about 99 cents. Mine were a bit cheaper because they had a coupon code running.

Unfortunately, you are not able to only print once wallet sized photo. They print in a sheet of 4. Order prints of the front and back of each card you are going to make.
Step 4: Cut and Tape
Once you have ordered your prints, pick them up and take them home. It’s time to cut them out. Cut just one photo image of you Christmas card out of the set of 4. If you have fronts and backs, use double sided tape to hold the 2 photos together.

Step 5: Assemble the Ornament
I purchased a set of these gold picture frame ornaments from Amazon in both the horizontal and vertical varieties because I had cards oriented both directions. I was extremely pleased with the quality for the price! You can use these as well, or any other photo frame that would work as an ornament.
Slide your 2×3 Christmas card photo into the frame so that you can easily view both sides.
Next, tie the ribbon that comes included with the frame ornaments through the hole. I chose to tie mine off in more of a bow shape, then use wire ornament hangers fed through the ribbon to actually hang on my tree. This step is up to you!

And that’s it! I love the 7 photo ornaments I have on our tree and think it is so fun to remember what was going on in my life each year based on the Christmas card. You may notice my cards are not traditional either. I love creating custom “face in hole” cards every year to send something unique and different! I have a whole step by step tutorial for you here if you are interested.
Enjoy the process,


