Learn from my mistakes, and discover what NOT to do when beginning to dry and press flowers yourself. Stay with me as I walk you through this step-by-step tutorial, complete with supply links for your convenience.
I purchased a pack of pressed dry flowers from Amazon to make this beautiful 3 tiered resin tray with floating dried florals, gold leaf and gilded edges. But I wondered, could I dry my own florals next time? My husband had gotten me a bouquet of flowers for Valentine’s Day that was at the end of it’s life, so I thought I would give it a try.

If I’ve learned anything while DIY-ing, it’s that starting as a beginner is ok and not to expect perfection your first try. That could not be more true with this one.
I researched a bit to get familiar with the keys to the technique, and gave it a go. I’m sharing what went well, and what went not so well.
Step 1: Choose flowers
As I mentioned earlier, I had a bouquet of flowers on their last leg. I chose a dozen or so flowers from this bouquet to press. Some of the flowers I chose included carnations, roses, and Chinese astors.
Did you know? If you take a picture on your iPhone of a flower, it may be able to identify it for you! I did not know this was a Chinese Astor until my phone identified it for me- pretty neat!


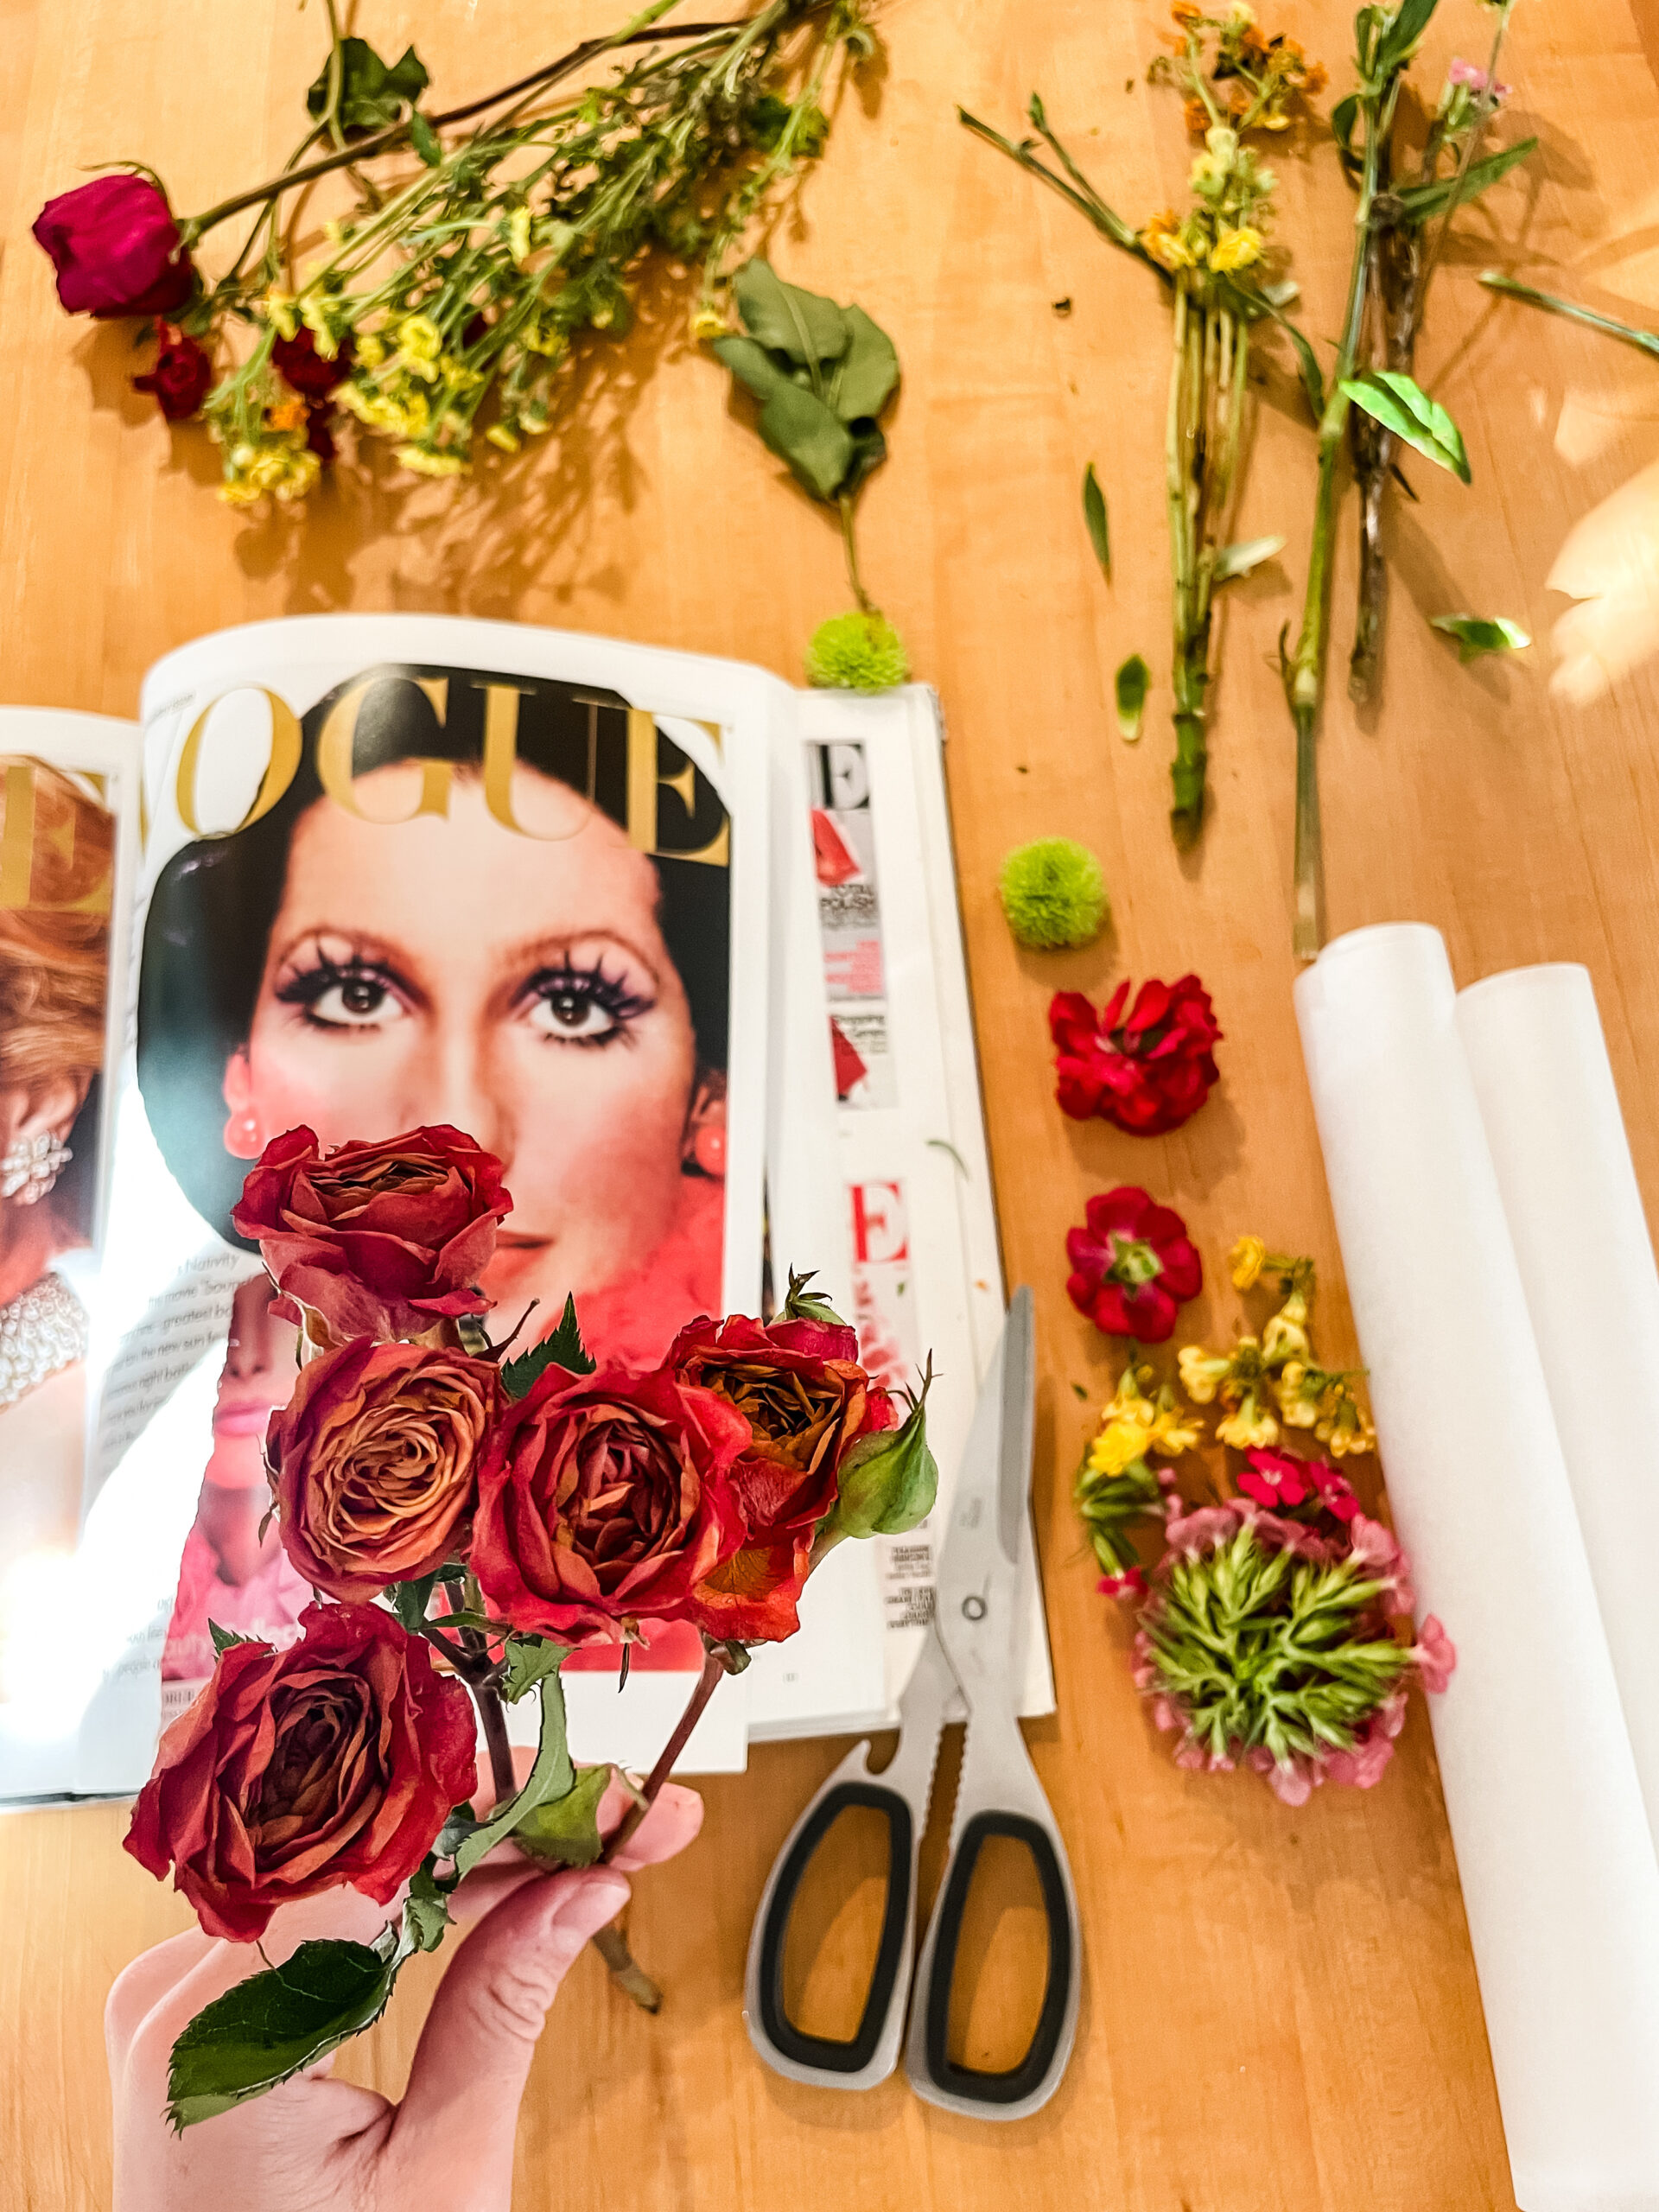
Step 2: Cut & Arrange
I cut the flowers from their stems, and decided how to arrange the petals for pressing. I used my thumb to flatten some of the smaller flowers and larger roses to make sure the petals fell in a symmetrical way.

Step 3: Press
Once I had the flowers I planned to press, I gathered heavy books and parchment paper to line them with. I figured the parchment paper would serve as a protection between the flower and the book’s pages.
I used some of the thickest and heaviest books I had. They had been previously thrifted coffee table books I used as decor. One was a fun vintage Vogue cover’s throughout the years, and another was a summary of Rembrandt’s work. Both nice, large books that were good and heavy.

Speaking of thrifting, it is one of my favorite activities. I have written multiple posts to outline the top 10 things I always look for, where to shop secondhand, how to shop estate sales, and my top 10 favorite finds of all time. This is a topic I could write about all day!
Step 3: Arrange
Once your book pages are lined with parchment paper, arrange the flowers so that they aren’t overlapping. Close the books, stack something else heavy on top of them and let them flatten and dry out for 30 days!

Mistakes to Avoid When you Dry & Press Flowers
I patiently waited, and opened the books after 30 days to see my flowers. Unfortunately, my flowers must have still been too wet, and molded not only through the parchment paper, but through the pages of the book as well. The mold went through at least 5-10 pages on both sides of the flowers. This was so disappointing to find, especially because I used coffee table books I enjoyed.
What NOT to do: Use heavy books you like. Instead, choose books you do not care about just in case.


The smaller yellow flowers and carnations did the best. They retained their color better than some of the other flowers, and flattened out nicely. The roses must have retained the most water, and molded the most.
What NOT to do: press flowers that are not completely dry. Maybe microwave them or put them in the oven to make sure they are completely dried out. Research this step more to make sure you are not pressing flowers that are moist at all!

Step 4: Use your pressed flowers
Now that you have pressed flowers, here are a few ways you can use them. I completed a 3 tier resin dessert tray to use for my daughters first birthday. I actually used store-bought dried flowers from Amazon, and they were great quality with such a pretty variety of different flowers and greenery. If this process seems hard or not worth your while, you can always purchase dried florals as well.

I’ve also made a dried, pressed flower phone case that is so fun and unique! I wrote a tutorial about that here.

I hope you have better luck pressing florals and learn from my mistakes. If you are wanting to press a memorable bouquet, I would practice with flowers you don’t care about first to perfect your technique. That way, your flowers don’t mold.
Save this tutorial for later by pinning to Pinterest here!

Enjoy the process,


