Learn how to complete a vintage Jenny Lind High Chair makeover! Add this timeless wooden high chair to your dining room, or use it for a first birthday party during the classic smash cake moment . Stay with me as I walk you through this step-by-step tutorial, complete with supply links for your convenience.
As a speech language pathologist, I believe high chairs first and foremost should be functional for the child. This includes providing the proper postural support, especially for the younger baby of 6 months. I had an Ikea high chair that I modified to ensure my daughter had the proper leg and trunk support. You can find these modifications for this Ikea hack from Amazon here!
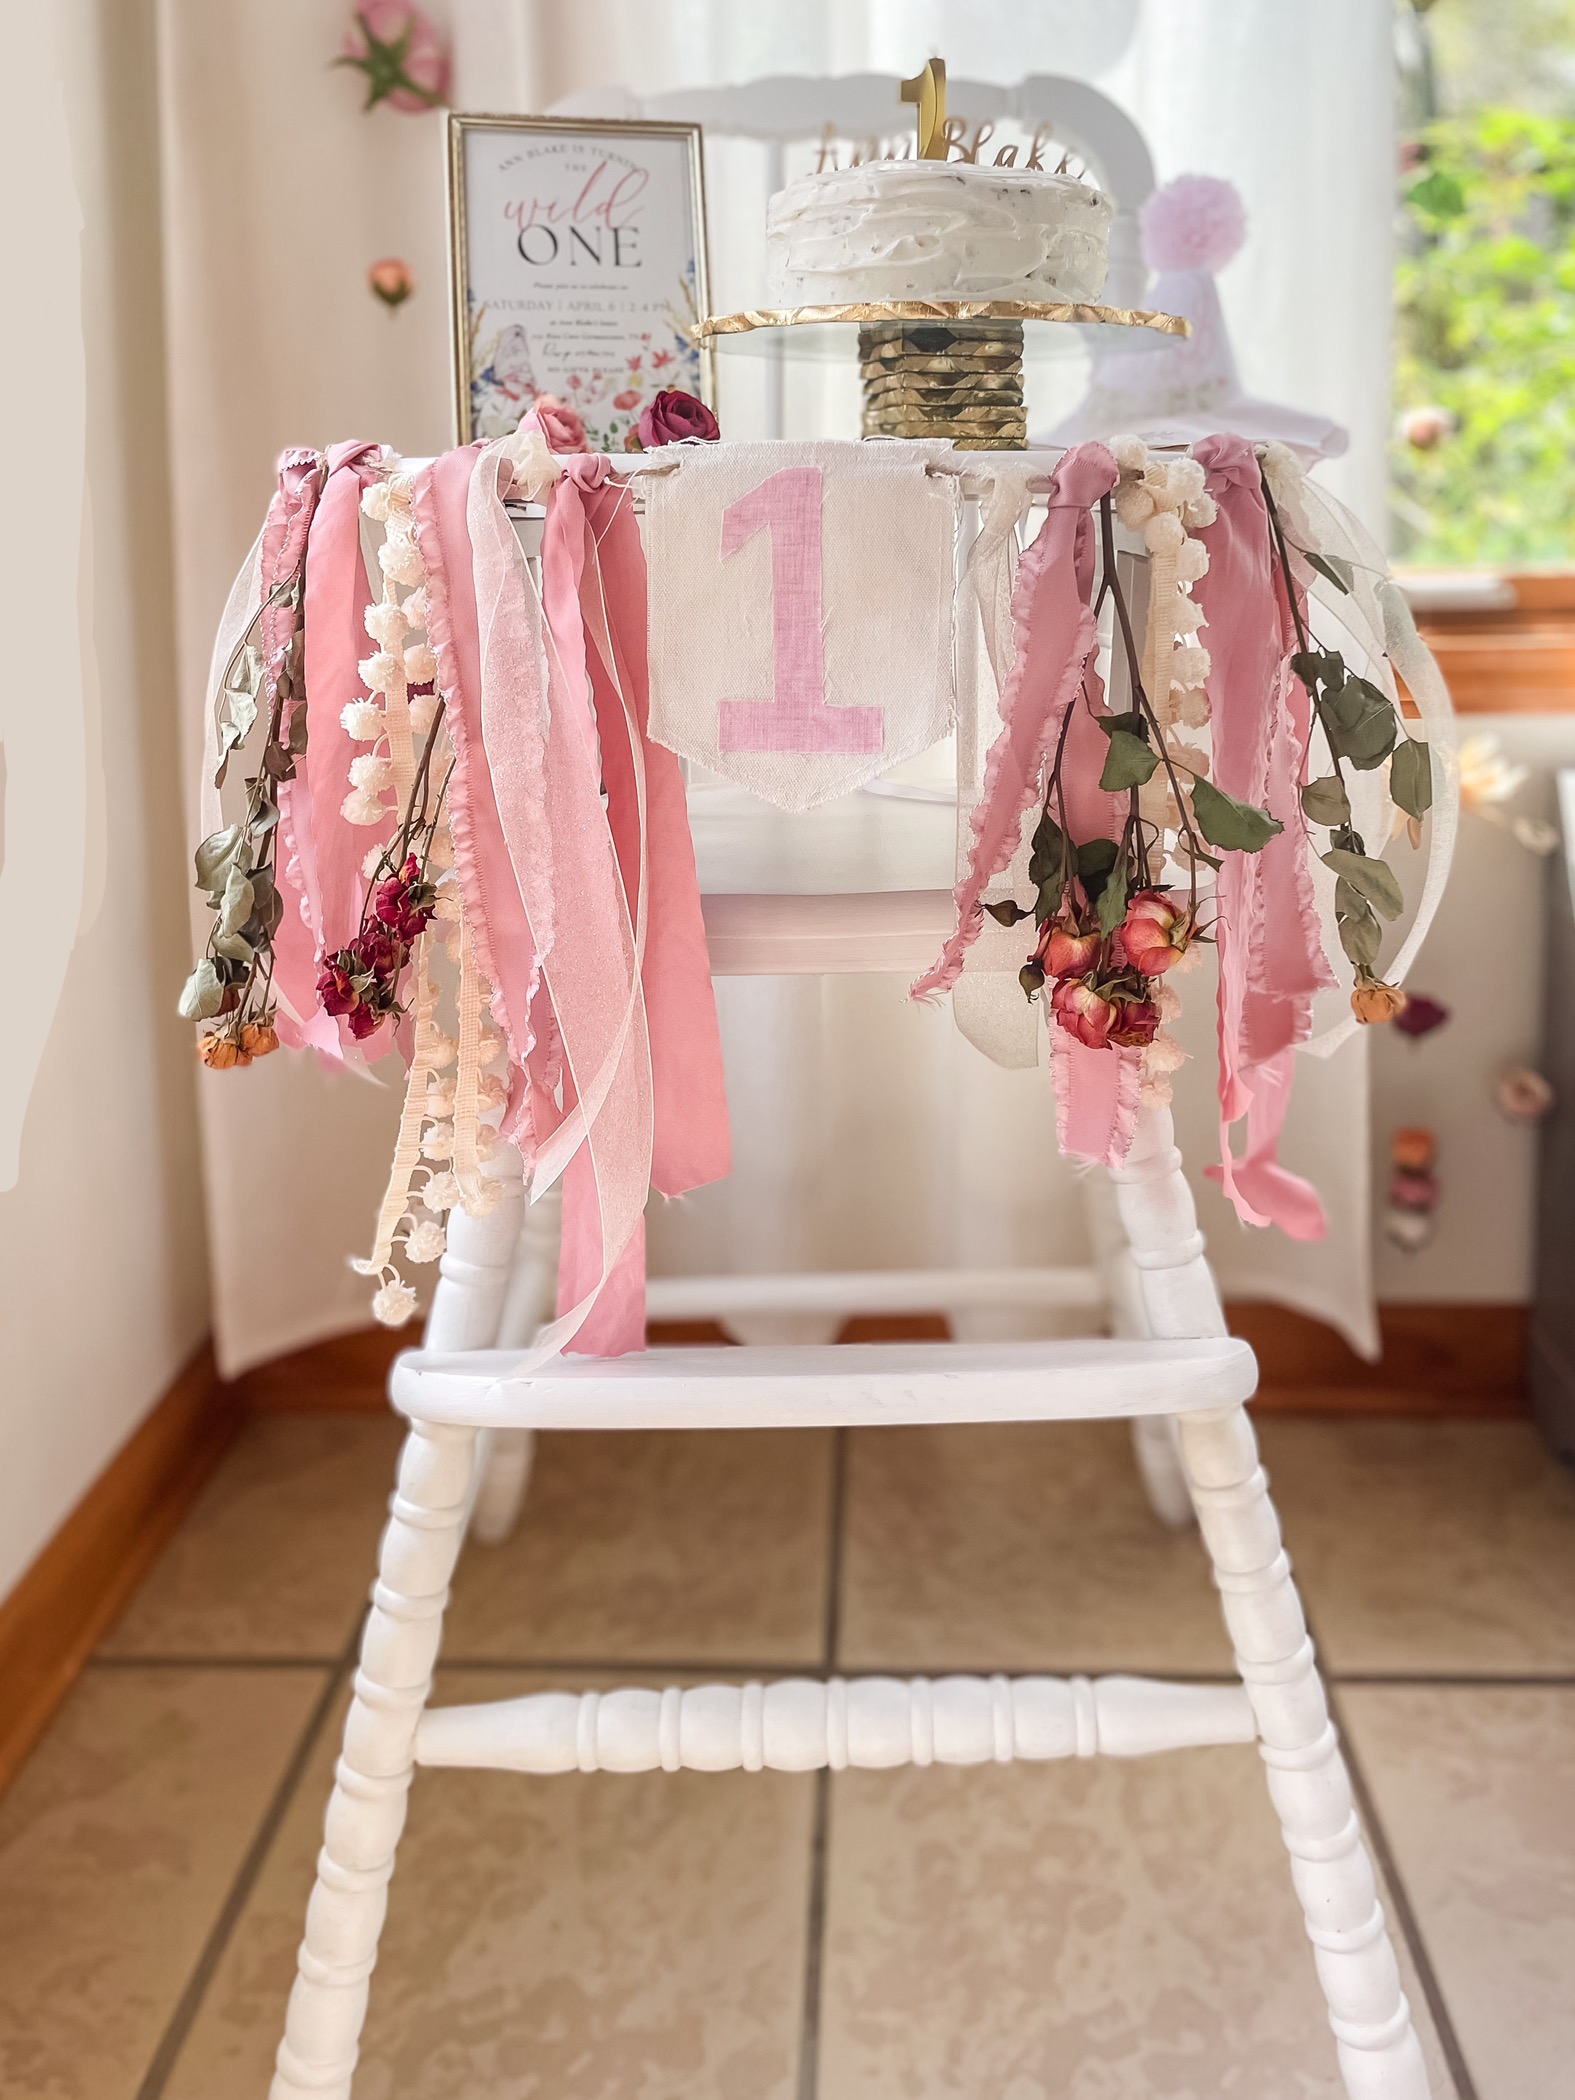
As we were nearing her first birthday, I found so many inspiration photos of babies in their sweet vintage wooden high chairs enjoying their smash cake. The specific high chair I kept seeing and loving was a “Jenny Lind”.
After some research, I discovered that this style of turned, spindle style wooden furniture became popular due to the 19th century Swedish opera singer named Jenny Lind. She famously toured the US with renowned showman P.T. Barnum in 1850. During this tour, she slept in a bed with a spooled frame, and she forever became the namesake for this style of furniture.


I found one for rent in town (what?!) for $35, and a few others that had been refinished for nearly $400. No high chair is worth that cost in my opinion, and I became motivated to refinish my own. I’ve done a few other furniture refinishing projects over the years, including:
–a vintage cane and wooden bar cart
Stay with me as I walk you through how to source and refinish your own vintage Jenny Lind High Chair makeover, turning an old and tired brown chair into a fresh and clean white wonder.
Supplies to Complete Your Jenny Lind High Chair Makeover
-Jenny Lind high chair
-Cleaning Solution (I use white vinegar+water) and a rag
-Interior WATER based (latex) paint in your color of choice, finish does not matter. I used the color Alabaster by Sherwin Williams
–Rust-oleum Chalked Matte Clear protective top coat
Don’t want to lose this tutorial? Pin it for later here!

Step 1: Find your Chair
I scoured Facebook Marketplace for a few weeks and came up short. However, when I changed the location to my hometown where my parents currently live, I found one posted for $30! She had just posted it that night. I immediately responded and sent my dad to meet her and pick it up the next day! You will get lucky eventually, these chairs were pretty popular in the 80’s.
Step 2: Clean & Sand
After securing your chair, you want to take time to clean the surface well. TSP is always an option. But if you would prefer to avoid using harsh chemicals, distilled white vinegar and water works as well. I used vinegar and water, and scrubbed down the entire surface of the chair to remove dirt and dust.
After your chair is clean, the next step of prep is to sand. I knew I was going to paint my chair white, and planned to use my favorite Chalk Paint Additive product. One of the reasons I love using this additive paint product is the limited amount of prep required. With most paint or stain, you need to completely remove the previous finish on the chair. This requires excessive sanding and lots of time. Using the paint additive and this technique, you only have to sand enough to ensure a smooth surface.
The top of the wooden tray area was pretty scratched and rough, so I focused most of my sanding on this area. I used 220 grit first on the rougher areas with a mouse sander, then followed up with 180 to soften the surface further.
The mouse sander and different grit sandpaper pads work well for flat surfaces, but I used a handheld piece of sandpaper I could more easily wrap around the spindles to sand and get in between small areas.

Step 3: Clean Again
After you have finished sanding and your high chair is smooth to the touch, you want to spend time cleaning it again. Remove any saw dust, dirt or particles that have accumulated on the surface since the first cleaning. A tack cloth works especially well after sanding. The surface is a bit sticky, and helps to collect everything off the surface of your chair.
Step 4: Paint
Once you have completed the tedious prep work, it’s time to mix up your paint. The Chalk Paint Additive comes with instructions that I recommend you read and follow. You will be mixing scoops of the additive with water, then adding latex (or water based) paint in the color of your choice. You will need maybe 1/4 of a quart of paint for 2-3 coats on your high chair.

I tried new chalk paint brushes this time for the first coat of paint, but didn’t like them as much as the Zibra chalk paint brushes I usually use linked here. Don’t be alarmed if the first coat of chalk paint isn’t smooth. It will go on blotchy and uneven, so expect this to happen. It improves beautifully and becomes opaque with the second coat. Wait for your first coat to dry a couple hours before you paint on another one. Remember, multiple thin coats are always better than thick gloopy coats.
I ended up painting a third coat of paint as well to achieve a perfectly smooth finish. The chalk paint additive creates a very matte finish that you can easily rough up if that’s the look you like. I leave my paint finish intact without any extra sanding to distress.


Step 5: Seal
Once you are happy with your paint job and have allowed at least 24 hours to dry, you can apply the finishing touch to seal and protect your chair. I shopped a lot of different products to decide what to use to seal my high chair, and ultimately chose Rust-oleum Chalked Matte Clear protective top coat. Based on Q&A’s on Home Depot’s website, I was comfortable with using this product on an eating surface. However, the choice is up to you and your comfort level with chemical use!

As suggested earlier with your chalk paint additive, follow the instructions on the back of the can to ensure proper application. I used a Zibra brush again and did 2-3 thin coats of sealer with dry time in between.
Step 6: Enjoy
5 steps completed and you are done my friend! I hope you love the Jenny Lind high chair you refinished for years to come. There is nothing I love more than bringing something vintage back to life. Shopping second hand is better for your pocketbook and the environment. I am finding myself always looking for new ways to reduce, reuse and recycle.

If you are interested in learning more about shopping secondhand, it is a topic I have written about frequently! Here are some topics I have covered:
–5 reasons why I thrift and you should too
–My all time top 10 favorite thrifted finds
–Pro tips for estate sale shopping to feel like a seasoned regular
–10 things you should always look for when thrifting
I hope you have enjoyed this tutorial and found it easy to follow. I hope you can reproduce great results, please let me know if you have any questions!
Enjoy the process,


