Let me share something about myself that I’m not always proud of… I am extremely inpatient. With that being said, I didn’t want to wait 6 months to 1 year so that I could afford a dining room table and chairs that I loved. I didn’t want the dining room in our new house to sit empty that long! So I did the next best thing (which in hindsight, is actually the best thing), I found a solid, wooden table on Facebook Marketplace for $80, and a set of unique vintage chairs for $10/piece and started researching how to re-finish them! Read on to learn how I turned this…


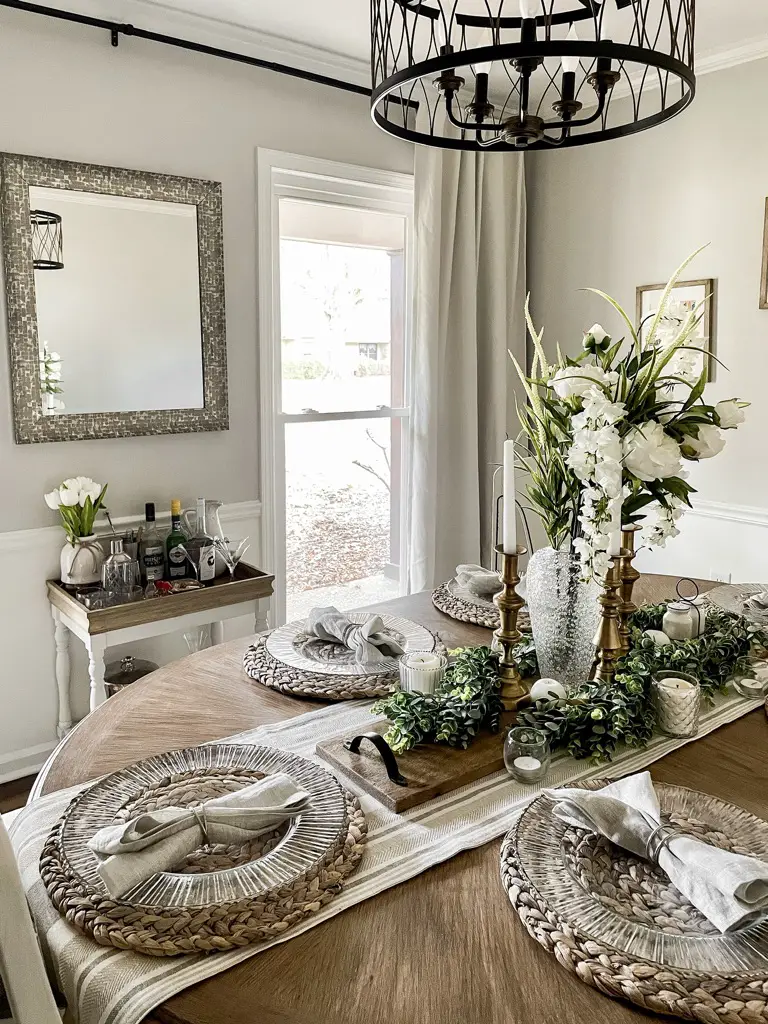
Into this…

This post contains affiliate links for your convenience which may reward me in the event of a sale. Note that I only recommend tools and products I have personally used and loved.
Keep reading for a tutorial on how I refinished my dining room table. See the other post here for how I refinished the six dining room chairs.
Supplies
–Paint & Varnish stripper– note, I would NOT recommend this product, just what I used so I will link it
–Plastic putty knives to scrape off stripper and varnish (metal scraper may damage table)
–Steel wool- 3 grades (coarse, medium, and fine)
–Mask
-Damp cloth
-Drop cloth (depending on where you plan to complete the project. I would not recommend stripping or sanding indoors. I did finish the table inside though so I could see how the wood color worked in the room).
STEP 1: Take a BEFORE picture!
I promise, you’ll want one! Maybe even remember to take progress pictures throughout the process as well.

STEP 2: Strip furniture
I had never stripped the finish off of a piece of furniture before. I did plenty of research beforehand, and decided my project was most similar to Tiffany at My DIY Happy Home. You can read about her process here.
I decided to start with the middle table leaf. You should work in small sections so you can scrape off the stripper before it starts to set and dry. I poured the stripper into my metal pail, and painted it on the table leaf with my chip brush. I applied the Klean Strip product per recommended directions, and waited 30 mins. After 30 mins, I used the plastic scraper to try and remove the finish andddd, nothing. It said you may have to wait longer, so I waited another 30 mins. Still nothing.
Through trial and error, I found I obtained the best results from applying an extremely generous amount of the stripper- so thick that I used almost the entire container by the time I was done with the table. The scraper only took the finish off in a few places on the flat table top. I had better luck moving straight to Step #2 and using steel wool with the stripper to work off the varnish and stain from the table. And don’t think this happened without muscle- I had to take frequent breaks because I was scraping and scrubbing so hard. Talk about an unexpected arm workout. My chiropractor made extra money off me during this time.
STEP 3: Scrub the surface with steel wool
Just like sanding, it is recommended you use steel wool from the most coarse grit to the most fine. I found that the only way I was able to remove the varnish and stain from the table was to scrub the stripper away with coarse steel wool. I went through 2-3 packs of steel wool during this process. Once the varnish and stain is removed from the table, you want to use the medium grit steel wool with Mineral Spirits to “wash” the table and remove any remnants of the stripper, deactivate it, and clean up the surface. After you apply Mineral Spirits to the whole surface with medium grit steel wool, do it all again with the fine grit steel wool.

**If I could do it again, I would either go big and use a stripping product with allll the chemicals (the only way to efficiently remove varnish according to my father-in-law with a chemistry degree), or just use my mouse sander to take the surface of the table down to the raw wood. I would not waste time with a “clean” stripping product like the one linked above.
STEP 4: Sand

I love the mouse sander I have linked. It is compact but gets the job done. Make sure and use proper safety gear including work glasses and a dust mask. I started sanding the surface of the table with a coarse 80 grit sandpaper, then moved to 120, then 220.
Always use even pressure and sand with the grain of the wood, not against it. It is time consuming, but you want to do the project the right way and get results you are proud of. The more fine the grit of the sandpaper gets, the smoother the finish you are creating. Clean up after sanding with a damp rag and tack cloth to ensure the table is free from dirt and debris. You want a clean surface before applying your finish.
STEP 5: Finish the table
Choose your finish- stain, wax or paint


Again, I completed lots of research to figure out how I wanted to finish this table. I wish I had a picture of the raw wood table before any wax, but I didn’t know I would be starting a blog when I did this project (sorry). Initially, I was going to stain the table (see my post here on how I stained the entryway wood hooks), but stain can be variable, and I wasn’t sure that was the look I was going for. I wanted a white washed, weathered wood finish. I had purchased Liming Wax (but had yet to use), and decided to give it a try on the table.

Here are a few finishing options I tried on the bottom of the leaf. # 1 was just Liming Wax, # 2 was Liming wax and Antiquing wax and #3 Three was just antiquing wax. Wax is more forgiving to work with than stain, and allows for more control over your finish. I decided I liked the look of #2 the best with both Liming and Antiquing wax.
Choose your application tool
After several different application techniques, I found using a chip brush was the best way to apply the wax. I did a layer of Liming wax first, allowed it to dry for 24 hours, then applied Antiquing wax using the same chip brush technique. The Antiquing wax is forgiving, but requires some muscle to work in evenly. It is recommended to work in small sections as you have about a minute or two before it starts to set. I waited another 24 hours and applied a second coat of Antiquing Wax to obtain a richer color.


**Note- I had only previously used the Antiquing wax on top of chalk paint. I will say that I like the Antiquing wax on top of chalk paint better- it’s easier to get a uniform finish. Using Antiquing wax on top of Liming wax was more difficult to work in, and resulted in a streaky finish. There are some dark spots near the center of the table that I have covered up my table runner. Overall, I am still very pleased with how it turned out and do not think I would go back and change how I chose to finish it.

STEP 6: Seal

As I have written about before (see custom chalk paint post for more finishing tips here), I prefer a finishing wax to seal furniture. Note that a wax sealer does not provide the same “hard” finish as poly, but it still protects from scuffs, stains and scratches with a softer finish that feels smooth and resists water.

And there you have it! It was a process that probaly took about a month from start to finish (with a full time job, you get small windows to work!) but it was worth it. I love our dining room table, and the budget I was able to complete it in.


