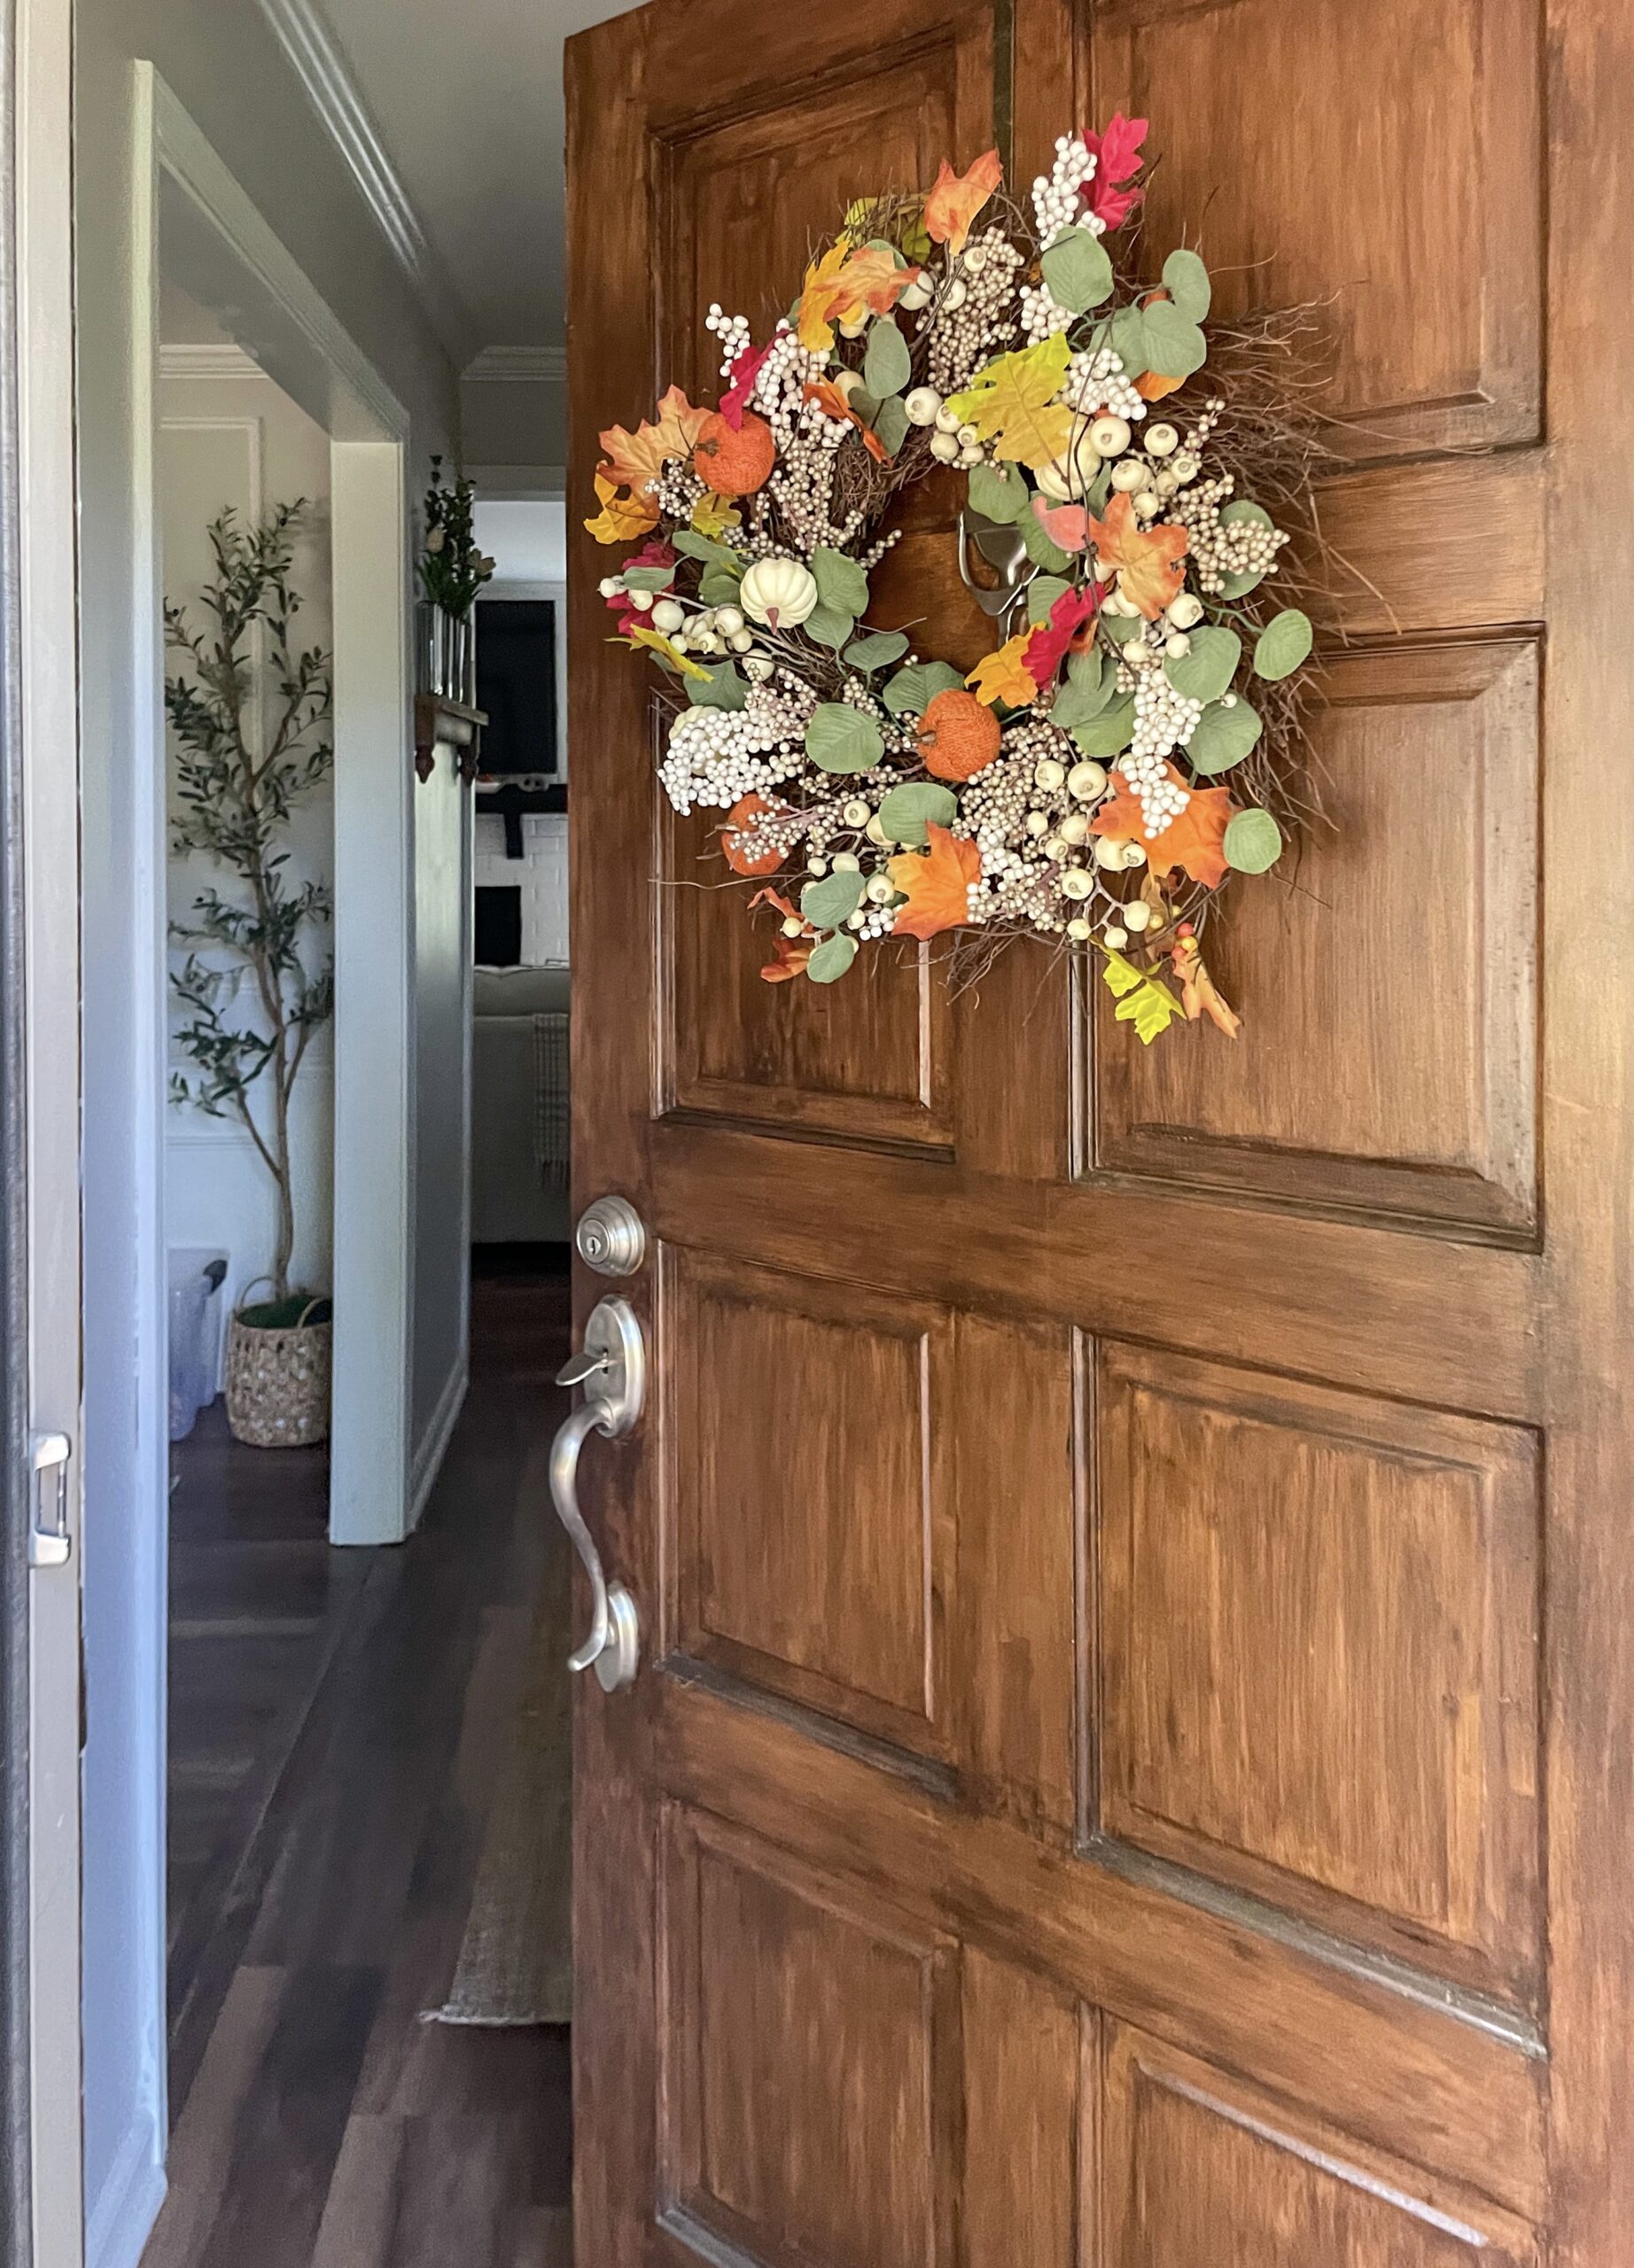
Learn how to transform a plain green and white wreath in 15 min using 4 supplies from Dollar Tree! Stay with me as I walk you through this step-by-step simple autumn DIY wreath tutorial, complete with a video link to see it in real life.


I have this great green and white staple wreath for my front door. I love it year round, especially in between holidays or seasons. But now that it’s fall, I wanted something a little more festive without spending a lot. I was able to completely transform this wreath I already owned temporarily for the autumn season with the help of a few finds at Dollar Tree! Find out how below.

Supplies to Create a Simple Autumn DIY Wreath
This DIY is a bit cheeky because I used a wreath I’ve already owned for years as a base. If you have something similar, great! If not, I’ve linked something similar for you here.

Here are the 4 things I picked up from Dollar Tree. Two leaf garlands, and two 3 packs of white and orange pumpkins with silver alligator clips attached to the back. Browse your local Dollar Tree in person to see what you can find!

Alternatively, you can shop my original inspiration pictured above. The price is still not bad at all! I’ve also linked some Amazon finds to help you get creative and create a similar faux autumn wreath if you can’t find similar leaves and pumpkins from Dollar tree.
Step 1: Weave in your leaf garland
First, unwrap your leaf garland and begin weaving it around your existing wreath. I maneuvered mine in and out of the eucalyptus and berries, making sure the ends were securely attached to the wooden wreath “frame” beneath.


I purchased both an all orange leaf garland, as well as a strand of maple leaves that were red and yellow for more contrast!
Step 2: Pin in your pumpkins
Next, open your sleeves of pumpkins. Take a look to see how you are going to space them out, being mindful to add pops of orange and white in equal proportions around your wreath.
The Dollar Tree pumpkins came with easy to attach alligator clips on the back. I pinned them onto the branches of the wreath, and embedded them within the leaves and berries for more fall fun.


Want to see a video? Check out the process in real time on Instagram here.
And that’s it! You’re done! Hang your front door wreath back up, and marvel at how inexpensive, quick and easy this fall decorating hack is. Happy fall y’all!
Enjoyed this post? Pin it here to save it for later!

Curious about my wooden front door? Let me be honest, it’s not wooden! I used a two step paint and gel stain technique to transform this basic red painted door into the rich walnut “wood look” you see above! Find out more here.
Enjoy the Process,


