Let’s take a look back at how I wood painted my front door to create a faux finish, and check in to see how it’s held up THREE years later. Keep reading to discover how to do this using a two products and follow direct links for your convenience.
I can’t believe it has been 3 years since the completion of one of my first DIY projects. I remember the sense of accomplishment that filled me as I stood back and admired this faux wood painted front door. It was truly a proud moment for me as a first-time homeowner.
At the time, we had just closed on our Riverdale Ranch and were eager to put a personal touch on it. The red front door was the perfect canvas once it no longer matched the red shutters (I spray painted the shutters black to make a statement). I had always admired the charm and warmth that real wood doors brought to a home, but the cost was beyond our budget.


So, after some research and brainstorming, I decided to try my hand at creating a faux wood finish. At the time, I was not familiar with most of the products and supplies.
Now? I have every one of these supplies in my DIY garage workshop, and know how each and every product is best used. I have been able to compare and contrast different materials, brands, and techniques. And I’m here to not only confirm this technique, but let you know how my faux wood painted front door has held up!
If you are looking for the supply list, you can shop all the materials I used here.
If you are looking for the original tutorial, you can find it here.


When it comes to analyzing the technique of layering paint, gel stain, and poly, it’s important to understand the versatility it offers. This three-part approach to finishing surfaces is foolproof and can be applied to various DIY projects.
If you’re new to the world of DIY like I was when I first embarked on this project, it’s natural to feel unfamiliar with the supplies, alternative options, or how you can modify the technique to suit your specific needs. However, with the layering technique, you have the flexibility to experiment and achieve stunning results.
Now, let’s break down the process.
- Paint: The first layer in this technique involves using paint. This step allows you to create a base color or add depth to your project. Choose a paint color that complements your overall design aesthetic. Whether you prefer a bold statement or a more subtle finish, paint gives you the freedom to bring your vision to life.
- Gel Stain: Once the base layer of paint has dried, it’s time to apply the gel stain. Gel stain offers a unique and rich color that enhances the visual appeal of your project. This layer adds depth and dimension, allowing the underlying paint to peek through in certain areas. With gel stain, you can create the faux wood finish desired.
- Poly: The final layer in this technique is the application of a protective polyurethane coating. This step not only ensures longevity and durability but also adds a beautiful sheen to your finished project. Polyurethane comes in different finishes, such as matte, satin, or glossy, allowing you to choose the level of shine that suits your preference. It acts as a shield, protecting your project from the sun and elements.
This layering technique opens up a world of possibilities. By experimenting with different colors, finishes, and application methods, you can achieve a wide range of possibilities to match your desired result.
Remember, practice makes perfect, so don’t be afraid to try new techniques, explore different color combinations, or modify the process to suit your project. Let your creativity shine!
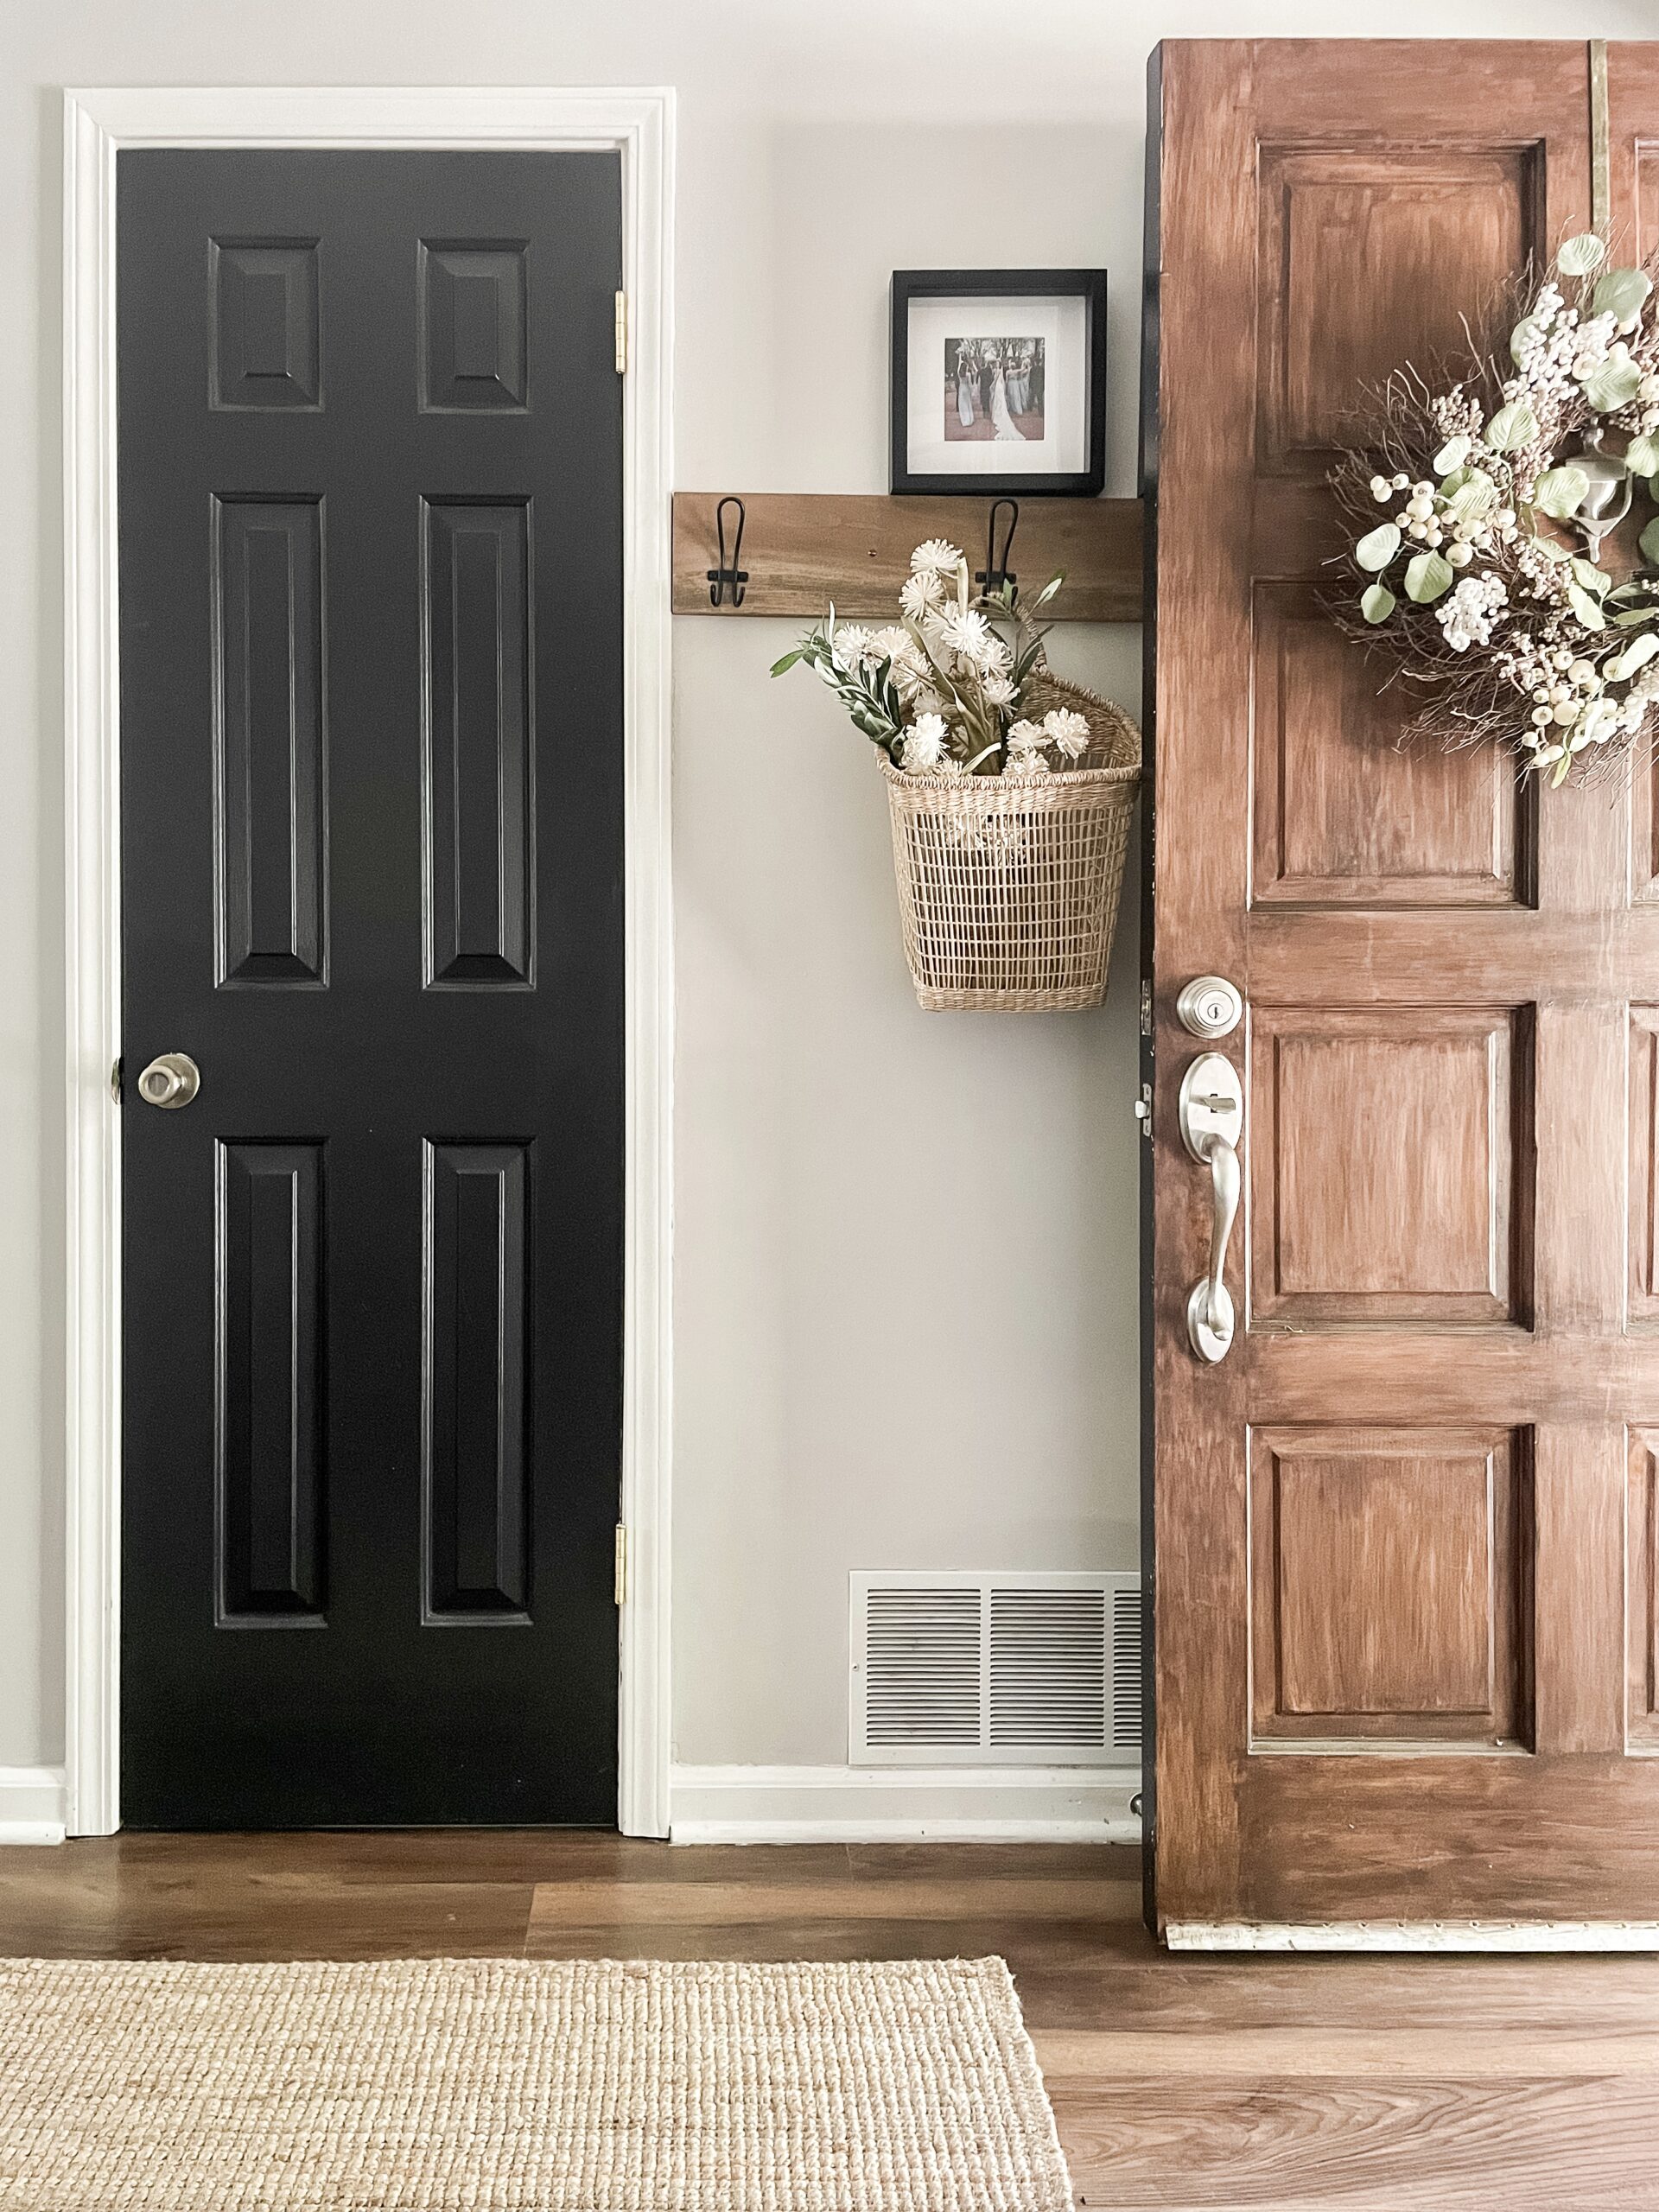
I followed the same paint colors and gel stain shades I had seen done by others to ensure a good final product. I love the look of the Glazed Pecan paint by Behr under Walnut gel stain. This color combo is great, and gives a rich brown result. I liked it so much that I ended up doing the same finish on our front porch posts, front porch bench, and on our DIY potted string light stand in the backyard.


Going for a different look? You could easily experiment with other combinations of paint colors and gel stains to get a different wood look. For example, maybe try a beige or mushroom paint color underneath the gel stain for a more weathered look, or a lighter/darker gel stain. Find a piece of scrap wood and try other combinations! Don’t feel married to the color combination I used.
If you like the weathered wood look, I have also perfected this chalk paint and Antiquing Wax technique to create another faux wood finish! I love any finish that I can create without having to sand and or/stain. I have successfully transformed our bathroom vanity and countless other surfaces in our home with this technique. Read more about it here.
But, I will say I love this rich brown finish on our front door. If it ain’t broke, don’t fix it. I will use this combination on more projects in the future.
So, how well did my door hold up? It looks just like the day I completed it! I will mention I have a glass storm door to protect it from the elements, but I have experienced no fading, peeling, or other wear. I would 100% recommend this technique, and would do it again in the future.

I believe that updating a painted front door is a fantastic way to enhance the overall look of your home. A front door plays a significant role in creating the first impression, and you want to ensure that it sets the right tone for your visitors. While there are numerous options for choosing a front door color, opting for a wooden door often yields superior results.
There’s something timeless and classic about a wooden front door that can add a touch of warmth to any home exterior. The natural beauty and texture of wood have a way of enhancing the architectural features of a house, creating a harmonious and inviting entrance. Whether your home boasts a traditional, rustic, or modern design, a wooden front door can seamlessly complement the overall aesthetic.

By following the steps outlined in this tutorial, you’ll be able to transform your painted front door into a stunning wooden masterpiece. From preparing the surface and selecting the right wood stain or faux finishing technique to properly applying and sealing the finish, each step is carefully explained to ensure a successful and long-lasting result.
It’s the perfect project for a true beginner, and great to dip your feet into DIY. And now we not only know it looks great on day 1, but on day 1,095 as well! Let me know if you have any questions, or try out this technique yourself!
If you would like to learn more about this tutorial or if you have any questions, please don’t hesitate to reach out. Happy door transformation!

Enjoy the process,


