When it comes to affordable curb appeal, always think paint. While painting the entire exterior can be pricey, painting shutters, posts, etc. can make a big difference. Learn more about how to paint vinyl shutters yourself!
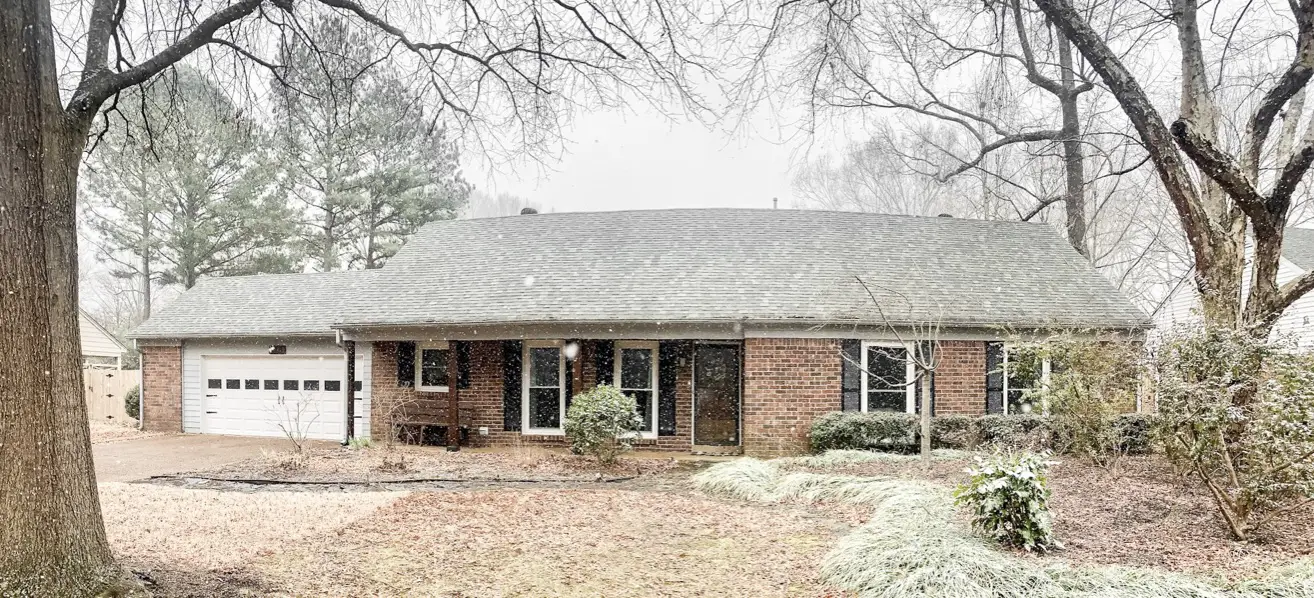
Our vinyl shutters were a brick red color that matched the front door. When I re-finished the front door using gel stain (see the huge transformation here!), the shutters needed a face lift too. I was once told that the color every room needs is black, so why not apply that advice to the exterior as well? I completely changed the look of our exterior vinyl shutters in an afternoon for $20!


This post contains affiliate links for your convenience which may reward me in the event of a sale. Note that I only recommend tools and products I have personally used and loved.
Supplies
– Water hose
-Cleaning brush
-Bucket
-Tide/bleach/water mix (my go to cleaning solution for EVERYTHING courtesy of @Gocleanco– 4 cups hot water, 4 tsp bleach, 1 tsp Tide laundry powder)
–Rustoleum Painters Touch 2X Ultra Cover Paint and Primer black spray paint
-Cardboard/plastic drop cloth
STEP 1: Remove Shutters
Our shutters were “nailed” in with plastic pegs that are easily removed. Make sure to keep up with the pegs! Put them in a plastic baggie to keep them together and safe. If your shutters are different sizes, create a system to mark the location so you can remember where they go when it’s time to hang them back up.
STEP 2: Clean Shutters
I laid mine out in the driveway, and used the hose to spray them clean. I used a brush and the Tide/bleach/water solution to scrub away dirt, mildew and cobwebs as necessary.
STEP 3: Dry, prep and spray
Allow the shutters to dry, it won’t take long if it’s a sunny day. Lay out cardboard or a plastic drop cloth underneath the shutters and spray paint. Always shoot for multiple light coats to decrease dripping, running and over spraying. Move in a sweeping motion, not staying in one spot too long. Allow them to dry at least an hour between coats. For reference, my 8 large shutters and 2 small shutters required 2 coats each and about 5 cans of spray paint.
Want to save this tutorial for later? Pin it here!

STEP 4: Hang shutters and enjoy
After the paint dries, nail them back up. You can either spray the pegs before you replace them, or carefully spray/paint the pegs once they have secured the vinyl shutters back to the wall.

It’s amazing how the black pops against the brick instead of blending in. Contrast is a good thing my friend! I’d love to see how your project goes, please share!
Enjoy the process,


