Are you looking to learn more about interior paint? Well, you’ve come to the right place. Below I’ll walk you through everything you will need to know as a DIY beginner to help you feel confident to walk up to the paint counter like a pro. I’ll answer all your burning interior paint questions and share secret painting hacks, just for beginners.
I want to share with you some information you will need as a true beginner. Whether you are a first time home buyer, or just getting into home reno, the semantics, tools and amount of information that is “assumed” everyone knows is intimidating. Let me share the learning curve with you and spill all the painting hacks I’ve learned over the past year!
This post contains affiliate links for your convenience which may reward me in the event of a sale. Note that I only recommend tools and products I have personally used and loved.
Did you know…
Painting Hacks for Beginners At the Store
The paint you purchase starts out white in the can. This is known as the “base”, or foundation. You can buy it anywhere (Sherwin Williams, Lowes, Home Depot, local paint shops, etc.), and price is based on quality. The more expensive paint offers better coverage, durability and ability to clean.
Next comes color. I used to just ask for the name and brand of the color I need (i.e ask for Sherwin Williams Agreeable Gray at Lowes, who sells Valspar brand paint), and they would find the “code” to mix the color in the system. So, just because you can ask for any brand’s color and mix it into any brand paint, does that mean you should? That’s a bit more complicated…
Did you know that most companies use different bases to make paint? Without getting too technical, think of the base as the foundation. These different foundations can affect he undertones of paint, causing it to pull warmer or cooler than the brand that “invented” the color intended.
Different brands also use different colorants or tints to make up their colors. If you want the color you chose from a paint swatch to be the color on your wall, you need to use the brand of paint your color was “invented” for. Example- only get Sherwin William’s color Alabaster mixed at Sherwin Williams.

However, I never chose my paint based on the color I saw on a paint chip or swatch. I did research online, mostly on Pinterest (see my paint board here if you are in need of inspiration), and went straight to Lowe’s and ordered paint samples based on a color I saw and liked on a screen. So technically, none of the colors I sampled were exact matches to the paint color on the swatch that the brand “invented”.

For example, I painted some interior walls Alabaster which is a Sherwin Williams color. I sampled Alabaster at Lowe’s, who has Valspar paint. Since Alabaster is not their color, they look up the “formula” to color match it into their Valspar base paint. I liked the Valspar formula for Alabaster mixed in their base, so I ordered my gallon of paint from Lowe’s as well. So, the same version of Alabaster I sampled and liked on the wall from Lowe’s went into the gallon I used to paint my walls.
So, should you get one brand’s color matched into another brand’s paint?
Moral of the story is it depends how particular you are. My recommendation is to get samples of the colors you are interested in trying from the same brand you end up buying gallons from. So another way to drive this point home… do NOT get your sample of Sherwin William’s color Alabaster from Sherwin Williams, paint a sample on the wall, decide you like it then get the gallon you intend to use for your walls color matched at Lowe’s. In this case, the color would not match what you sampled and liked on your walls because of the different base and tints used at Lowe’s.
Same goes for multiple gallons. If you need a second gallon of paint to finish a room, get it from the same brand as the first gallon. I will say I made this mistake in our hallway. I had such a small area left to paint, and ran out of the last gallon of Valspar’s Asiago I had. I was already at Home Depot, so I just got a small quart of Asiago to finish up the job. Asiago is a Valspar color, and the first gallon I used was from Lowe’s. As I was painting the rest of the hallway with the quart from Home Depot, the colors did not appear to match. I thought maybe it was just the difference between wet and dry paint. But now I know the colors more than likely did not match based on the different base and tints used to create them. You live and you learn!
Another option would be to use the color matching service a bit differently, and provide an actual physical chip or swatch of the color you want. In the scenario above, I could have gently removed a small paint chip from the wall I needed paint to match. Then, take the paint to chip to the big box store and request an exact paint color match. This is a physical way to ensure the first color is a match to the color they mix, with less chance that a different base color or formula will interfere.
Painting Hacks for Beginners When Sampling
When sampling paint, I recommend Lowe’s or Home Depot. They offer small paint pots that run between $3-4. A sample of paint at Sherwin Williams comes by the quart and costs $8-9. They say the quality of the paint sold in the sample quarts is poor and not recommended for use on walls, trim, doors, etc. so if you are truly only needing to test the color, you end up with a lot of wasted paint. The only exception would be if you want to use a specific color true to the way Sherwin Williams intended it- I would get my sample and gallon there. That’s what I did when I painted our exterior during Week 5 of the One Room Challenge. Find out more about painting your exterior in that post here.

To properly sample paint, purchase white foam or poster board and paint a large swatch of your paint sample. Then, move the sample board around the room to see how light affects and changes it at different times throughout the day.
Did you know… you can ask to lighten any color! If you find the perfect color but feel the saturation is too dark, you can ask the paint store to lighten the color by 25%, 50% or 75%. This maintains the integrity of the hue, while lightening strength or saturation of the color to your liking. I have Agreeable Gray on my kitchen, living room and dining room walls. However, my sister felt it was too dark in her space, but loved it lightened 25%!
Types of Paint and Available Finishes
There are two kinds of paint- latex and oil based. Latex is also known as water based, and therefore paint spills and paint brushes used for latex paint can be cleaned up with water alone. Oil based paint has stronger fumes, longer dry time but more durability. Oil based paint cannot be painted over with latex (will cause peeling), and requires mineral spirits or paint thinner to clean up. For most interior paint projects, use latex paint.

Paint comes in different finishes! The hierarchy from most matte to shiny is as follows:
-Flat = matte
-Eggshell (Sherwin Williams does not have Eggshell- satin is what you will get)
-Satin
-Semi-gloss
-High gloss = shiny
The higher the sheen, the more reflective and durable. Paint at a higher sheen is typically easier to clean. However, flat paint is better at hiding imperfections. Paint finish is based on personal preference, but all my interior walls are Eggshell, and doors and trim are Satin.
Painting Hacks for Beginners With Primer
You can purchase tinted primer that may cut down on the number of coats of paint that you need if you are using a dark paint color (i.e black). Primer is cheaper than paint, so it’s always preferred to prime first if it may save you paint.
Primer is always recommended before painting in order to get the truest color on your walls without potential bleed through of the old color. Primer can also cut down the number of coats needed (again, primer is cheaper than paint!), and can help to cover smells and stains.
Painting Hacks for Beginners to Choose the Right Tools for the Job
Brushes
I prefer Purdy brand, my mom prefers Wooster. As long as you buy quality brushes with good reviews, you should be fine!
Use an angled brush to cut in next to something you don’t want to get paint on (i.e. cutting in a wall next to window trim).
Flat brushes are for flat trim, or large surfaces without intricate details.
The larger the brush, the more paint it holds and therefore faster it is able to cover a surface. However, larger brushes also show more brush strokes
The firmer the brush, the more visible brush strokes will be. For doors or jobs that you don’t want brush strokes to show on, use smaller brushes with softer bristles.
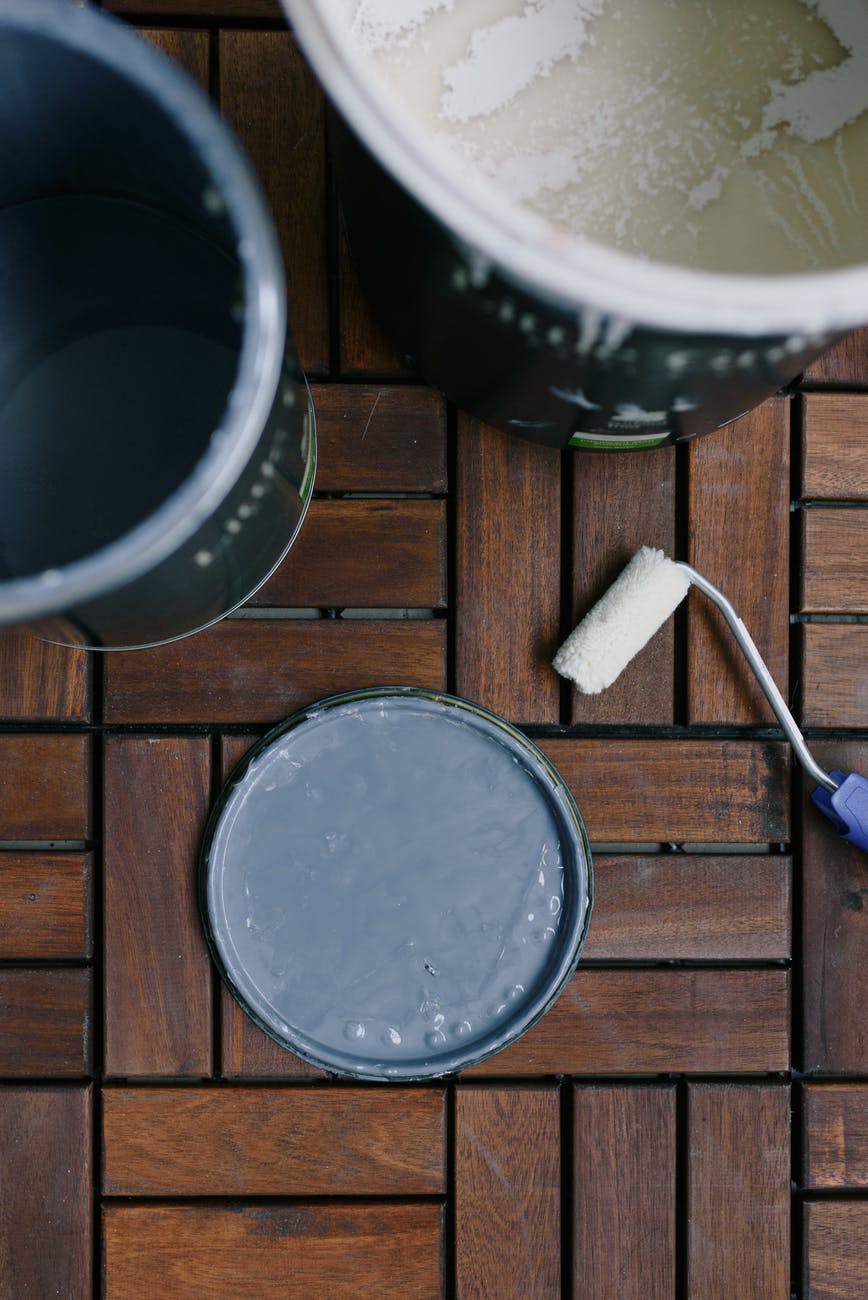
Rollers
Use a small roller frame for doors, and a large roller frame for walls.
Use a 3/8″ nap for most walls; the smaller the nap, the smoother the finish because it holds less paint. You can use a larger nap on walls with texture.
Quality rollers are important to cut down on splatter and “fuzz” coming off onto your walls.
When rolling a wall, always roll from top to bottom in one fluid motion to cut down on streaks.
Painting Hacks for Beginners to Paint your First Room
Do you feel ready to paint a room yet?! Let’s give it a go! Unscrew any electrical outlet covers and light switch covers (and be sure to keep up with the screws, maybe put them together in a baggie), as well as patch any nail or screw holes first. I recommend this spackle and typically just push it in with my finger. Allow to dry, then sand.

If you are a beginner, I would recommend taking the necessary prep steps including plastic drop cloths and taping around floor, baseboards, etc. It’s easiest to trim first, which means doing the detailed painting work with a brush like this around the doors, trim, windows and baseboards.
Once the area is trimmed, you can use a paint roller to paint the large sections of walls. You will find the balance between too little and too much paint- but ultimately as long as its smooth don’t be afraid to put some paint on the walls!
Need more details? Find my step by step tutorial here to build your confidence even more and make sure you are ready to paint your room like a pro.
Clean up tips
Did you know you can freeze paint brushes and paint rollers?! That’s right! If you’re like me, you have small windows of time in which to paint. Don’t waste time cleaning out your tools after each use. You can wrap them in plastic wrap and put them in the freezer to preserve them. Just make sure you have 20-30 mins to let them thaw before using them again!
I hope that helps! Please drop any other paint questions you may have below and I will do my best to answer them from experience.


