If you want to learn how to affordably update your house numbers with a modern look to improve curb appeal, you’ve come to the right place. Keep reading to learn some very basic wood working skills that are achievable even for a true beginner.
This house number update is a good example of how I’m never able to leave well enough alone. There was nothing “wrong” with our old house numbers, but don’t the new ones look better?! The new, modern house numbers turned out great, and tied into the gel stain I applied to the bench, posts and front door to add curb appeal. It is subtle, but every project is rewarding and teaches you something new! I followed along with Amanda from A Crafted Passion, and made my new modern house numbers for under $40.
BEFORE

This post contains affiliate links for your convenience which may reward me in the event of a sale. Note that I only recommend tools and products I have personally used and loved.
SUPPLIES TO UPDATE YOUR HOUSE NUMBERS
–Wood shims– if you’re like me, you’re thinking “what the heck is a wood shim”? If you are buying from Lowe’s or Home Depot, these can usually be found in the window/door section. Just ask for the “things that look like paint stir sticks”, worked for me!
-1/4” birch plywood for wood base
-1×2 common boards for house sign boarder
-Measuring tape
-Hand saw
-Miter saw
–Rustoleum Painters Touch 2X Ultra Cover Paint and Primer black spray paint
-Drop cloth/cardboard
-One quart of Minwax oil based gel stain in Walnut
–Chip brush to apply gel stain
-Small finishing nails
-Drill
-5/32 drill bit
-Hammer
-Cloth
-One quart of sealer- I used Minwax Water Based Helmsman Spar Urethane in a satin finish.
–Foam brush to apply sealer
STEP 1: Cut to create the back wood base


Cut your 1/4″ board to the size of your choosing (mine is about 16″ x 6″). I laid out the numbers to visually decide how much space I wanted around them. Also keep in mind where you will hang the sign and the amount of space you have to work with.
STEP 2: Choose, measure, mark and cut shims

Choose shims to line the 1/4″ board vertically and lay them out. Measure where you will be making cuts and mark on each shim (my shims were 6″ tall to fit the base board). I used a small hand saw to make the cuts as the shims are thin.
STEP 3: Glue shims to wood back board
Glue the shims to the back board with the wood glue. I applied a thin wavy line for each. Then, apply pressure with something heavy on top to help it adhere.
STEP 4: Cut wood to create the border

Cut your 1 x 2 wood boards to make the boarder. You are going to be making cuts at 45 degree angles so the wood comes together in the corners, so make sure to mark the inner and outer corners. For example, for the 2 long boards that run the length of the sign the inner edge cut should start at ~17 3/4″, and the outer edge at ~18 1/2″. For the 2 shorter boards running the height of the sign, the inner edge cut should be at ~7″, and the outer edge at ~7 3/4″. I used a miter saw to make these cuts.
STEP 5: Gel stain shims
Apply gel stain with a chip brush to the shims
STEP 6: Spray border black
Spray paint the 1 x 2 wood boards that will be used for the border black. Make sure and get all sides, and put a drop cloth/cardboard behind it to avoid making a mess.
STEP 7: Attach border
Once dry, attach the black wooden border pieces to the back board with the shims on top with wood glue. Once dry, drive a short nail into each corner to ensure the border is secure.
STEP 8: Seal
I applied polyurethane to ensure the new house number sign would hold up to the sun and elements without fading. Let it dry completely.
STEP 9: Attach the house numbers
Attach the house numbers per directions included in the box with purchase. You basically lay out the numbers making sure the spacing looks good. Mark the places you will drill holes as indicated on the paper template. Drill your holes according to the directions, then insert the pegs on the numbers into the holes. Some of mine were a tight fit and required a bit of hammering. Make sure you cover the number with a cloth first to avoid hammering directly onto the number, that would cause damage (guilty).

STEP 10: Hang
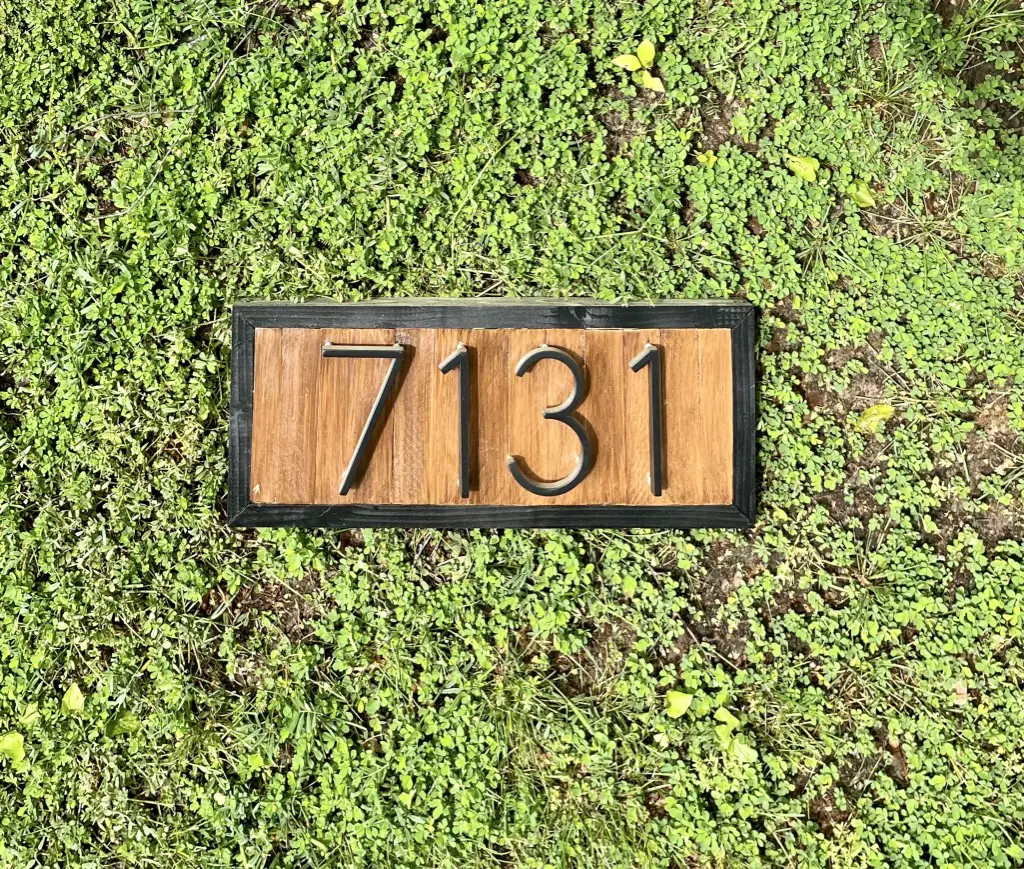
Hang your new number sign. I decided to put it above the garage where the old numbers had previously been.


There are multiple options to hang your new numbers, but for mine I twisted some wire around two screws.
It sounds like a lot of steps, but this is a great beginner project. Its hard to mess up and inexpensive. Good luck!


