It’s time to learn this five star money saving painting hack! Cut down on time and cost, and tint your primer yourself. This is especially helpful when using a dark and moody paint color. Stay with me to learn how to DIY this easy painting step.

After I took the time to reorganize the entire garage, I wanted the aesthetic to match. Although nothing was functionally wrong with the space, the unfinished walls were a bit of an eye sore. To keep the storage and studs easily accessible for hanging heavy items, I decided to just paint the studs.
Up to this point in my DIY journey, I have managed to get by doing all of these painting projects by hand with brushes and rollers:
However, these unfinished wooden walls were rough, and I was finally faced with a project that would require a paint sprayer. I decided to also try a new technique to save time and money on paint. Learn how I tintied the primer myself!
STEP 1: Clean
A clean surface is always the first step in a painting project. I chose to use a slightly damp, heavy duty brush and scrub down the surfaces. I removed dirt, dust, dead bugs and lots and lots of spider webs. You want the primer and paint to stick to the wood, and not the dirt and dust on top of it.

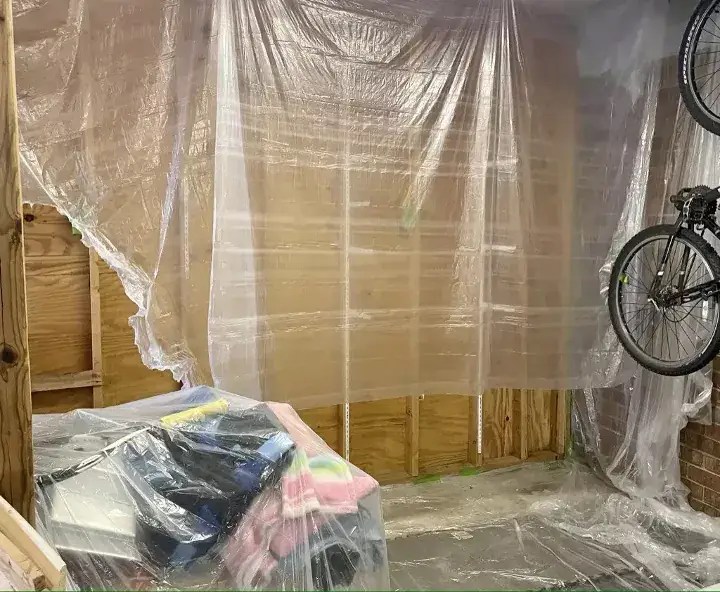
STEP 2: Hang Plastic
This step is the very reason it took me so long to buy and use a paint sprayer. Traditionally, I do very little paint prep. I like to cut in by hand and rarely tape off the edges. I prefer to spend a bit more time painting than prepping. But I knew I would have to spend significant time prepping on the front end with a paint sprayer, and was dreading it. I bought a 12 pack of plastic drop cloth sheets, and used painter’s tape to hang them.
STEP 3: Tint your Primer
I chose to prime the walls first before painting to seal in any stains and weatherproof. Primer is also cheaper than paint, so prepping the walls with primer saves on coats of paint.
I have recommended tinted primer in the past if you are going to using a dark paint color on top of it. I was planning on using Sherwin Williams Cyber Space on one wall and on the workshop cabinets, so using tinted primer would cut down on the number of coats of paint. However, I purchased a large 3 gallon bucket of Primer, and needed most of it white so I didn’t want to tint the whole thing.

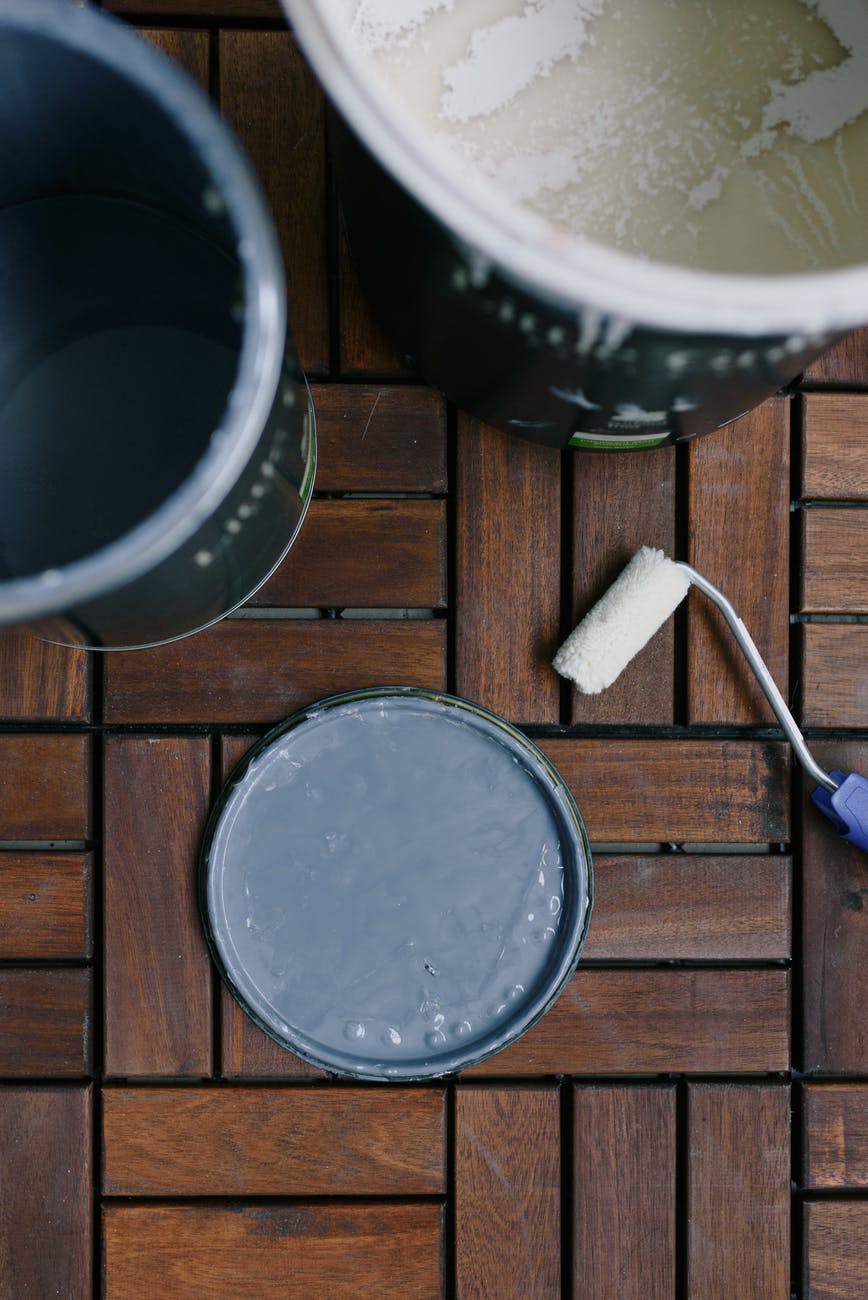
I decided to take matters into my own hands, and tint the white primer myself! I mixed 1 cup of the dark blue paint directly into a 1/2 gallon of primer, and mixed well.

The result? Only two coats of the dark navy paint were needed after using the tinted primer! I know I would have needed 3+ coats of the dark colored paint had I used plain white primer. You can have your primer tinted at the store, but if you forgot to ask or already have a large quantity of white primer on hand, this hack is priceless.
The photo above is a great example of how tinted primer can make your life easier when painting with a dark color. The top photo is the first coat of tinted primer I applied to the cabinets (white primer, tinted with Cyber Space navy paint). The bottom cabinets were primed then painted with one coat of paint.
So save yourself time and money, and start tinting your primer!


