The room with four walls that always gets overlooked. Out of sight, out of mind. And probably home to duplicates, things you no longer use and things easier stored than dealt with. That’s fine and dandy for a while, but there will come a time when your storage capacity is reached. Or you just get so tired of looking at unorganized junk, unable to walk from one end of the room to the other. You get my point. Whatever your breaking point, I’ve been there too. Let me help you achieve an organized garage, complete with plenty of unique storage solutions.

When we bought our Riverdale Ranch in 2020, we were moving from a series of very small apartments. We never had a garage to park cars in, much less space to store extra stuff. So when the previous homeowners left a significant amount of paint, tools, etc., we didn’t think much of it. We had very little of our own things to add to the mix and still had plenty of space.

Fast forward almost 2 years, 30+ DIY projects later, and no real organization plan. Our spacious garage was so full you could not walk through it. I didn’t love it, but also didn’t necessarily mind the “organized chaos”. I had a general idea where everything was, and I didn’t have to look at it everyday.
My husband, on the other hand, was at his wits end. He insisted I clean and organize the garage before I start another DIY project, so my hand was forced to address the elephant in the house.
Below, I’ll outline the 5 step process to a perfectly organized garage derived from a mixture of advice from the pros and real life experience.
STEP 1: Get everything out
And I mean EVERYTHING. No man left behind. This is a method I first learned from Marie Kondo on Netflix. You must remove everything so you can see not only the enormity of what you own, but also work to categorize, eliminate duplicates and purge excess. It’s amazing how much lighter you feel when you don’t have unnecessary items taking up space.

I waited until I had a 3 day window of decent weather and pulled everything out into the backyard. Our third car garage/workshop opens to our backyard which made this easier for me. You could also pull everything out into the driveway or move your cars and drag it all to the center. Choose what is easiest for you and most conducive to your space.
STEP 2: Categorize
Once everything is out, it’s time to organize everything you own into the following categories:
-Trash pile for things that are broken or of no use
-Donate pile for things that may be of use to someone else
-Sell pile for things that are still in great shape but you no longer need (if you aren’t interested in taking the time to sell, these could also be donated)
-Keep pile for the items that still serve you

Now Marie Kondo used to say you should only keep things that spark joy, similar to the feeling you get when holding a baby or seeing a puppy. Nothing in my garage sparked that level of joy for me, so she must have never organized a garage before. I don’t know. All I know is you should keep anything that still works and serves a purpose. Within the keep pile, you will also want to start organizing items into subcategories including:
-lawn & garden
-sports & workout equipment
-utility items (ladder and stepstools)
-bikes
-tools
-automotive
That way, you have a jump start on the next step when you create a plan to acheive an organized garage.

STEP 3: Create an Organized Plan
For this step, I called in the big guns. I scheduled a virtual consult with 2B Organized to help devise a plan. I won’t spill all their secretes, but they recommend organizing your garage by zone.
In my space we came up with a drop zone near the door, lawn and garden, sports, utility items, tools & DIY supplies, and automotive equipment. You’ll notice this list is very similar to the piles we organized our things into during Step 2.
I shared a birds eye view of the space with my 2B Organized consultant to help us decide which zones should go where. A rough sketch is helpful to put it all on paper and make sure everything is going to work where you want it. An organized garage was finally feeling within reach.


STEP 4: Clean
Before anything goes back in, I recommend giving your garage a thorough cleaning. I used a shop vac to suck up dust, dirt, and leaves from the ground and spiderwebs from the studs.
Our garage is not finished, which actually works in our favor when it comes to utility and storage. No more looking for a stud when installing something heavy because I can already see them. They are not covered in dry wall. It does look a bit unfinished, but I have plans to fix that. I also wiped down dusty surfaces and cleaned the inside of my cabinets.


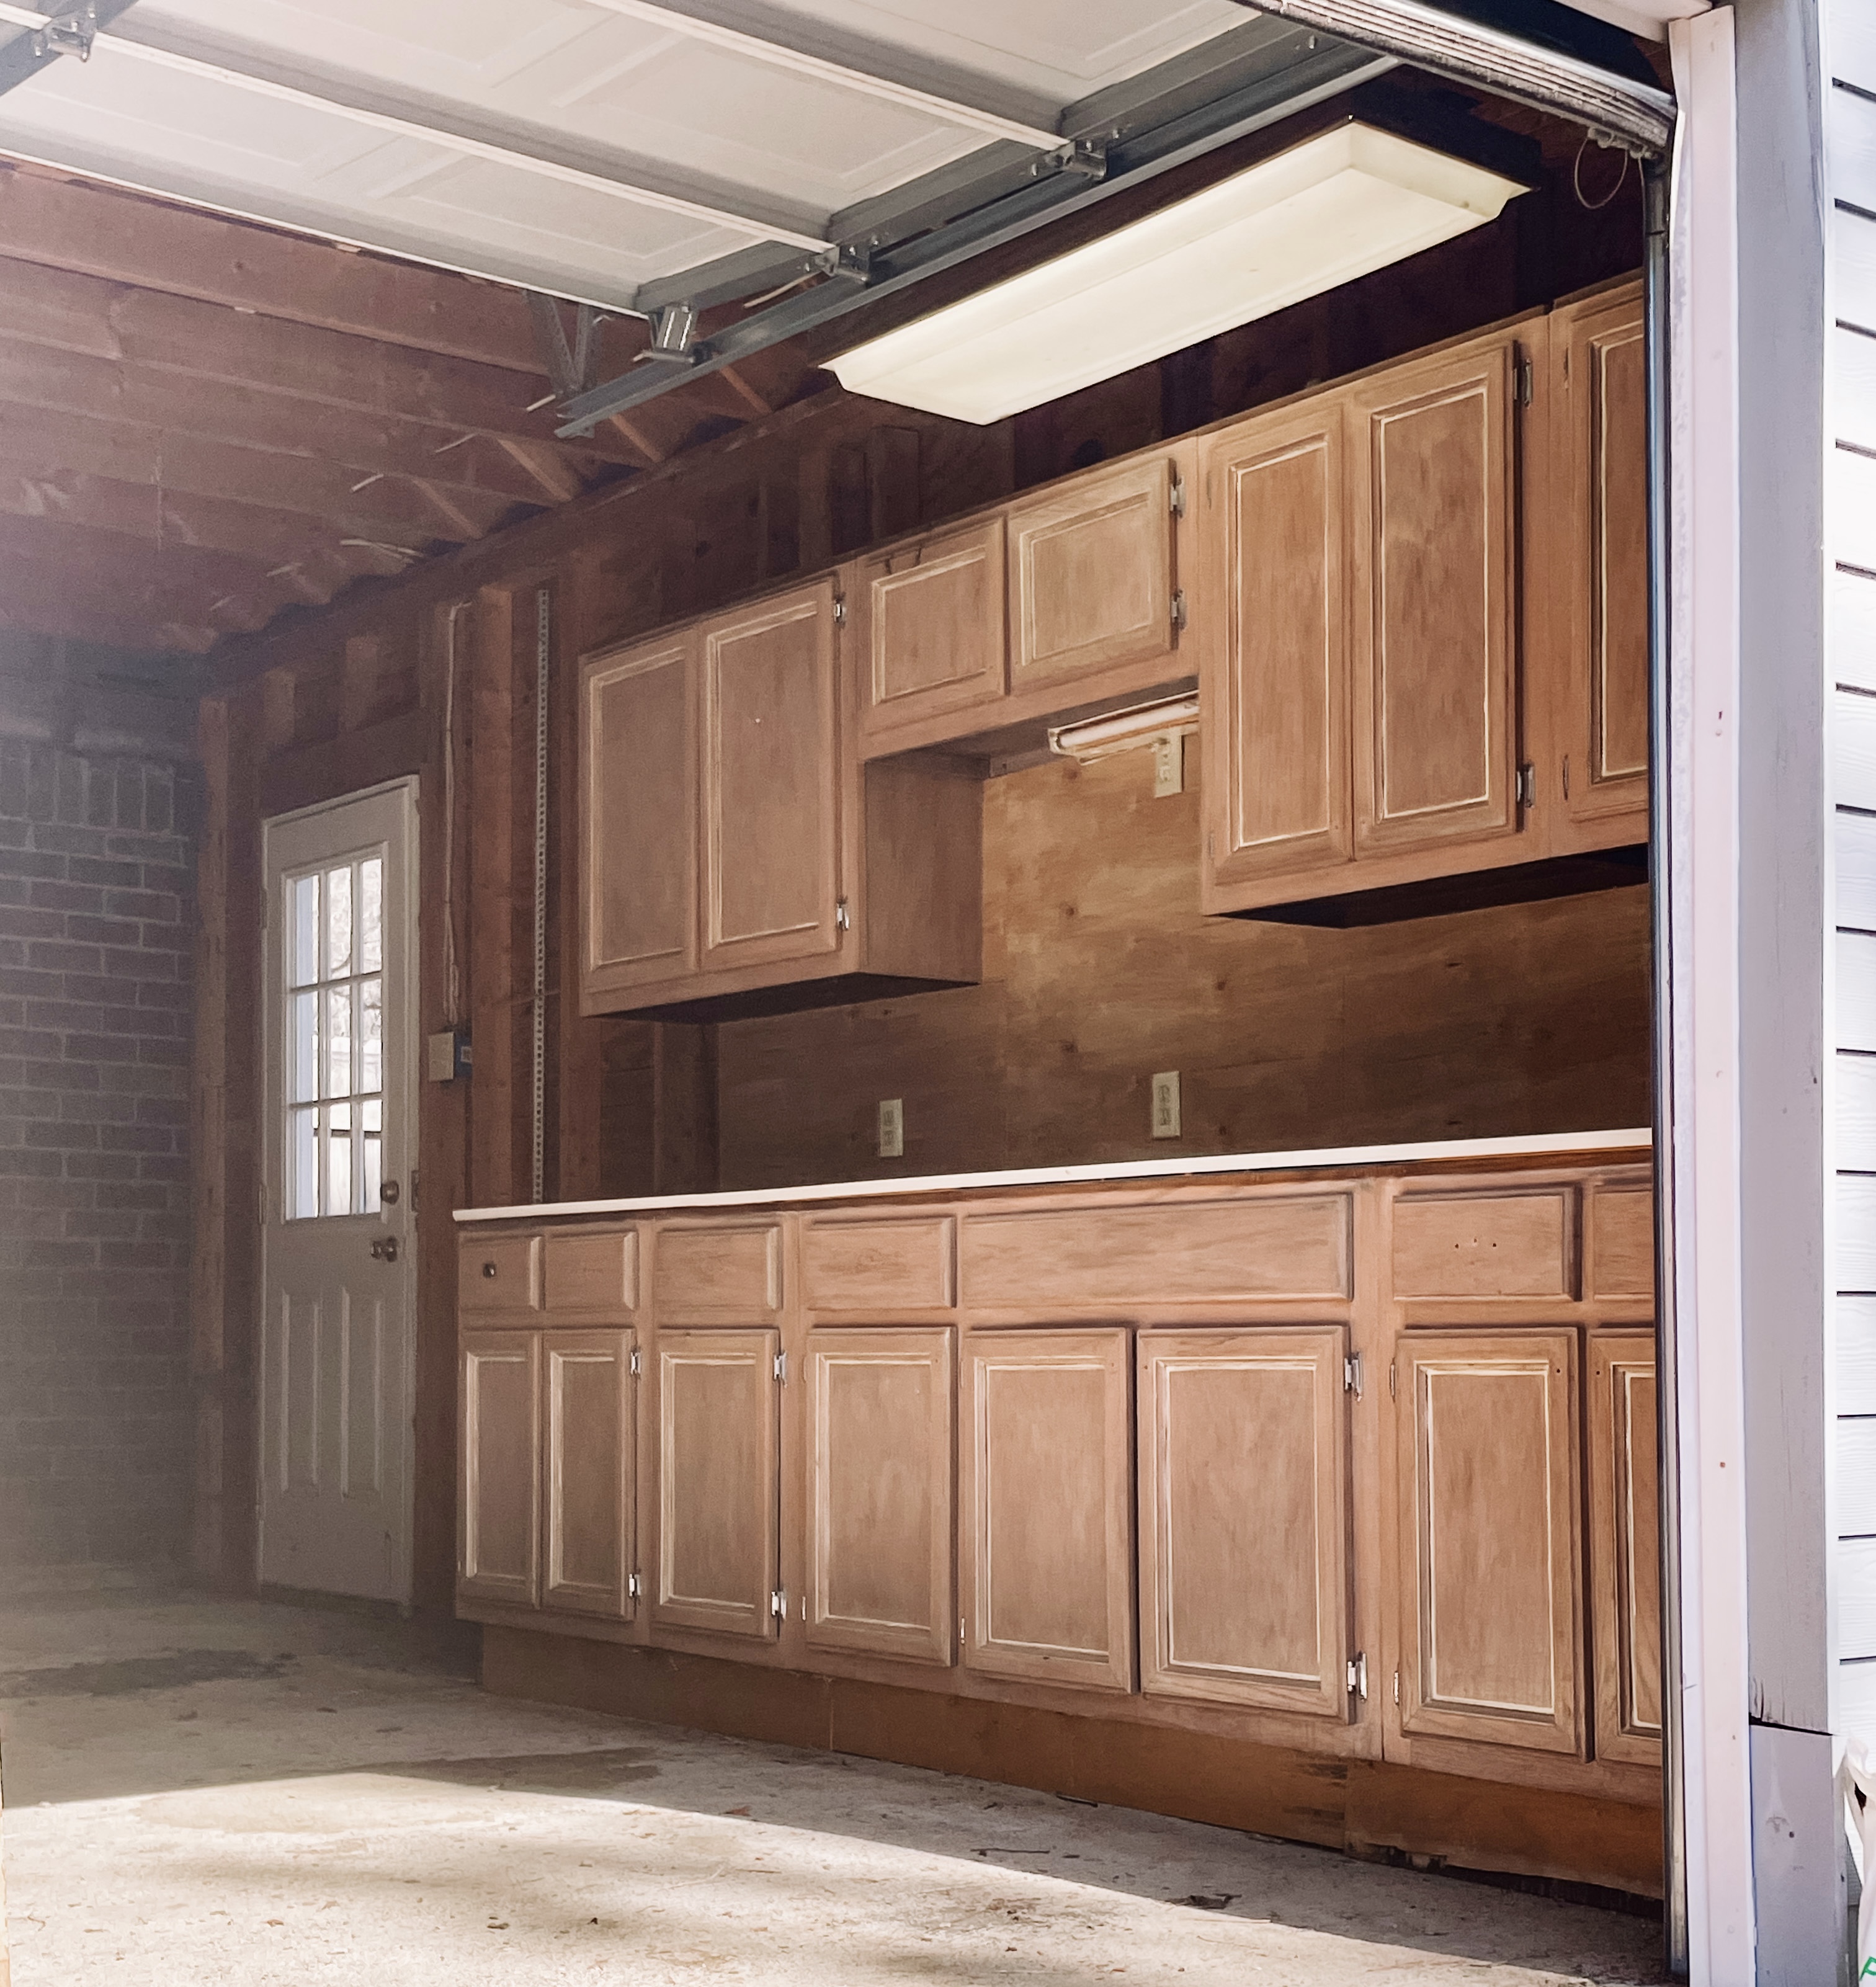
Heres a tip- old kitchen cabinets can find a second life in your garage. I’m 99% certain that the cabinets in our third car garage workshop area are old kitchen cabinets. They come in handy, and provide so much storage.
STEP 5: Execute the Plan
Now is your time to shine. Put all of your things into the organized garage zones you designated. Bikes on the wall, drawers of tools and garden supplies labeled, clear boxes of sports equipment lined up. See a list of recommended products to make your project go more smoothly here.

Make sure everyone in the family is on board with the new plan. I would also make sure you have determined that your plan flows by keeping the most used items accessible and allowing foot traffic to all areas of the garage. I recommend putting most used boxes/bins at eye level, while storing those less frequently used up high or down low.
As far as lumber and wood storage, I decided to keep my walls unfinished so I could store the wood in between the studs. I also had about 10 pallets I broke down and stored in an organized way. This alone made a huge difference in the amount of space available, and greatly improved traffic flow.


Before & After
Were you here for the Spring 2021 One Room Challenge? If so, you remember all the fun pallet wood projects I shared. The hanging wall planter is still one of my most popular posts to date. I guess everyone loves a little creativity and free wood.

I hope that wasn’t as bad as you thought it would be. All in all, it took me about three days to fully reorganize my garage. It may seem impossible and daunting in the beginning, but I just remembered what my dad always aid. The best way to eat an elephant is one bite at a time.
A few other spaces I’ve found great organization products for include:
–Supplies to organize your spices
–Favorite closet organization finds
–Affordable marble bathroom accessories
Enjoy the process,


