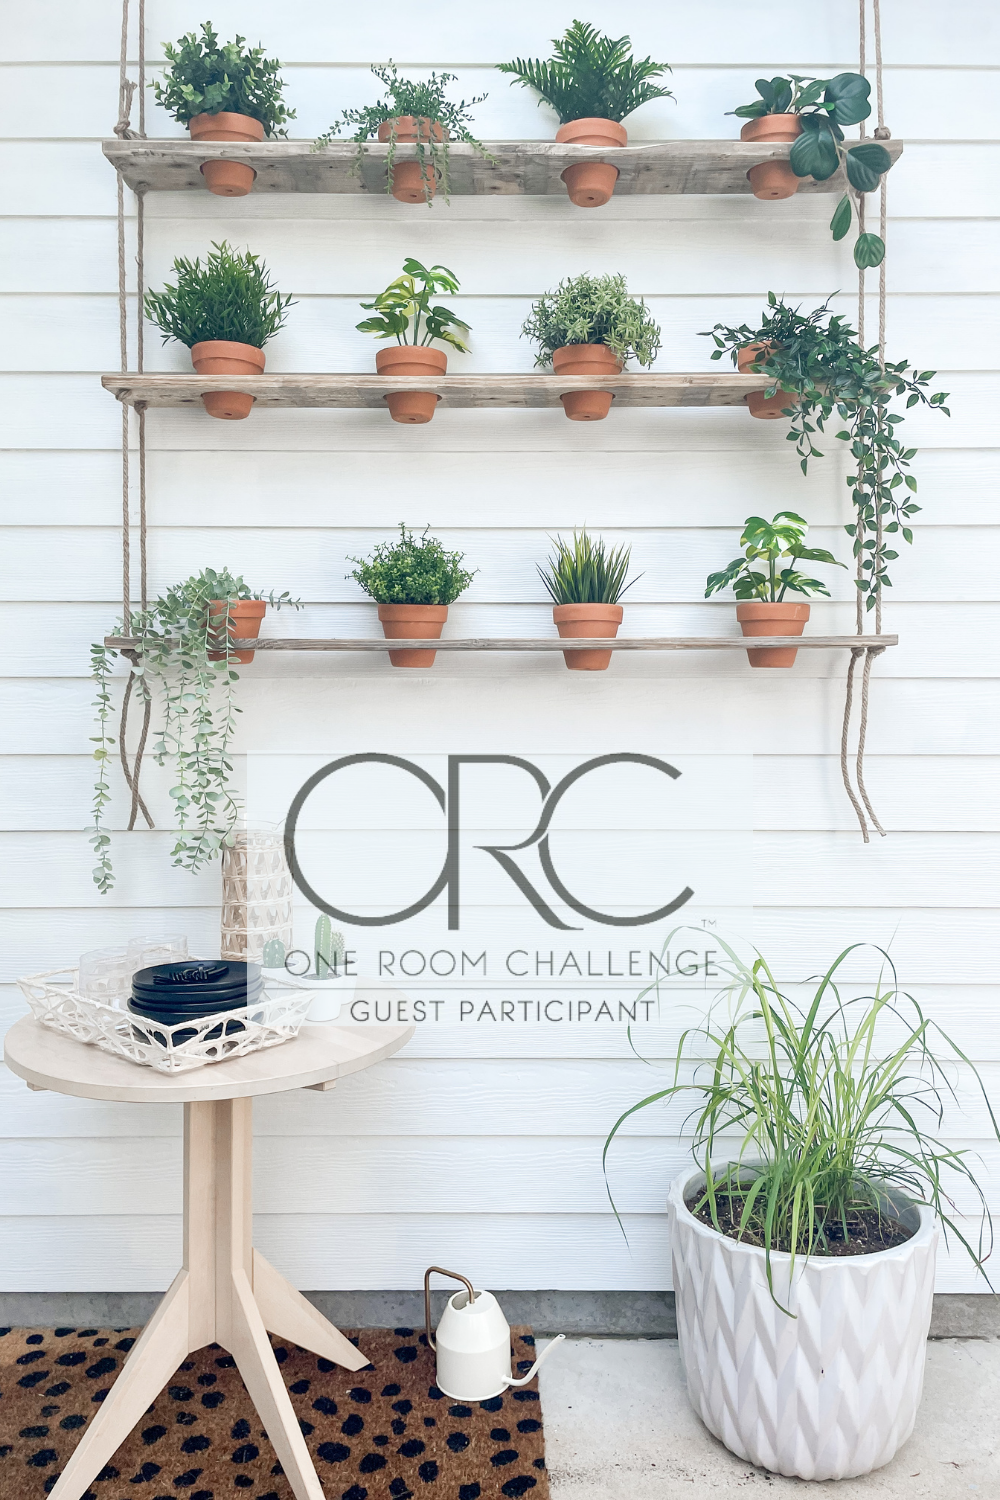
1 room. 8 weeks. Countless DIYers coming together to encourage and inspire. Sounds great, right?! Welcome to the One Room Challenge! Keep reading to discover my plans for my backyard patio One Room Challenge and how to make a DIY vertical hanging wall planter.
I’m so excited to be participating for the first time as a guest in the 2021 Spring season of the One Room Challenge (ORC)!

In case you are new, here is my “best case scenario/possibly over optimistic/very ambitious” project plan:
Custom Cornhole BoardsDIY Potted String Light StandDIY Wooden Pallet AC unit ScreenDIY Outdoor Shoe and Tool Storage- Paint Concrete Patio Floor
Re-paint Exterior Siding- DIY Vertical Living Wall Planter
- DIY checkerboard tabletop
It’s crazy to see all of these steps being crossed off- time is flying! And our backyard is really coming together. This week’s project is so fun. Although it uses some power tools, I would still say it’s beginner friendly- I was able to complete it in two days!

This post contains affiliate links for your convenience which may reward me in the event of a sale. Note that I only recommend tools and products I have personally used and loved.
SUPPLIES TO CREATE A VERTICAL HANGING WALL PLANTER
-Pallet wood- you could also buy lumber if necessary but this will run up the cost of the project
-Hammer
–Mask
-Pencil
-Rope
–4X4 Terracotta Clay Planter x12
-Plants to fill planters- I used a variety of faux potted greenery from Ikea (shh, don’t tell!)
–3-1/2 in Hole Saw (or 3-1/2 in diameter circle to trace)
STEP 1: Tear Down Pallets
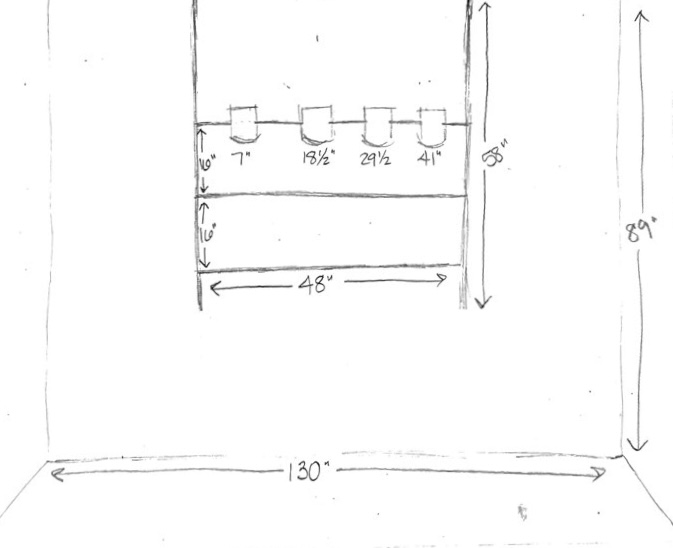
I needed three, 48″ long wooden boards to create my vertical hanging wall planter. Since I had some pallet wood leftover from Week 4’s DIY pallet wood crates, I used three of the longer pieces. In case you’ve never taken apart pallets before, here is a step by step tutorial to help.
This is a chore. It really depends how your pallets were put together and how old they are. On average, it took me 8-10 mins to pry off one board from the pallet. I will add that my husband is able to complete it much faster, which is frustrating. But know it is doable without a lot of upper body strength with the right technique.
I started by standing the pallet up on one end. I used the pry bar to get underneath the board, then hammered it in deeper. I moved the pry bar at an angle to loosen the nails. Next I followed with the end of the hammer to get more leverage to loosen. Once I had that side loose, I stood up the pallet on its other end and did the same thing.

Last, I would lay the pallet flat and work on the nails in the middle of the board using both the pry bar and hammer. It’s so important to go slow, pay attention to the location of your pry bar and nails, and try not to be too aggressive or keep prying if you hear or see the board splitting. I’m going to be honest, I couldn’t get all of the boards off in one piece. It’s not easy, and is physically exhausting! But I’d still say the DIY is worth it to build your own vertical hanging wall planter, especially considering the price of wood these days.
STEP 2: Measure & Mark
Now that you have your wood, it’s time to make measurements to mark where you will need to drill. On each board, you will need to mark four X’s (two on each end), to drill holes to run the rope through to hold the wood. I measured 1″ in both directions, and marked an X.

You will also want to measure to decide where you want each planter to go. I decided to put mine about every 11 1/2 inches.
I intended to use this 3-1/2 in Hole Saw to make the holes for the pots to fit down into. However, I did not realize I needed an additional attachment along with the saw piece to use it with my drill. Instead, I decided to use the hole saw as a guide to trace around, then cut out the holes with my jigsaw that I already owned. This strategy may have taken a bit longer, but it was completely doable.

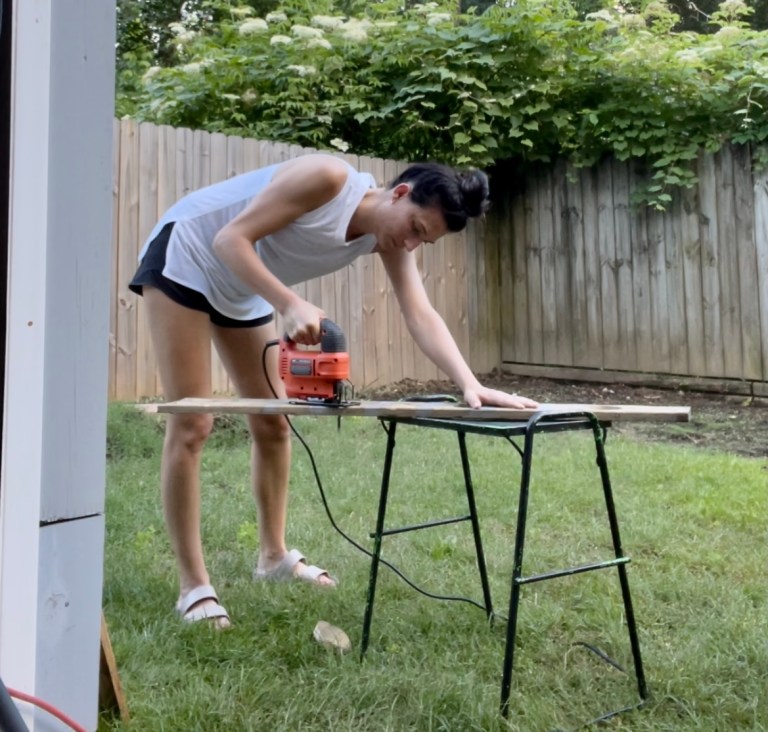
STEP 3: Cut planter holes and rope holes
I used a drill and a bit the same size as the diameter of the rope to drill four holes per board, two on both ends. Then, I used my jigsaw to cut around the holes I had drawn to house the terracotta planter pots. I cut four circular holes per board.
STEP 4: Sand
About halfway through this DIY vertical hanging wall planter, I haven’t lost you yet, have I? Once all of the holes were drilled and cut, I used a mouse sander to go over the sides and edges of my boards. My goal was not silky smooth, just enough to take away the risk of splinters. I ran 80 grit sand paper across all surfaces of each board using my mouse sander.


STEP 5: Hang
Once your boards are sanded, its time to hang your vertical hanging wall planter! I measured my wall, and marked the center. Then, I laid out my boards to mark where the cup hooks should be screwed into the ceiling. I used a drill bit to make a hole, then screwed in the hooks by hand.

Once the hooks were in, I measured and cut the rope. I used rope I found at my local Dollar Tree. I looped the top around the cup hook, then ran the bottom through the holes drilled in the wooden boards. I tied knots in the rope underneath the boards to hold them in place.

STEP 6: Decorate
You may have to do a bit of tweaking here and there to make sure your boards are hanging straight but congratulations, you’ve built your own vertical hanging wall planter! It’s time to decorate. You could definitely plant real herbs, flowers or plants in your pots. But with all of my raised garden beds full of vegetables and herbs (read more about gardening for beginners here), I didn’t want to overextend and plant more than I could manage and take careful care of. So I opted for faux, and I’m not sorry. I found an excellent variety of faux greenery at Ikea in small black pots that fit perfectly inside my 4X4 Terracotta Clay Planters.


So far in the Spring 2021 One Room Challenge I completed DIY custom cornhole boards during Week 2, a DIY potted string light stand during Week 3, a DIY wooden pallet AC unit screen, shoe and tool storage during Week 4, and re-painted the exterior during Week 5.
What do you think? This DIY is doable in a day or two, and brings a decorators touch to outdoor space! Overall, it was a budget friendly update, and with the price of lumber right now who doesn’t love free wood? Don’t forget to pin this tutorial for easy access later, and share and tag me if you decide to make your own so I can see.


