An ongoing post to document my first efforts at a backyard garden. I have a number of raised beds where I have planted herbs and vegetables in Memphis, TN. Read on to learn Gardening 101 with me as a beginner, writing to beginners!
This post contains affiliate links for your convenience which may reward me in the event of a sale. Note that I only recommend tools and products I have personally used and loved.
Basic Terminology: Gardening for Beginners
Types of Plants
Annual: plants that grow, flower, and make fruit in one year. Most vegetables are “annuals”. Often available in seed or plant form. Cannot tolerate freezing temps.
Biennial: plants that take two years to grow, bloom and seed
Perennial: Plants that will live more than two years. Often only available in plant form. Hardy perennials can tolerate frost and freezing temps, may not thrive in tropical climates.
Types of soil
Sand: runs through your fingers quickly, contains the largest particles. Drain and lose nutrients quickly. Plants will wilt if they lose too much water. Can be improved with compost.
Loam: Crumbles easily, but does not run through your fingers. Happy medium of particle sizes, the best type of soil for most garden plants.
Clay: will form a sticky ball if picked up and rolled in your hand. The most dense soil type, does not drain well and roots have difficulty growing. Too much water retention will cause plants to wilt. Not recommended for most crops. Can be improved with compost.
“An educated gardener is a successful gardener”
-bURPEE
How to prepare: Gardening for Beginners
Beginner Gardening Considerations
First, select your area. Burpee recommends choosing an area that is visible from the house so that you can see plants that may require attention, while also enjoying it from your windows. Make sure your planned garden area is nearby a water source to make watering easier. Don’t place the garden too close to large trees that may have root systems that extend out and under- they will steal water from your plants. Ensure your area has good soil. According to Burpee, good soil is rich soil high in organic matter (i.e. compost) that drains well while retaining some moisture. As we learned earlier, the best soil texture is “loam”. You can read more about soil and composting here.
My Experience: Gardening for Beginners

I have 5 raised beds that had been untouched and overgrown for at least a few years. In a couple weekends I was able to turn the beds that looked like the one on the left, to the one on the right. This tool set is helpful, especially the cultivator hand rake.
You want to make sure to break up all the roots beneath the soil and throw them out, including the weeds. I used the cultivator hand rake to break up everything in the soil. It’s important to “turn over” the soil as well, bringing the soil from underneath to the top.

We knew the previous home owner had composted and told us the soil in all the beds was nutrient rich. As I was tilling, I found lots of worms which is a good sign. Depending on your soil, you may need to look into how to add nutrients either by composting or through other routes.
Day 1: April 3, 2021
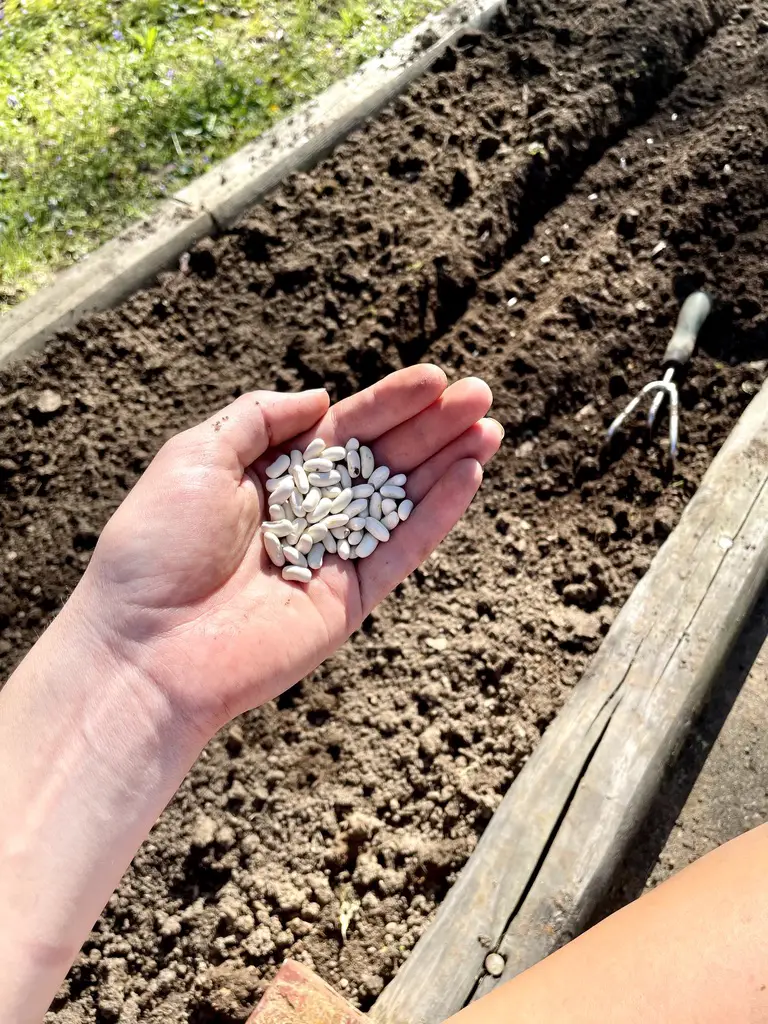
After the raised beds were tilled and turned over, it was time to plan out my space. I had a few veggies and herbs in mind, and roughly spaced them out on paper to make sure everything would fit and work together. The only seeds I planned to use were green beans and onion bulbs, all of the other vegetables and herbs I planned to purchase as small plants.
When I got to Lowe’s, the enormity of the plant options overwhelmed me! I saw so many veggies and herbs I wanted to plant that I decided to expand my initial plan for only 2-3 beds to using all five. The plants I ended up with were:
-Chives -Cilantro -Parsley -Basil -Dill -Lavender (mosquito repellent)
-Rosemary -Kale -Broccoli -Catnip (mosquito repellent) -Cherry tomatoes

To plant, follow the directions on each plant or seed packet. For the seeds, I tilled a small row lengthwise down the bed, and laid the seeds every few inches, then covered them back up with dirt. For the plants, it’s important to maintain good spacing and make sure to dig deep enough to cover the plants existing root systems underground. But you don’t want to cover any leaves with dirt, make sure they stay above the surface. It’s important to push down and pack the dirt around the plant once it’s in the ground to ensure a snug fit.
After you have sewed the seeds and re-planted the plants, give them all a good watering. According to Burpee, most garden plants need 1-2 inches of water every week. You can use a rain gauge to determine how much water you are getting naturally from rain.
Below, I’ve labeled where all my vegetables and herbs ended up. All of my beds get full sun for the most part (the pictures below were taken in the evening).


Week 1: April 10, 2021
I added lemon balm (mosquito repellent) and mint to the end of the long herb bed this week to fill the last two spaces. I’ve been given advice that herbs spread and are best potted. Here’s to hoping that planting all the herbs together in defined beds will mean they spread to fill the space, but then stop when they start running into each other. Fingers crossed!

“To plant a garden is to believe in tomorrow”
– Audrey Hepburn


So far the herbs are all looking good and growing slightly. I have 24 onions peaking through, and 2 green beans! Not bad after 1 week. I water them any time the soil looks dry, and may have to start watering daily as it gets hotter. Also, did you notice the little garden markers?
Find the DIY tutorial here for a free upgrade from the paper labels that come with the plants. You may think you can keep everything straight without labels, but it all starts to blend together if you’ve planted a lot. The cilantro and parsley look very similar.
Week 2: April 17, 2021


I counted 39 onions and 17 green beans popping up this week! The herb bushes are all noticeably larger as well. As I’ve continued to research, I’ve learned that the best time to water is in the morning or evening. That way, the hot midday sun does not make the water evaporate too fast, and the plants have longer to soak it up. I also learned that it is best to soak the plant at ground level, where it’s easier for the water to get down into the roots. I was giving the plants a shower from above, which is not ideal! If the leaves get too much of the direct water, it will not soak down into the roots which will lead to a shallow root system and stunt the growth of the plant.
Let me know if you have any questions, we can figure this out together!


