Resist the fast furniture & decor trend, and instead learn how you should be thrifting for your home. Shopping secondhand is better for you, the environment and your pocketbook! Discover how to easily update thrifted art with a bit of paint to customize it for your space.


If you’ve been an Emily Rone Home follower for long, you probably know that “thrifting” is a verb around here. Shopping secondhand is my absolute favorite way to decorate my home and incorporate one of a kind, timeless items.
I also love the opportunity to be creative when sifting through old things to find the diamond in the rough. Often, I find exceptional pieces to serve as the foundation for a fun DIY project. In the past, I have removed the cover of an Ernest Hemingway book and used twine to tie the pages up like a package! This accessory in a booth at an antique mall was priced at $15, my version was $1 for the book and some twine I already had on hand.
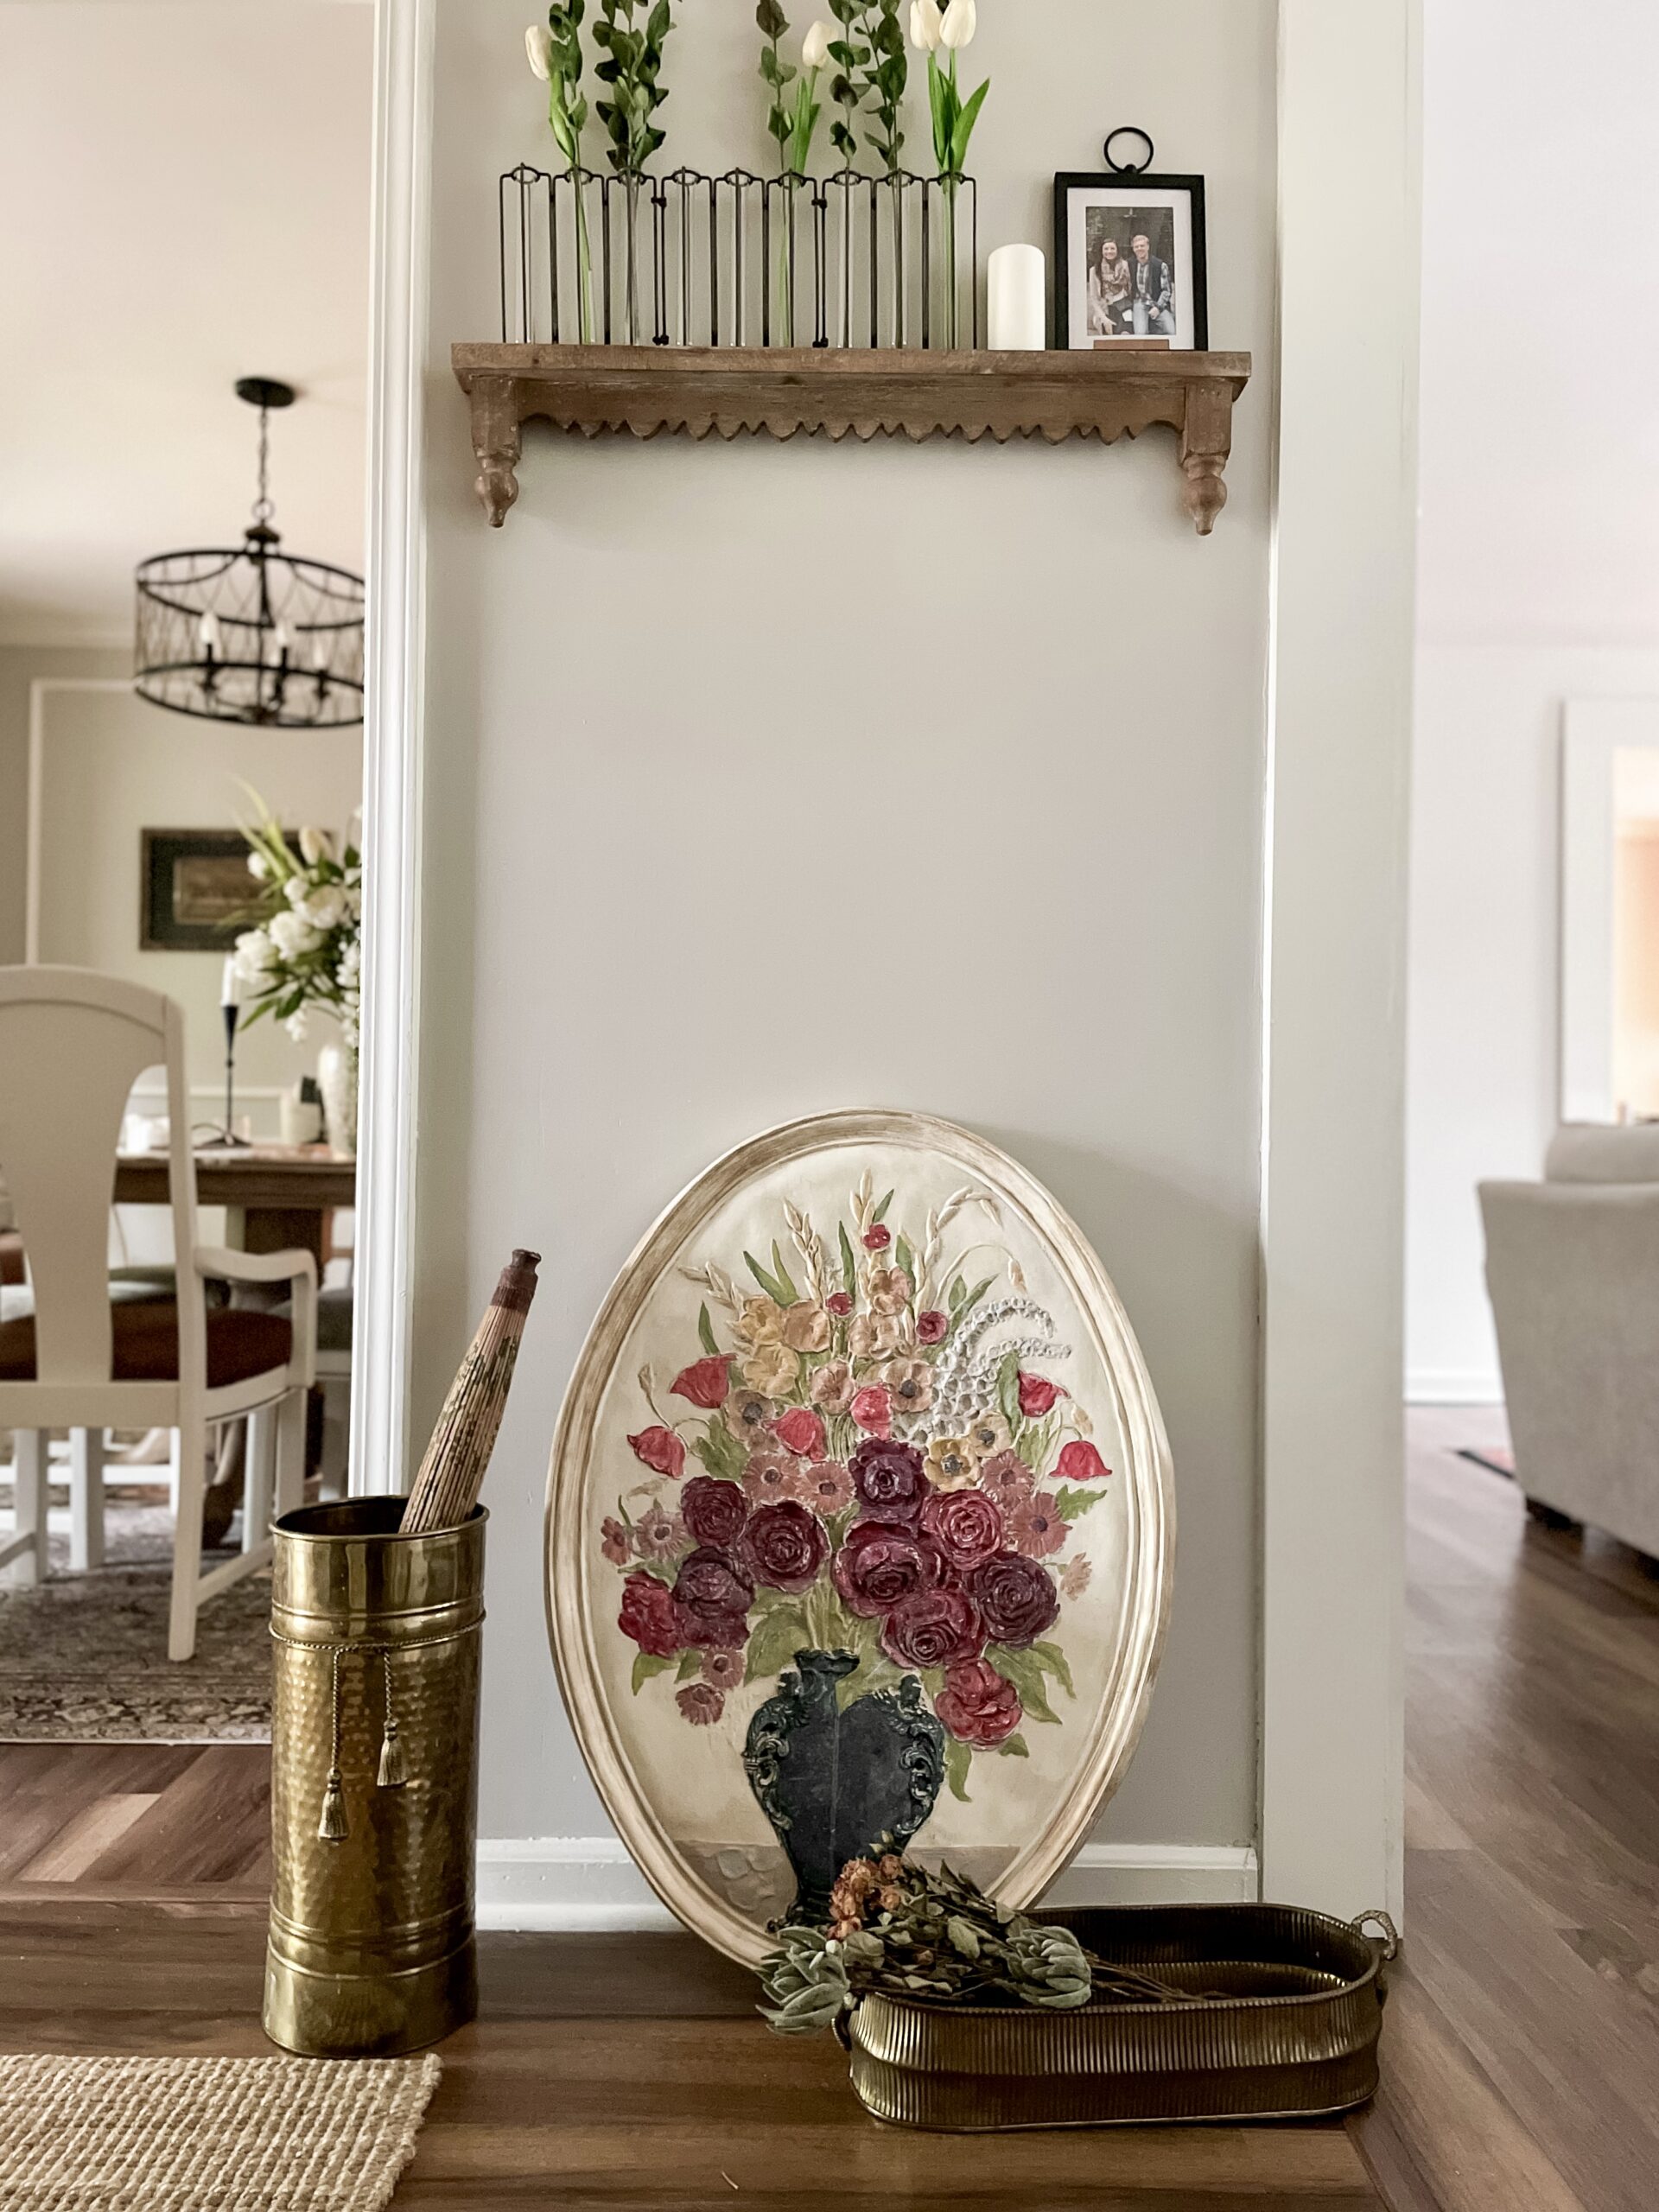
Today, we are going to talk about how to paint a 3D floral mural. I found this gorgeous textured wall art at an estate sale (for 50% off I might add because it was the last day of the sale). It would be great as is in some spaces, but it wasn’t popping like I had hoped against my white living room walls. Keep reading to discover how I turned this secondhand find into wall art customized to fit perfectly into my space.

Look at this gorgeous find!
Step 1: Clean the Surface
Because this was an estate sale find, I wanted to take the time to create a clean surface free of any dirt, grease or debris. You want to give the paint a nice clean surface to adhere to.
I sprayed a combo of white vinegar and water and wiped clean with a paper towel. Give it a bit of time to dry while you gather your paint supplies.

Step 2: Update Thrifted Art with Paint
Draw inspiration from the room you are hanging your art in when choosing your color scheme. This hand woven wool rug (also an estate sale find!) served as my inspiration. I pulled blues, reds, golds, and greens from the rug to paint this 3D floral bouquet.
Want to learn more about estate sales? Discover my 5 top tips for making the most of this type of secondhand shopping here.

Inspiration rug
I used acrylic paint, craft paint brushes and plastic pain pallets I already had on hand. I had fun mixing my own shades to match the colors in my rug from a few primary paint colors I already owned. Have fun with this step and don’t be afraid to make mistakes. It’s just paint! It can always be fixed or modified if you don’t like where the project is heading.

Step 3: Whitewash
As mentioned in the previous step, remember you can always change direction or modify the project if you don’t like where it is going. When I was done painting the bouquet, I decided it was now too bright and bold for my space. I needed to find a way to tone it down a bit.

I decided to create a whitewash using a bit of white acrylic paint mixed in water and brushed it across the entire surface. This gave it a warn and weathered appearance that I loved. Project complete!
Love this DIY? Pin it to save it for later here!

There is nothing more fun than filling your home with decor that is unique and timeless. This art and rug are both estate scale finds. Never been to an estate sale? I have an entire dedicated post here to answer you most frequently asked questions so you can start shopping sustainably too!
Enjoy the process,


