Learn how to create DIY photo tile coasters easily and affordably! Stay with me as I walk you through this step-by-step tutorial, complete with supply links for your convenience.
This is one of my favorite DIY gifts for Christmas, Mother’s Day, Birthdays and more! It is also extremely affordable, easy and thoughtful. Instead of paying to order a custom photo gift, let me help you create your own for a fraction of the price. Stay with me to learn how to create this perfect personalized photo gift.
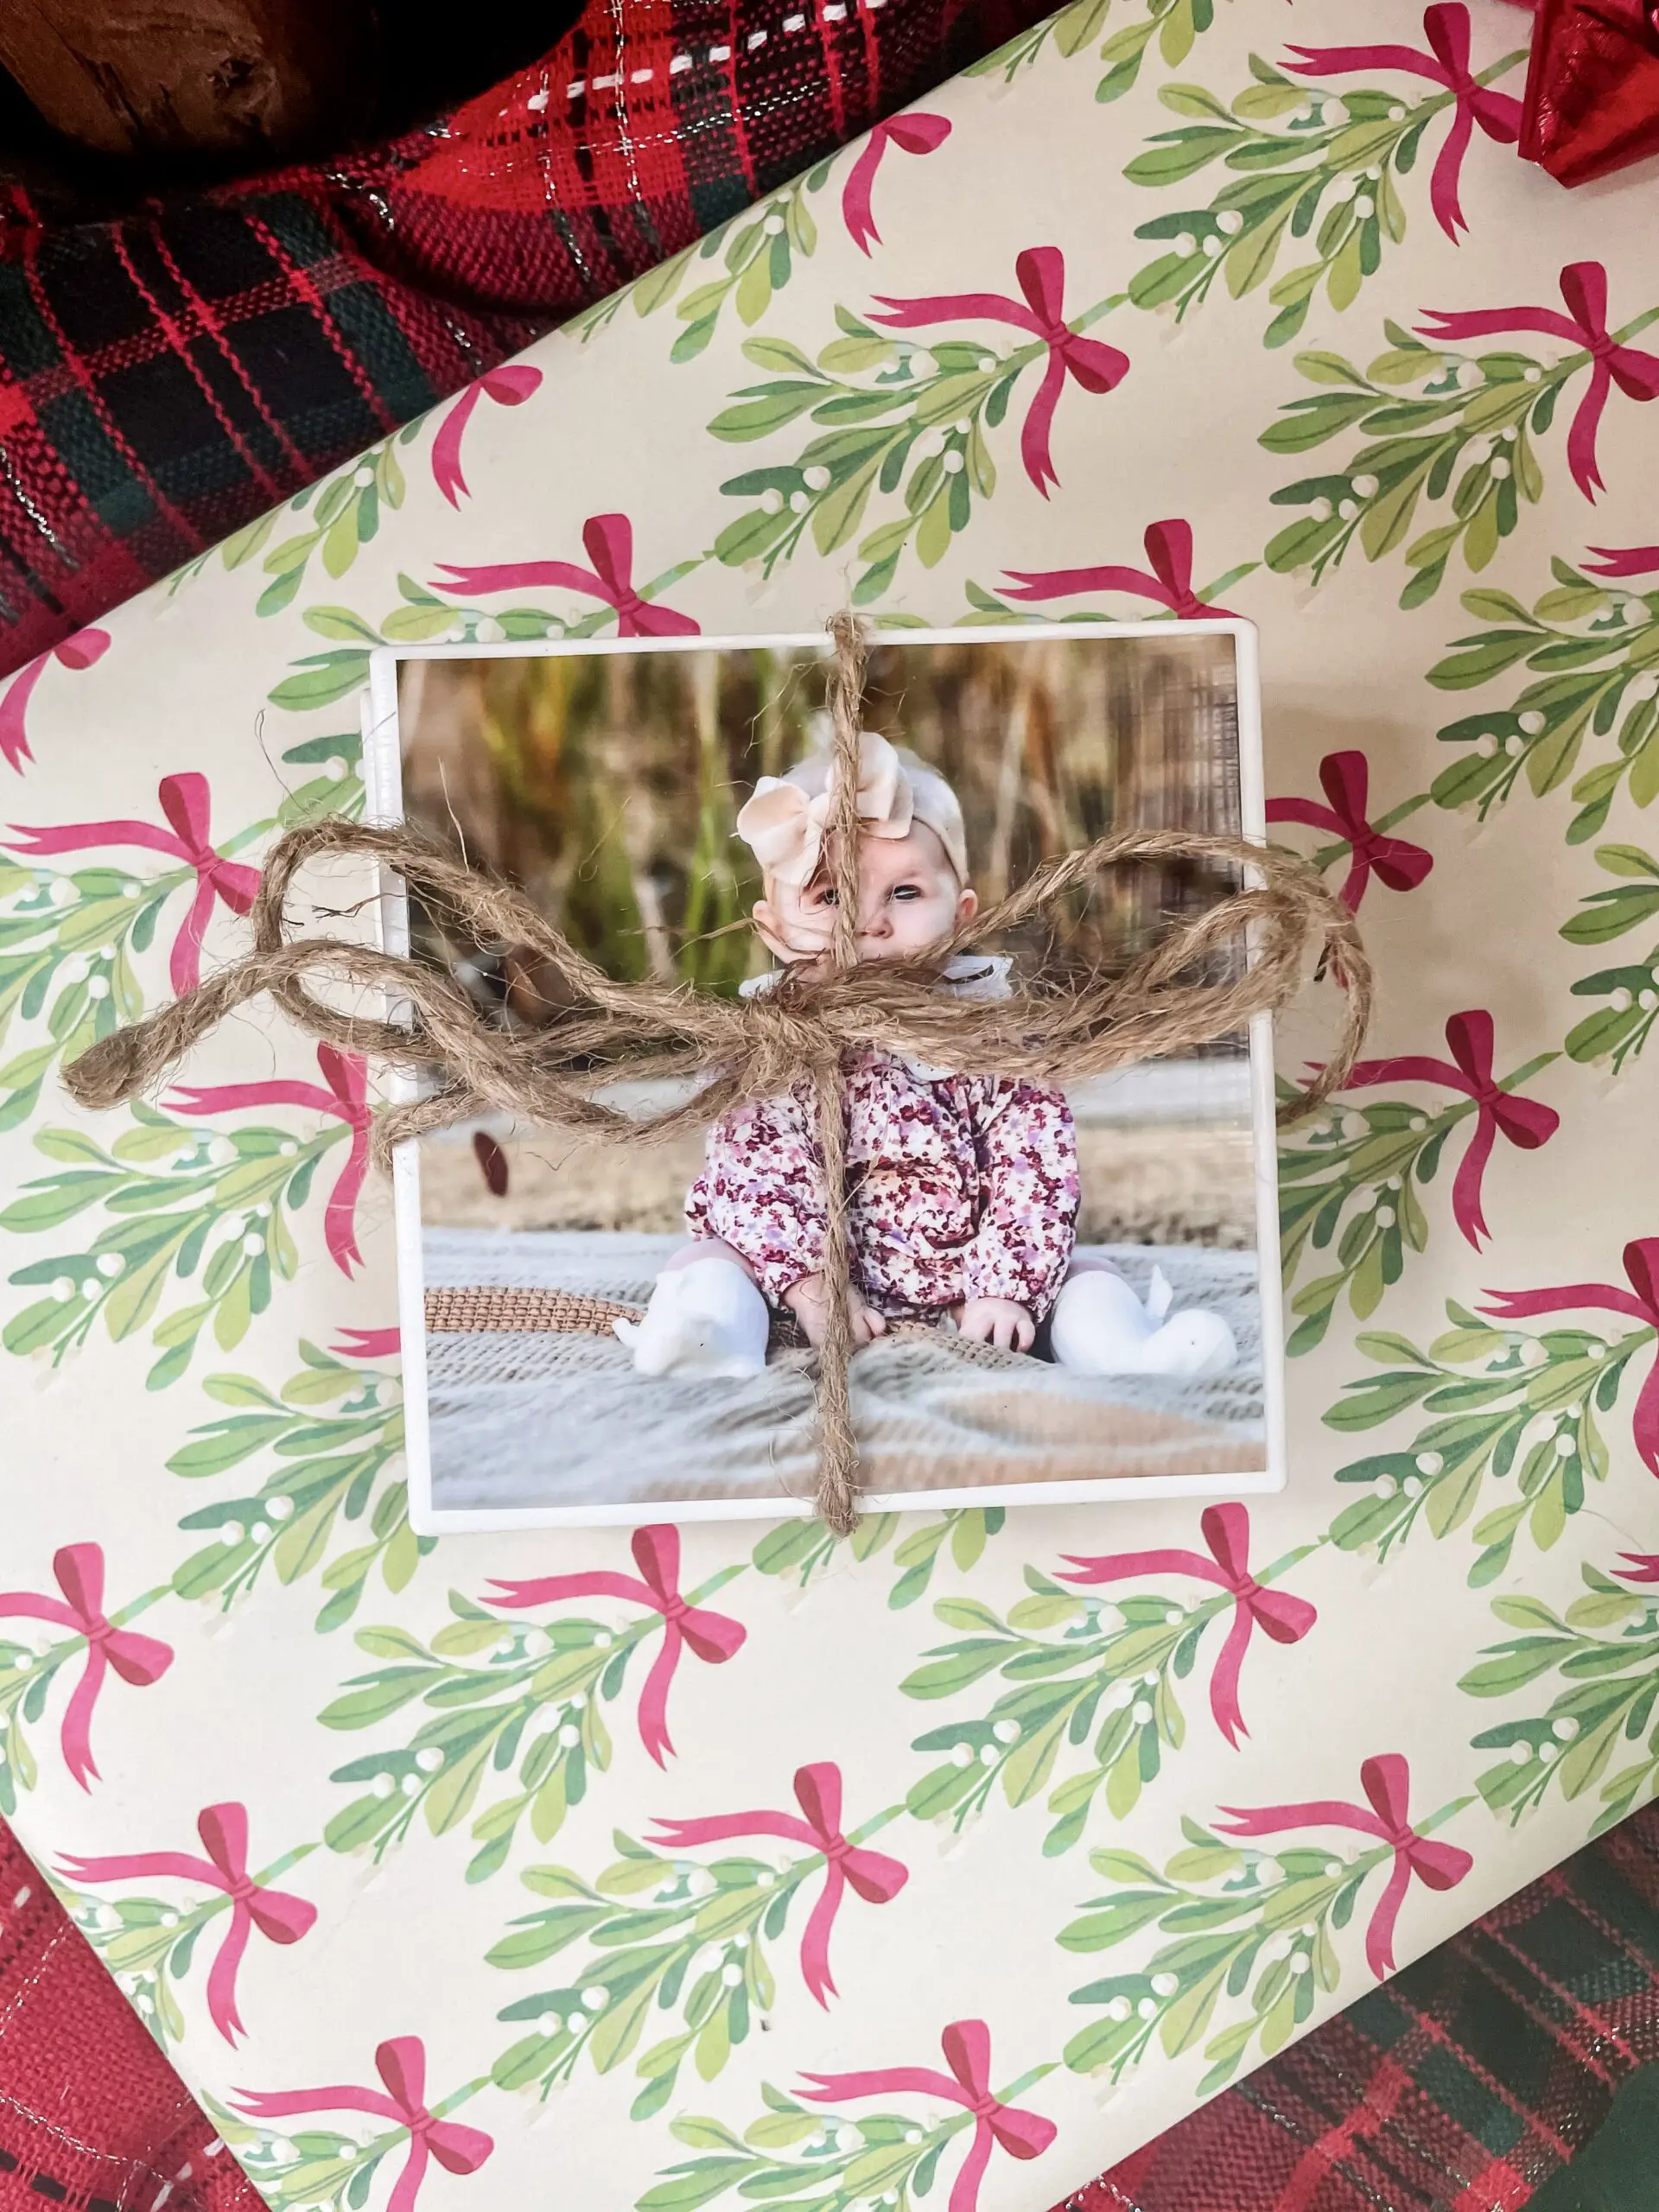
This is now the third set of coasters I have made to gift, so I have the process perfected. They are beloved by grandparents (and parents too!). You could even make pet coasters a friend, collegiate school mascot themed coasters for a sibling, or use scrapbook paper for more generic & decorative coasters. The sky is the limit. For this set, I featured my baby girl on a set to gift to her great grandmother.
Let’s start with the supplies to make these simple DIY photo tile coasters!
Want to pin this tutorial for later? Save it on Pinterest here!

Supplies to DIY photo tile coasters
-4×4 ceramic tiles from Home Depot or Lowe’s (mine were 13 cents/piece!)
-4×6 photo prints trimmed down to 4×4 size
-felt sheet to use on the back
-Elmer’s multi-purpose Spray Adhesive
-Scissors

Step 1: Gather Supplies
First up, you want to gather all your supplies. I ordered the photos through the Walgreens app for quick pick up. 4×6 prints were 39 cents/piece, so the total for 4 was $1.56. You can also choose to re-size your photos to print as 4×4, but it was a bit more expensive so I decided to cut mine down myself.

Next, I headed to Home Depot for the ceramic tiles. In the flooring aisle, I located the most inexpensive white square tiles I could find. At 13 cents/piece, the total for 4 was 52 cents. I told you this process was inexpensive!
Finally, I found a set of multi colored felt sheets from Dollar Tree for $1.25. The felt will be used on the back of the tile coasters to prevent breaking, scratching, etc. I linked additional options from Amazon for both the felt and tiles here, although more expensive than what I was able to find at Home Depot & Dollar Tree!
I had the rest of the supplies on hand from past craft projects, so my all in expenditure for a set of 4 of these coasters was about $3.50. Can’t beat that! These DIY photo tile coasters are truly the perfect affordable yet thoughtful gift.
DIY Photo Tile Coasters Step 2: Cut Everything to Size
Your ceramic tiles should be 4×4 in size, so you need to cut the photos and felt sheets to match. I chose to go with the neutral beige felt sheet, and used the tile to trace a 4×4 square outline to cut out. I then used the felt square to trace onto my 4×6 photo to trim off 2′ from the top and bottom.


You could easily use a good pair of craft scissors, or a paper trimmer with a mat and ruler lines for more precise cuts if you have one.
Step 3: Adhere your Photos
Next it’s time to adhere your photos to the ceramic tiles. I used my Elmer’s Spray Adhesive I purchased from Hobby Lobby (but can be easily bought here from Amazon) to quickly position the photo in the center.
I took the tiles and photos outside to spray the adhesive to ensure good ventilation and make sure the sticky overspray didn’t end up anywhere in my house. Once it dried to the touch, I followed it up with 3 coats of Matte Mod Podge. Each coat took ~1 hour to dry. You want to make sure it’s dry to the touch before adding the next coat. As pictured, the Mod Podge goes on translucent, but dries completely clear.

I applied the Mod Podge with a foam brush in very thin coats. Since your brush strokes will be visible, be sure to brush on as evenly as possible. The first coat I brushed on horizontally, the second vertically, and the third horizontally again to give it a more uniform texture. The Mod Podge helps seal the coasters, protect the photos and give them a layer of waterproofing.
Step 4: Glue the Felt to the Back
I used hot glue to adhere the felt to the back of the DIY photo tile coasters to help them safely slide across any surface. Run a bead of glue around the edges and a few lines through the middle, then press the felt on.


And that’s it! 3 steps and $3.50 for a set of coasters to make the best Christmas gift for my daughter’s great grandma. Let me know if you have any questions, I would love to help!
Enjoy the process,


