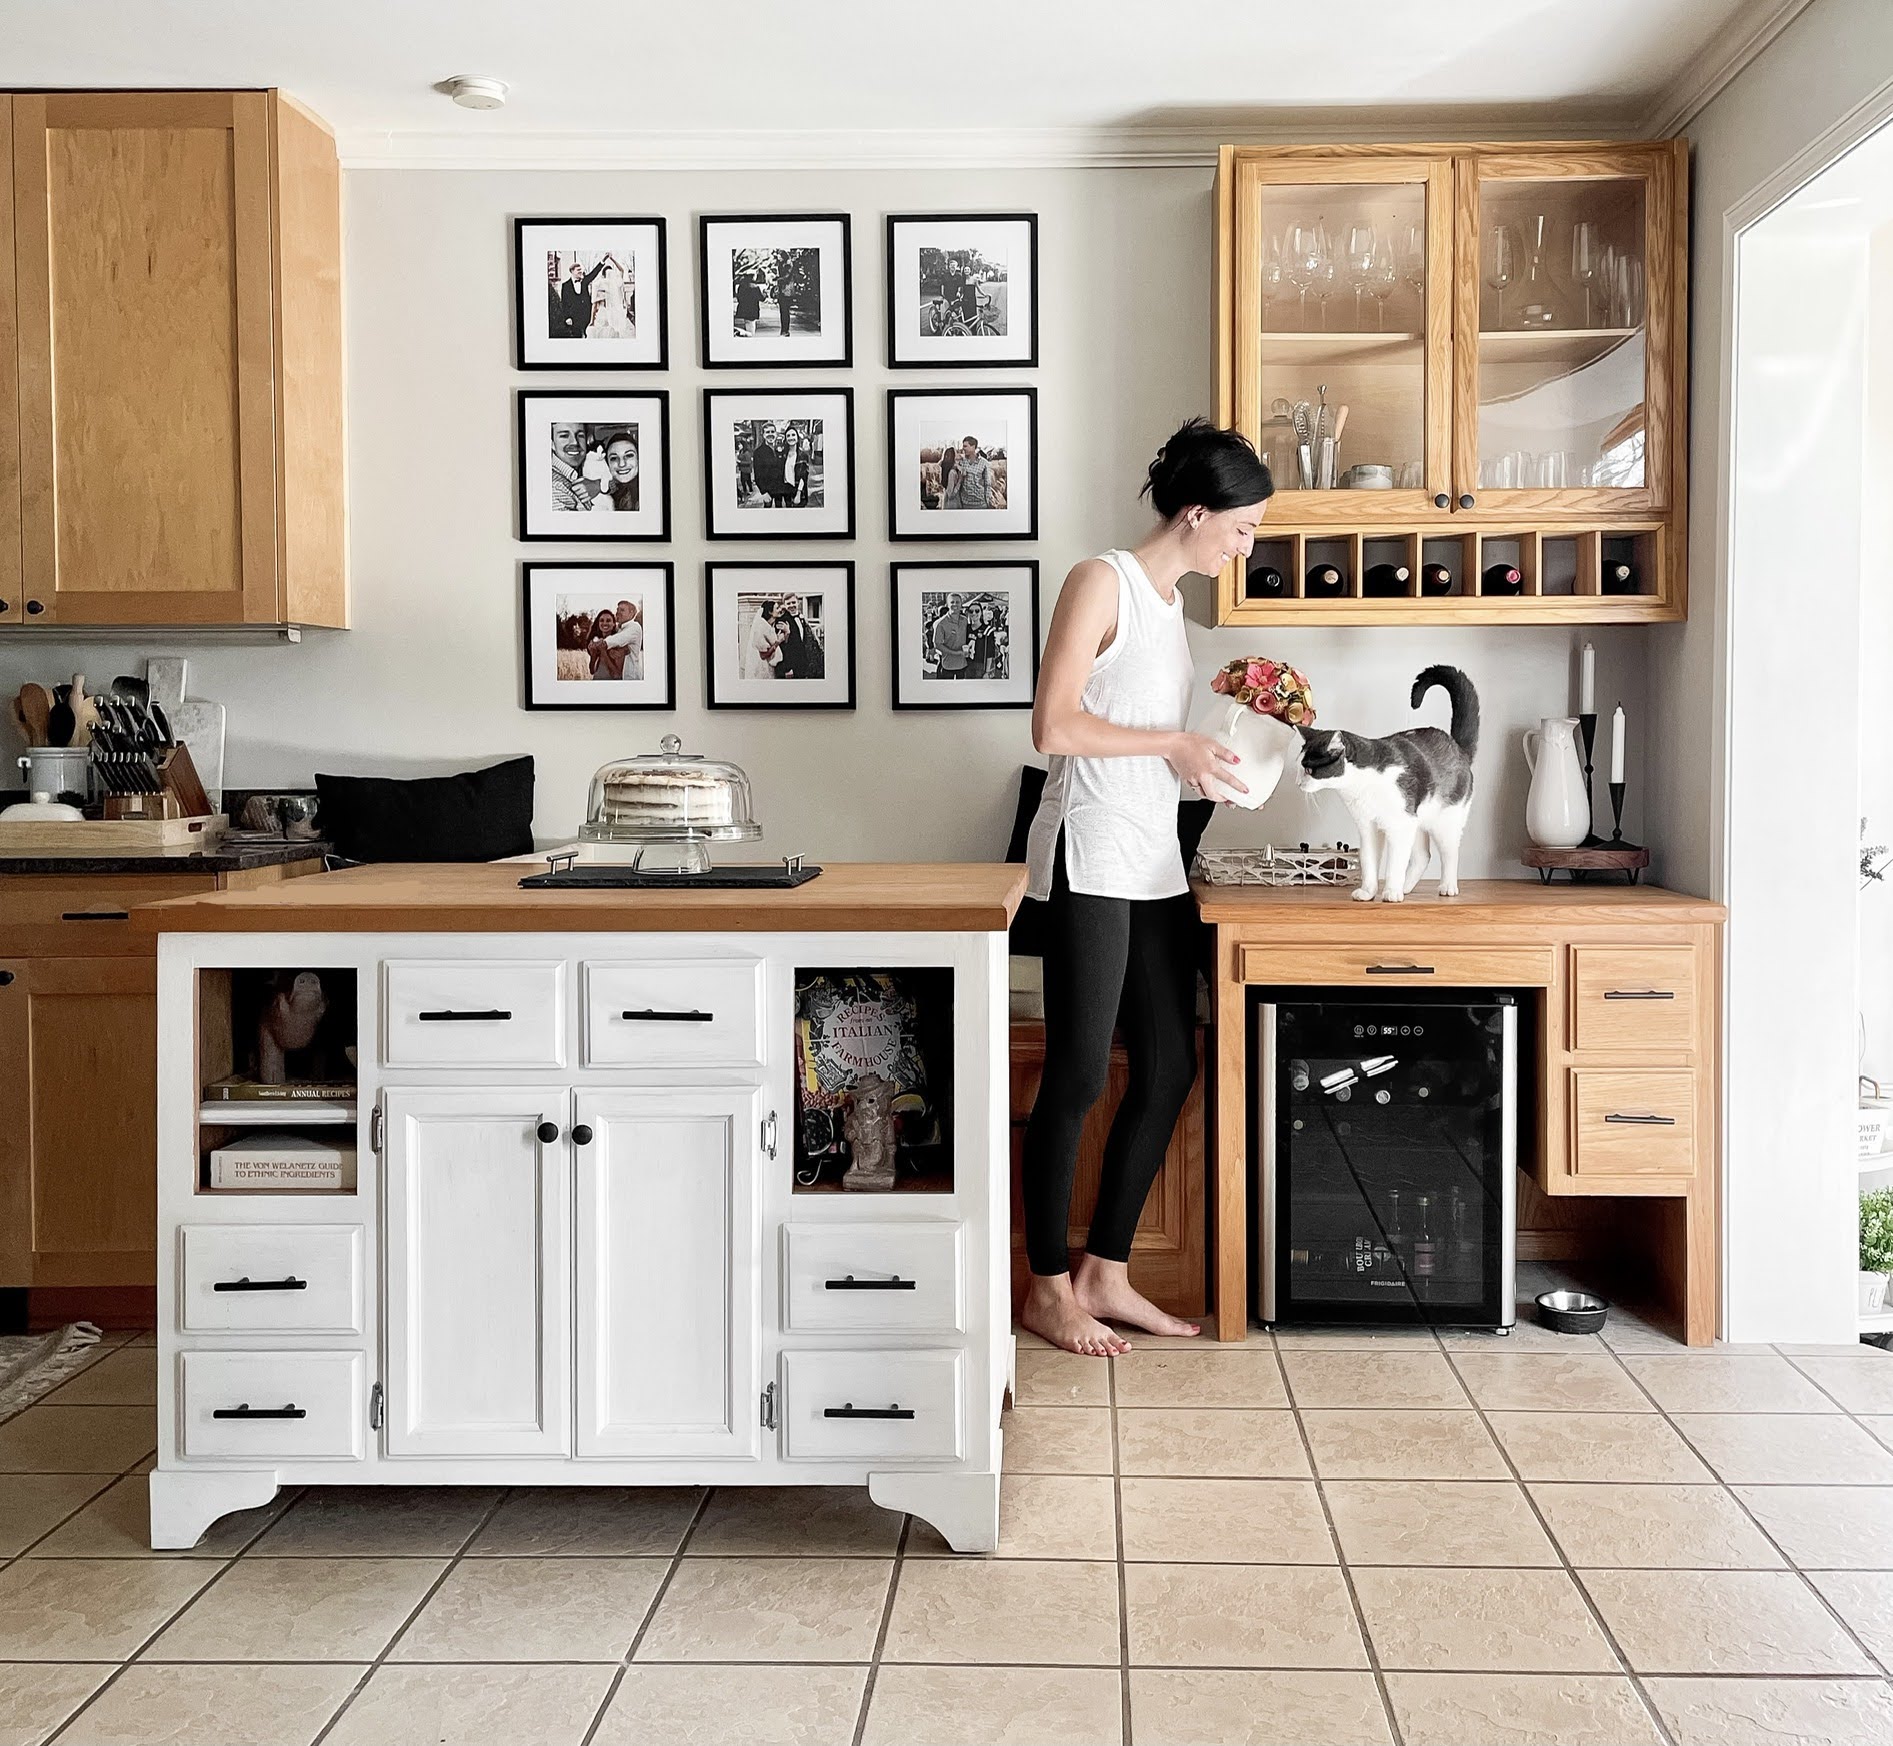
Ever wonder how your favorite bloggers and influencers get those amazing before & after shots that spark inspiration and applause? I’m about to share the entire process of getting that perfect reveal photo after more than a year of trial and error. Let me teach you how to create Instagram worthy reveal photos every time.
We all daydream about how to make our reality better, right? For me, these day dreams always come in the form of home improvement projects.
And for me, there is no better satisfaction than seeing that image in my head come to life with my own two hands. Unless… I don’t remember where I started. Poor comparison photos in a before & after series can be a damper on my post-project satisfaction.


What Makes Me Qualified To Teach How to Take Instagram Worthy Before & After Reveal Photos?
My iPhone photography has been featured in Better Homes & Gardens magazine, where I used the same process I have outlined here. I was noticed during the One Room Challenge, and after a series of emails I learned they were happy with the photos I already had of my project, and offered to pay for usage and publication rights.

I have written a brief outline of my process here in the blog post, but have explained it in depth in my E-Book! I’m offering it for free to help y’all with beginner iPhone photography, no matter how much or little prior experience you have! So get the bare bones here from this post, or more details and specific photographs sent straight to your email.
So let’s walk through how to get great reveal photos every time that are Instagram worthy.
STEP 1: Photograph the Before
Take “before” photos of the space. Make sure and take plenty from different angles, and no editing. Capture the before space without any touch ups.


STEP 2: Do the Work
Complete your project and transform the space.
STEP 3: Stage your Space
Despite the project being finished, you want to make sure and stage the space. Find a balance between clean and organized, while bringing life into the space with animals, plants, decor, or movement.
STEP 4: Photograph the After
Using the Instagram “align” feature, take after photos from the same angles as your before photos to ensure a perfect comparison.


STEP 5: Edit
Using Lightroom, I first line up the angles of my photo using the Geometry feature. Then, apply filters to lighten and brighten!!


If you are feeling hesitant about the details, I get it!
And just like I figured out how to take Instagram worthy before and after photos using nothing more than my iPhone, I know you will too! But just to make sure…
I created a free e-book to explain my before and after photo process including pictures to help you learn the skill. It will teach you step-by-step how to set up, style and arrange your photos, and kick-start your success taking Instagram worthy before & after reveal photos
It is 18 pages worth of detail and specific photographs. It gets sent straight to your email so you won’t lose it, and you can come back to it anytime.

Free How to Take Instagram Worthy Before & After Reveal Photos E-Book
I would love to see your progress after learning and completing the steps in this e-book! Please share and tag me, I would love to see your finished product.


