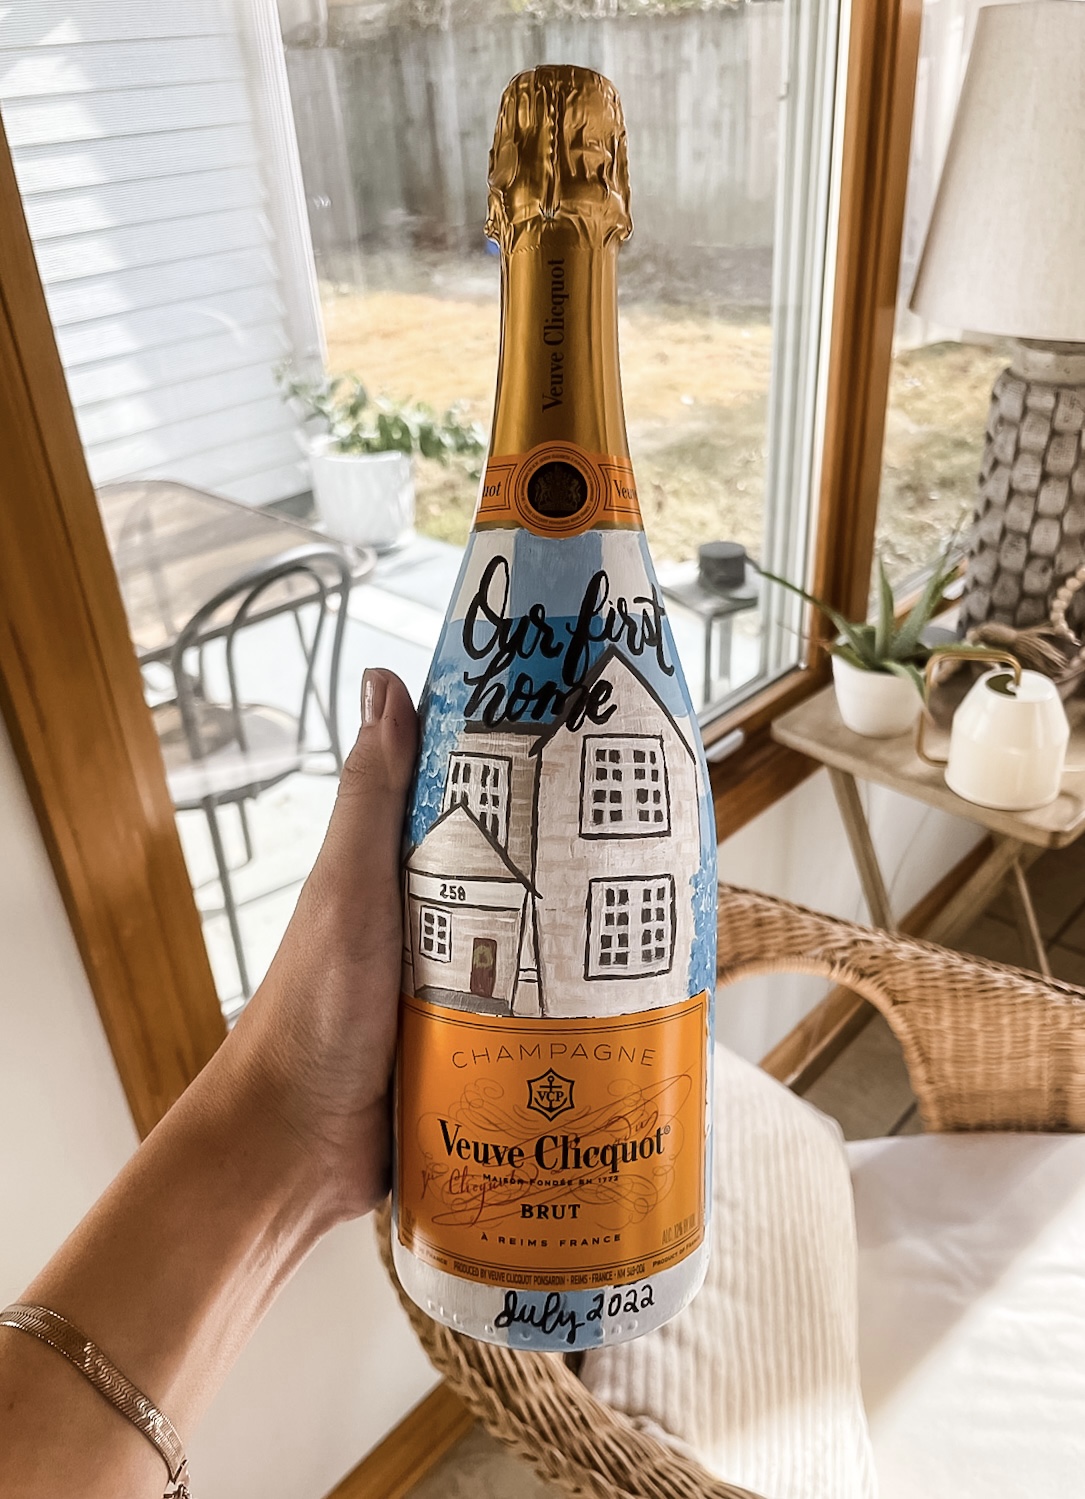
A step-by-step tutorial showing you how to hand paint champagne bottles, complete with pictures and direct supply links for your convenience.
I have hand painted 3 champagne bottles, and over that time have perfected the process. I love this idea to celebrate an engagement, wedding, bachelorette party, bridesmaids, graduation, the purchase of a new house, a new baby, milestone birthday (21, 40, etc), or any other occasion where it may be appropriate to pop some bubbly! Life has so many events that should be celebrated. Read on to learn how to easily hand paint champagne bottles.


This post contains affiliate links for your convenience which may reward me in the event of a sale. Note that I only recommend tools and products I have personally used and loved.
Supplies Needed to Hand Paint Champagne Bottles:
1. Bottle of champagne, Prosecco, or even wine. Your choice!
2. Acrylic paint
3. Variety of good quality paint brushes in different sizes
4. Painters tape
Don’t have time to read the whole post now? Pin it here to safely save it for later!

How to Hand Paint Champagne Bottles Step 1: Clean & Tape
First, you need to tape off the labels on your bottle to create clean lines for background paint. Take your time, and be precise! After you have taped off the labels, make sure the surface of the glass bottle is clean and free of dust, debris or oil to ensure the paint adheres well.

STEP 2: Paint the Background
I usually like to start with a crisp, clean white background. To do this, I use a tube of white acrylic paint and paint all the glass. The first coat will not be opaque and that is ok. Multiple thin layers of paint are always preferred to thick, gloppy coats. It usually takes me two coats with plenty of dry time in between to achieve good coverage.
For this bottle, I decided to incorporate a blue gingham pattern as part of the background as well. So after the 2 layers of white paint dried, I painted the blue gingham pattern using 2 different shades of blue, and a wide paint brush.


STEP 3: Sketch Out Your Design
I usually sketch out my design beforehand on a piece of paper to visualize where everything will go, and make sure I have room for all the elements I want to incorporate. Once I have chosen which elements to include, I like to sketch them on the bottle lightly using a pencil. It should show up nicely against the white painted background, and get covered up when you paint in all the details.


How to Hand Paint Champagne Bottles Step 4: Paint the Details
Once your plan is sketched out, it’s time to paint in all the details. Using acrylic paint and appropriately sized paint brushes, paint all the meaningful elements.

STEP 5: Layer the Last Elements for Depth
Layering gives depth to your design, so I always like to paint the major elements first then paint some sort of floral design on top. I usually google the type of flower I want to incorporate, then figure out how my brush strokes will mimic that look.
The good thing about paint is if you mess up, you can always paint over it and try again! Try not to be too hard on yourself and let go of perfectionism. Take your time and let your design build and grow layer after layer.


STEP 6: Add Lettering
Finally, it’s time to add any lettering to your bottle. I’ve found that it looks neater when I use a Sharpie for my lettering, instead of a paint brush & paint. I learned brush lettering a few years ago from The Happily Ever Crafter, and love to incorporate this lettering on my hand painted bottle of champagne. This can be in the form of an address to a first home, “future Mrs.”, etc.


If you do not know how to brush letter, you can use any type of neat handwriting. A mix of fonts also tends to look good, so maybe pair some lettering in cursive with some smaller lettering beneath it in all caps. Play around with it! I’m confident you will find something that looks good. Finally, remove the painters tape from the labels and you’re done!
Need More Inspiration to Hand Paint a Bottle of Champagne?
Check out some of these other bottles for more inspiration!


Another fun personalized paint project I have shared is how to customize cornhole boards. This is such a fun process as well, and makes a great gift (or present to yourself!).
I hope this tutorial gives you the confidence to try to hand paint champagne bottles! It really does make the perfect custom gift for a number of occasions.
Enjoy the process,


