A step by step tutorial showing you how to DIY a faux clay textured painted vase. Complete with pictures & direct supply links for your convenience!
One of my favorite Studio McGee purchases is a large, white textured vase. I have successfully copied and created this finish on multiple glass vases using only 2 supplies! The special ingredient? Baking soda.

The Studio McGee inspiration vase
Adding baking soda to paint gives it texture and helps the paint grip onto a smooth glass surface. The possibilities to customize this basic paint + baking soda recipe to fit your needs are endless. Often, I just like the textured white look. But you can add layers of paint, mud or even coffee grounds for a multidimensional aged look.
No time to read this whole post now? Pin it here to safely save it for later.

Supplies to Create a DIY Faux Clay Textured Painted Vase
-Vase
-White Acrylic Paint
-Craft Paint Brush
-Baking Soda
Step 1: Find a Vase
If you follow me on Instagram, you know I love second hand shopping. I frequent my favorite local thrift store at least once a week, and enjoy going to estate sales on the weekend. These are two great places to find the perfect vase for this project!
What is a good shape? Some elements to look for are large, robust, and round- see these for inspiration.

Need more convincing to start shopping secondhand? Discover the top 5 reasons you should be shopping for thrifted home decor. Or maybe you are just wondering what else to shop for when you are thrifting? I’ve rounded up my ten favorites I always keep an eye out for when shopping.
I’ve also gotten a lot of questions about estate sales. They can seem elusive or be intimidating at first, but they don’t have to be. I’ve shared all my tips and tricks in a dedicated post including how to find local sales, get the best prices, and learn common etiquette and other FAQ’s.
You can also think outside the box. You don’t have to use a vase at all! I used this technique on a small glass tea cup as well, and love the way it turned out. The object is not important; keep your eyes and attention focused on the general shape and choose something with good “bones”.

Step 2: Paint
Once you have selected a great vase with the perfect shape, it’s time to mix your paint. I start with a generous amount of white paint on a pallet, and add baking soda incrementally. A rough ratio is 5 parts paint to 1 part baking soda.
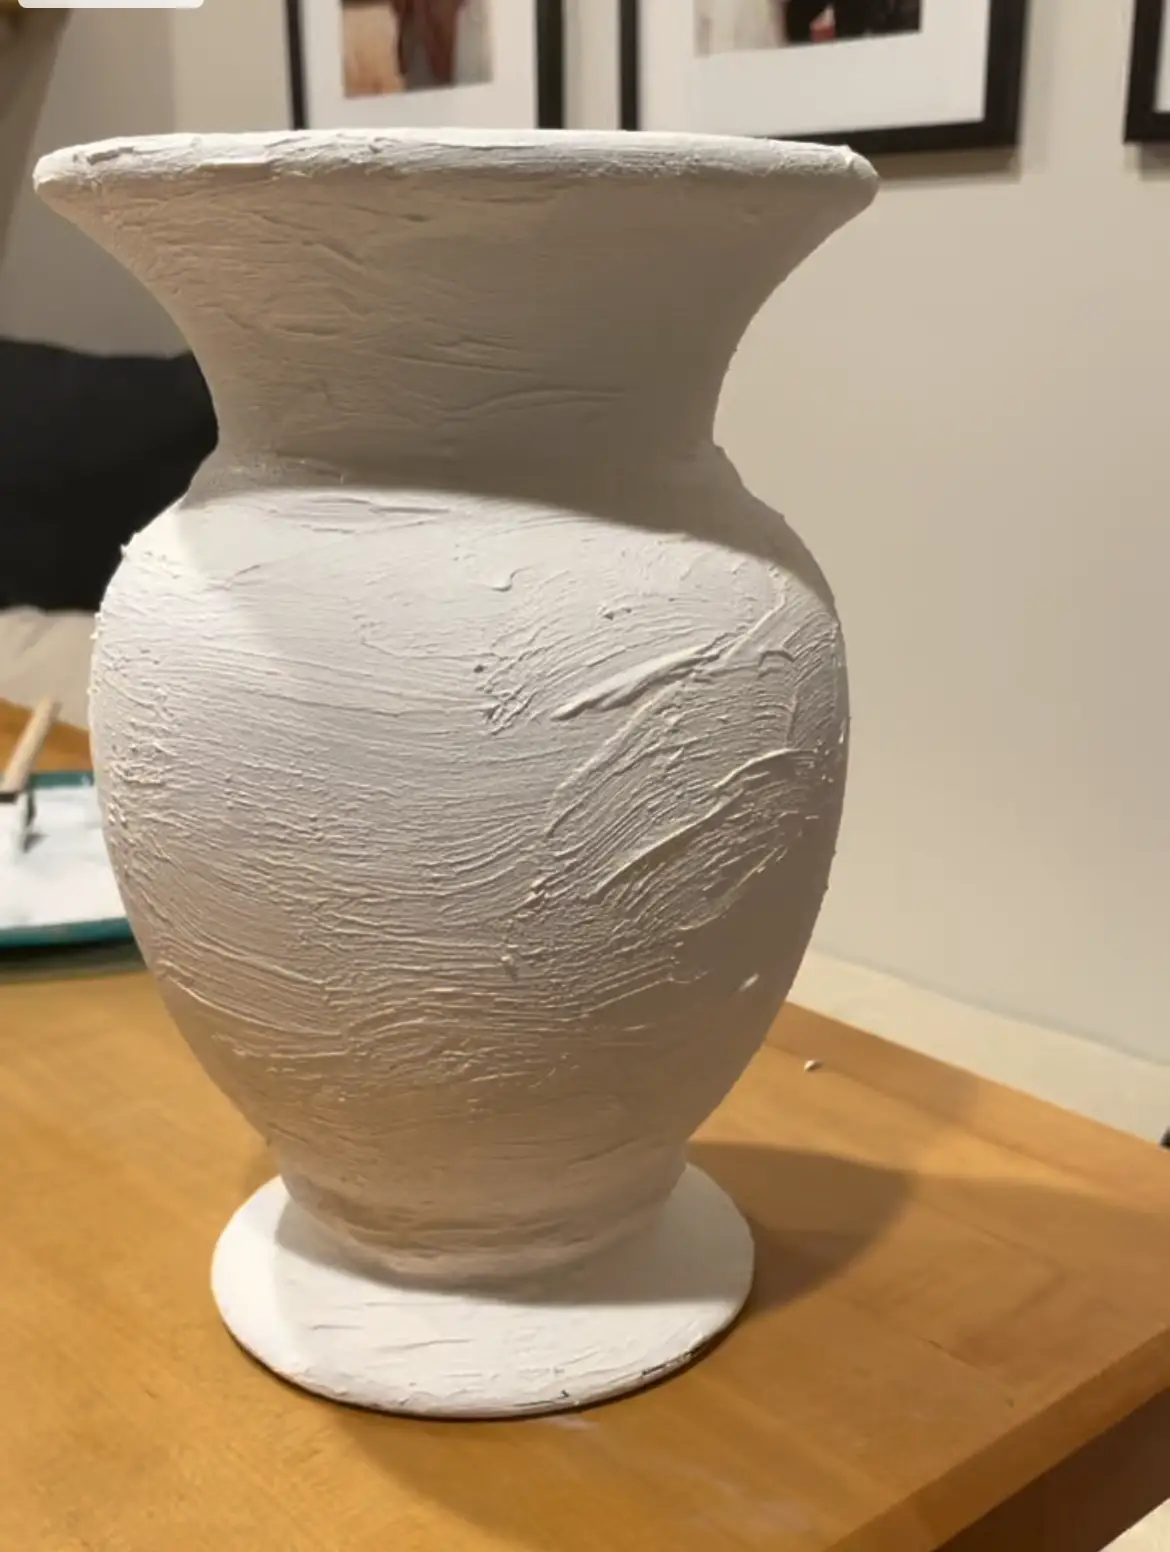
However, these amounts can be variable. If you want more texture, add more baking soda. Less texture= less baking soda. Once you have combined the mixture well, paint it onto your vase using a craft brush in thin layers. I’ve found most vases typically need 2-3 coats to achieve opaque coverage. Let each coat dry fully before adding the next (approximately 30 minutes).

Step 3: Customize
After you have painted your vase white with baking soda, you have the perfect blank slate. You can either leave it as is, or add additional colors, textures and layers.
Instead of using white paint, you could always use a clay color to look like terracotta, or gray to mimic concrete.
You can experiment with more paint, coffee grounds, or even mud. Yes, mud! Have you seen the “dirt vase” made famous by Jaci Daily? (If you don’t know what I’m talking about, read the tutorial here). She shared this viral technique years ago and I love the look. The possibilities to create a faux clay textured painted vase are truly endless.
Wondering how to style your new vase or where it should go? Check out these 12 ways to decorate living room shelves for inspiration.
One of my favorite ways to fill a vase is with this DIY succulent using… pistachio shells! Find the step by step project tutorial here.

I hope you enjoy this versatile technique, and make an amazing faux clay textured painted vase for your home.
Enjoy the process,


