Learn how to make DIY wax seals with this step-by-step tutorial, complete with direct supply links for your convenience.
Let’s delve into the world of paper goods and explore the art of creating personalized stationery.
In this digital age where communication is primarily done through emails, texts, and social media, the charm of physical paper goods can often be overlooked. I do think there is a time and place for electronic invites (like a holiday wine tasting party), but a pretty paper note will always be superior.
For those with a taste for nostalgia and an appreciation for details, there is still a place for elevated stationary. There’s something truly magical about receiving a beautifully crafted, hand-written note that cannot be replicated in the digital realm.
Fun fact- I actually learned how to hand letter and did all my own calligraphy for my wedding invitations. I always push The Happily Ever Crafter if you are interested in learning hand lettering, brush lettering or modern calligraphy. I took most of her classes, and learned enough to successfully hand address all of our invitations in calligraphy. I also used my hand lettering skills to create hand painted champagne bottles (they make the perfect gift!).

But lets get back to the purpose of this post- DIY wax seals.
If you’re looking to add a touch of elegance and sophistication to your correspondence, consider incorporating wax seals into your stationery. Wax seals have a rich history and were traditionally used to authenticate documents and envelopes. Today, they serve as a unique and eye-catching addition to invitations, letters, and other personal correspondence.
Supplies to create DIY wax seals
To create your own wax seals, you’ll need a few basic supplies:
-cardstock
If you wish to further personalize your stationery with hand-lettering or calligraphy, you’ll also need a calligraphy pen, calligraphy tips, and gold ink.
Step 1: Gather Supplies
Begin by gathering all your supplies, ensuring you have everything on hand. If you’re new to this craft, don’t worry! Wax seal making is beginner-friendly and allows room for creativity and experimentation.
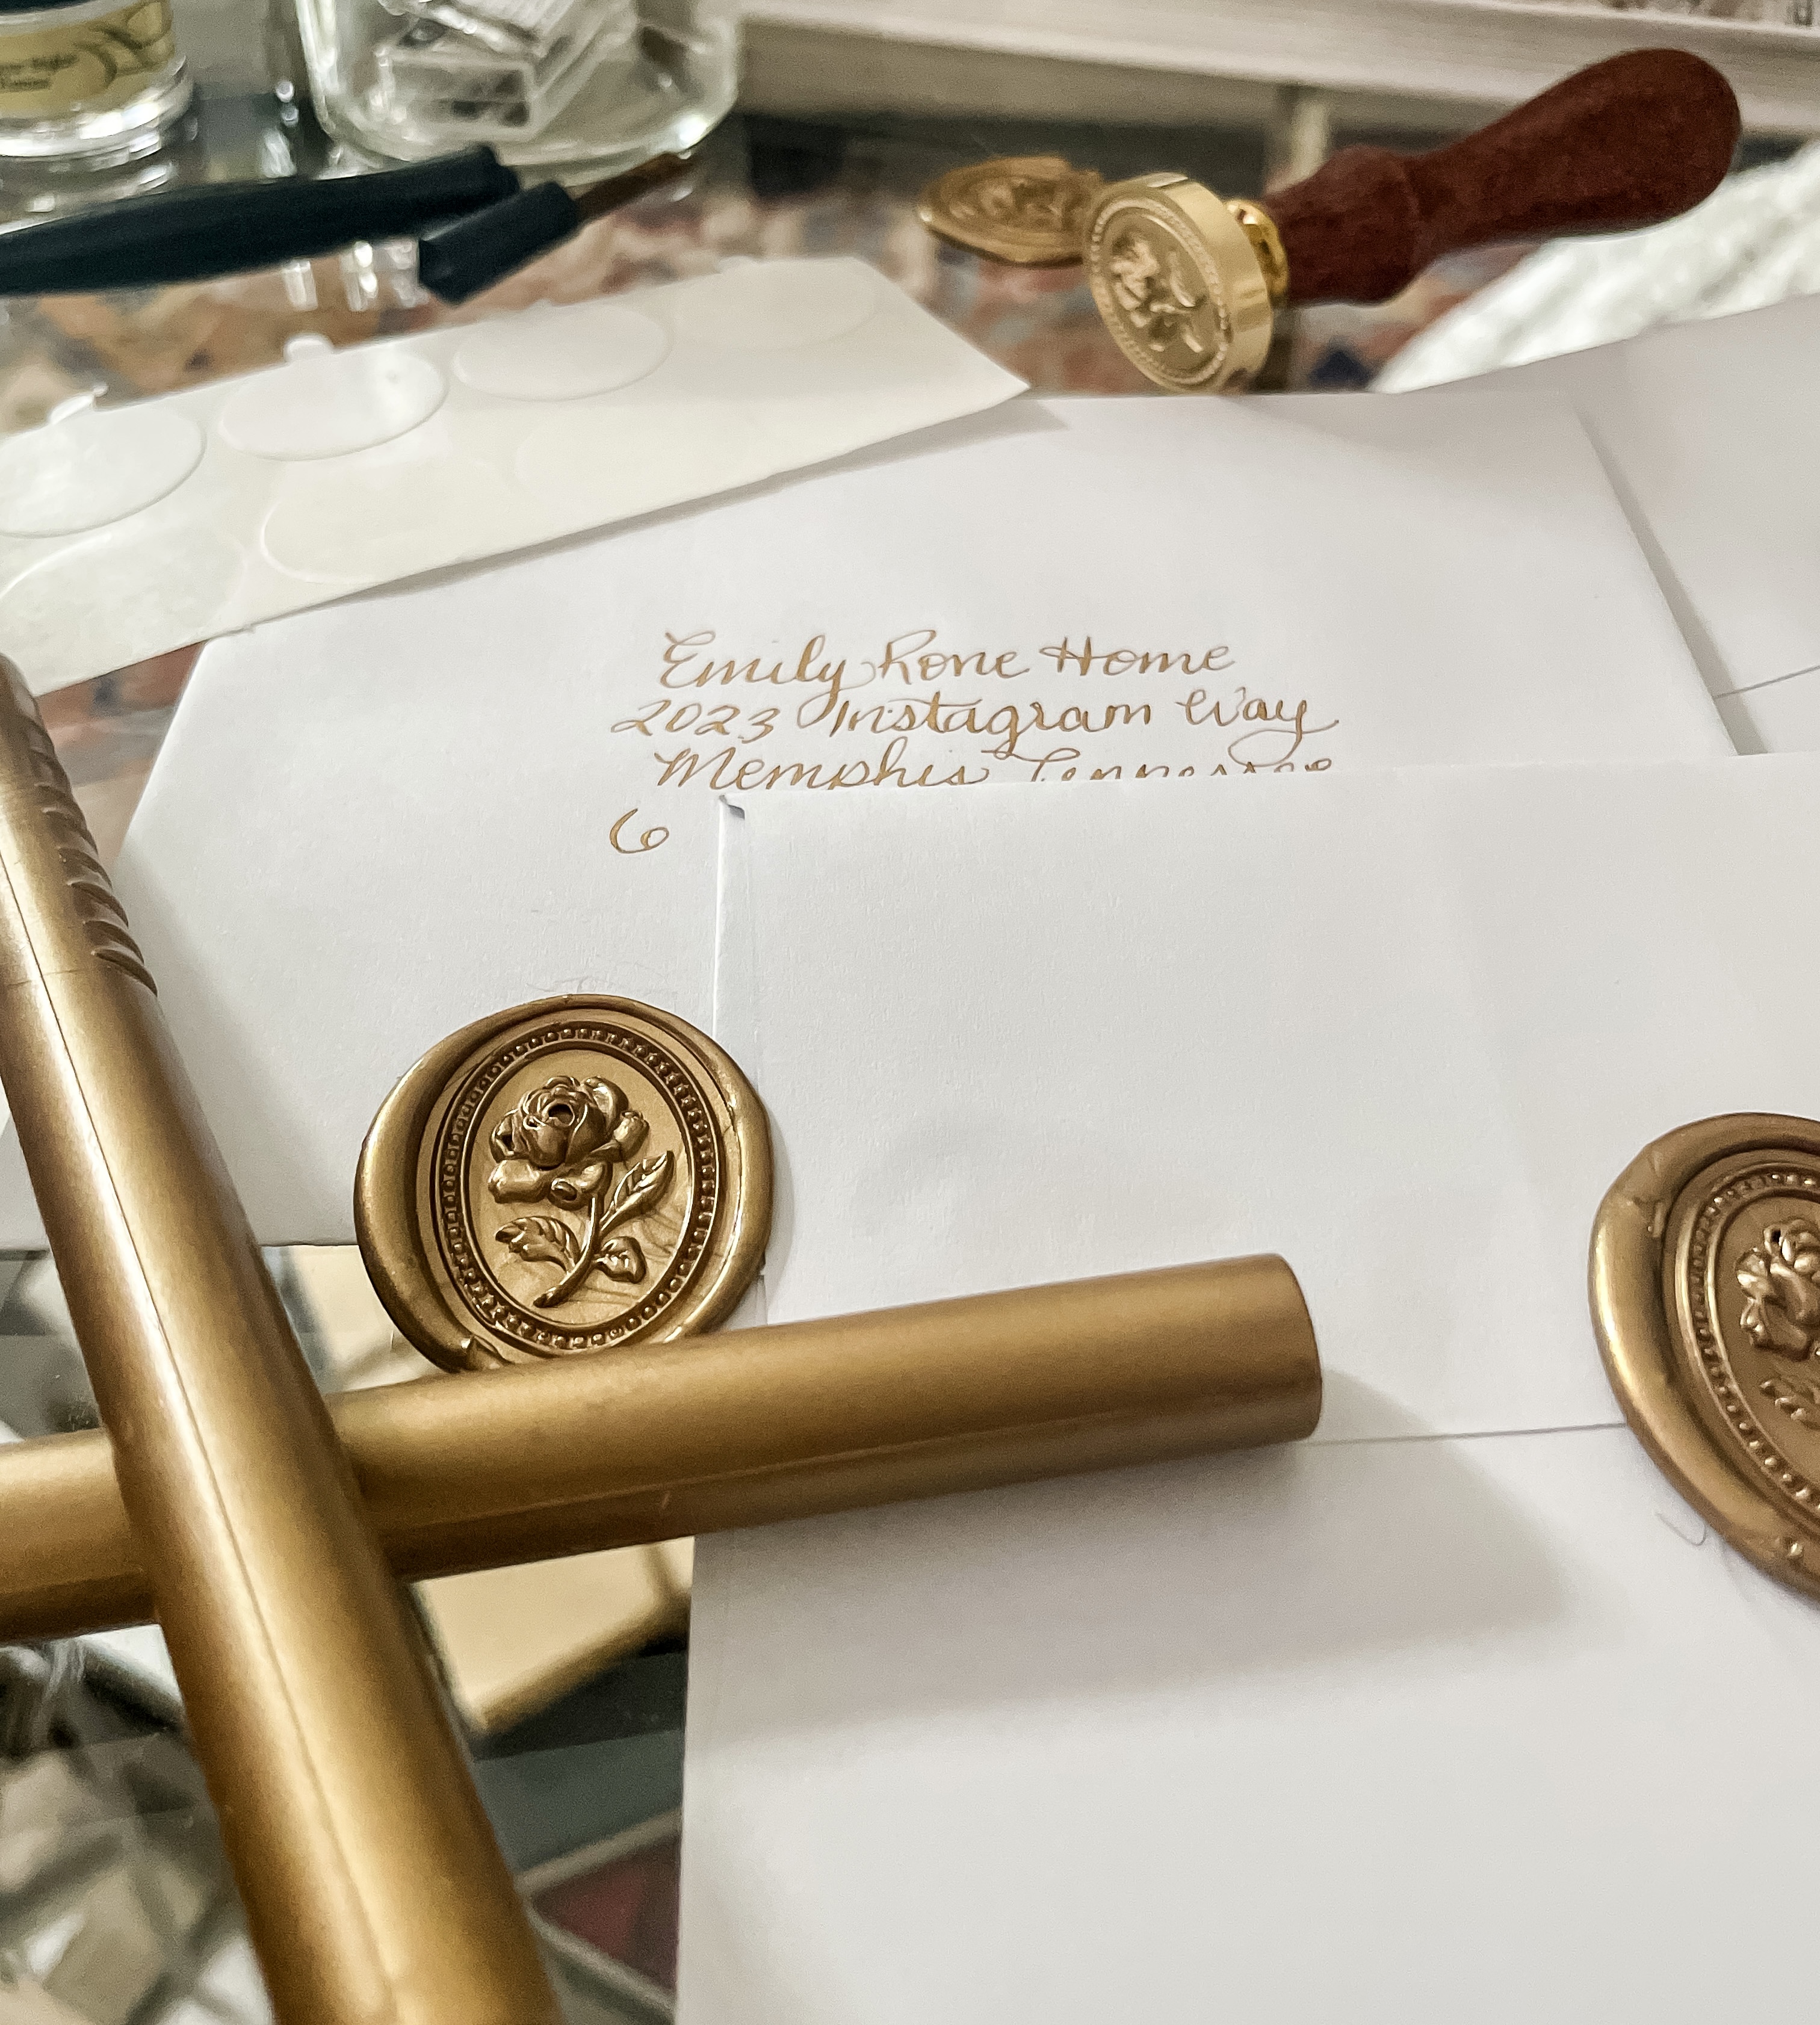
You can follow the links above (or here) to shop the exact supplies I used to create your DIY wax seals. I linked the stamp pattern I chose, which is a rose. But there are lots of other options you can shop too! Once you’ve gathered your materials, you’re ready to dive into the process.
Step 2: Create DIY Wax Seals
There is a bit of a learning curve when getting the feel for the technique, so give yourself some grace! I will share what worked best for me.
First, heat up your low-temperature hot glue gun. It’s essential to use low temp to prevent any accidental burns during the process. Once the glue gun is warmed up, make sure to clear any residual regular glue from the chamber. You don’t want any mixtures or inconsistencies when creating your wax seals.
Once your glue gun is prepared, insert a wax seal stick and let it melt. On a piece of cardstock, squeeze out two pulls of glue to create a small pile. Working swiftly, take your stamp and press it into the center of the glue pile, leaving your pattern imprinted in the wax. Allow the wax to cool and set for a moment before carefully removing the stamp.


Step 3: Attach to the Envelope
Now that you have your wax seals created, it’s time to attach them to your envelopes or stationery. Use the round double-sided stickers to securely adhere the wax seal to your desired location. This final step completes your personalized stationery package, adding a touch of elegance to your correspondence.


Remember, practice makes perfect when it comes to creating wax seals. Don’t be discouraged if your first few attempts are messy. Embrace the learning process and enjoy the journey of mastering this craft.
After making a large number of seals at one time for my daughter’s first birthday, I learned these additional tips and tricks I wanted to share:
-Make sure your hot glue gun in set on “low” heat. Otherwise the gold glue stick will melt prematurely and make a mess in the chamber of your gun.
-Use a cup of ice to cool your wax seal press between uses so it doesn’t get too hot. If you repeatedly use it to make seals in hot wax, it will get too warm and stick to the wax. It makes much cleaner impressions when it is cool or cold!
And that’s it! I told you it was easy. Embrace the art of wax seals and rediscover the joy of sending and receiving beautifully crafted, hand-written notes. With the right materials, you can quickly create this custom and creative DIY stationary element.
Enjoy the process,

Enjoyed the tutorial? Save it for later on Pinterest! Pin it here


