Want to know how to turn that oyster shell into beautiful wall decor? Read on to learn how to create DIY oyster shell art in just 5 simple steps (with pictures included)!
If you are like me, you love all things coastal. I love to be at the beach, eat seafood, and especially oysters. I even eat oysters when I’m not at the beach. They are my favorite pre-dinner date night app.
Ever wanted to bring a bit of that coastal charm indoors? I love meaningful, unique and creative wall art. I decided to play around with discarded oyster shells and see what kind of wall decor I could make.
It turned out being easier than expected, and I love the final product. Stay with me as I walk you through my step by step process to DIY oyster shell art on a canvas for your wall or shelf styling.
Want to save this tutorial for later? Pin it here!

This post contains affiliate links for your convenience which may reward me in the event of a sale. Note that I only recommend tools and products I have personally used and loved.
Supplies to Make Your Own DIY Oyster Shell Art
-Oyster shells: these can be found anywhere! You can save shells after you eat them, or find them discarded outside or used as gravel or exterior decor somewhere.
-Bucket or bowl
-Bleach or white vinegar
-Hard bristled cleaning brush
-Canvas- the size and type are up to you! I’ve linked a few options on Amazon here

Step 1: Clean & Sterilize
After you collect all of your supplies, it’s time to make get those shells cleaned up and make sure they are home decor appropriate.
To do this fill a bowl (or bucket- depending on how many oyster shells you have to clean) with equal parts vinegar and warm water. You can also do this with bleach if you would rather.
Carefully put the oyster shells in your bowl one by one. You want to make sure you have enough vinegar water to cover the shells completely.
Let the oyster shells soak for at least an hour, or up to 24 hours. Dump the vinegar water outdoors to avoid the risk of dumping particles that could be harmful to your plumbing down your sink, and re-fill the bucket with warm soapy water. Scrub the shells inside and out with a brush with hard bristles. This process is tedious, but important to get all the particles off.

After the shells are sanitized and scrubbed, rinse one final time and lay them out in the sun to dry. The sun helps to whiten and brighten the shells too.
Step 2: Enhance the Pearly White Interior
After cleaning the shells, I decided I liked the natural pearly surface inside and wanted to enhance it even more. I used this metallic paint to paint the entire inside of the oyster shells to add more pearlescent sheen.
Allow your shell enough time to dry to the touch before starting on step #3.


Before & after. The metallic sheen is subtle but pretty in real life!
Step 3: Add Gold
Next, I used the same brand of paint but in gold to transform the back and outside edges of the oyster shell. I used a small and fine bristled brush to carefully free hand the gold edge on the inside face of the shell. Slow and steady strokes!
I used a wider bristled paint brush to paint the large surface of the back of the shell gold as well. Make sure the front is dry before flipping it over to paint the back.


Step 4: Attach to your Canvas
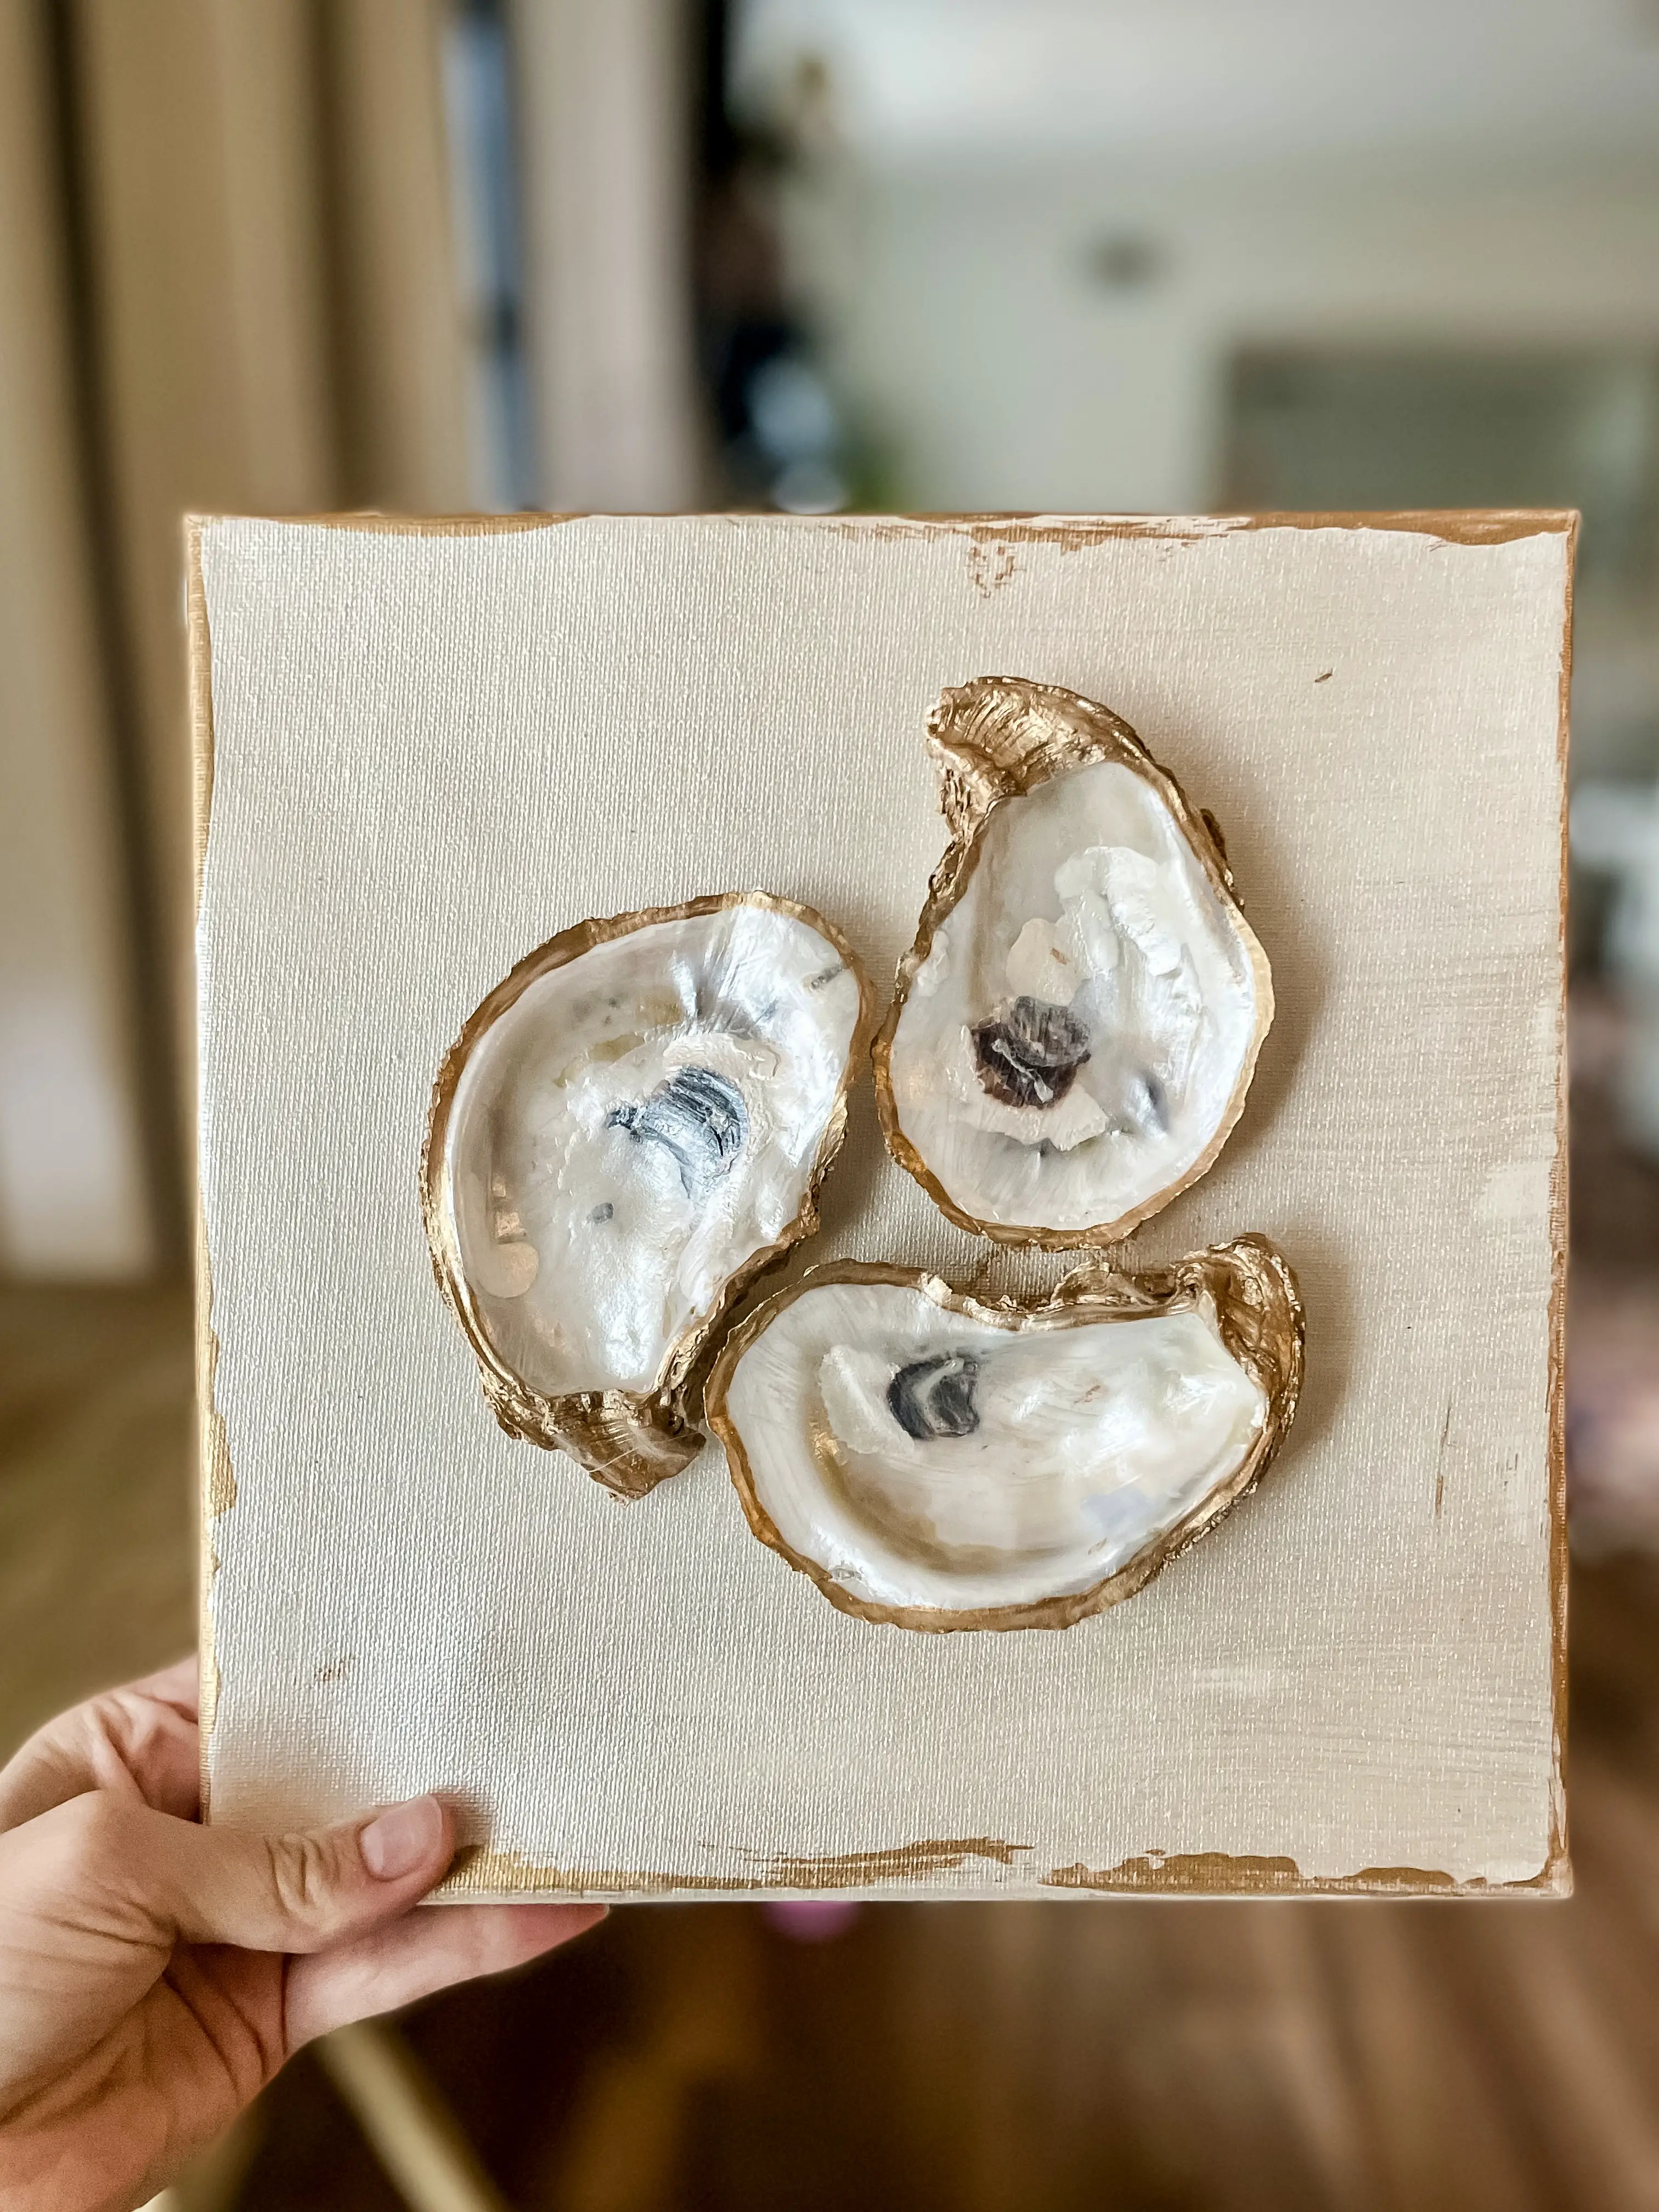
Once all your paint is dry, it’s time to attach the oyster shell to the canvas of choice. I have arranged 3 shells together on a square canvas, and single shells on others. The number of shells you choose to display and how you arrange them is up to you!


I used plenty of hot glue to attach the shells to my canvas. Make sure to practice a dry run and see what parts of the shell will touch the canvas, then make sure to apply plenty of hot glue to those points.


Step 5: Hang & enjoy!
This is such a fun coastal DIY that is both easy and affordable. Let me know if you try it, or have any questions.
Enjoy the process,


