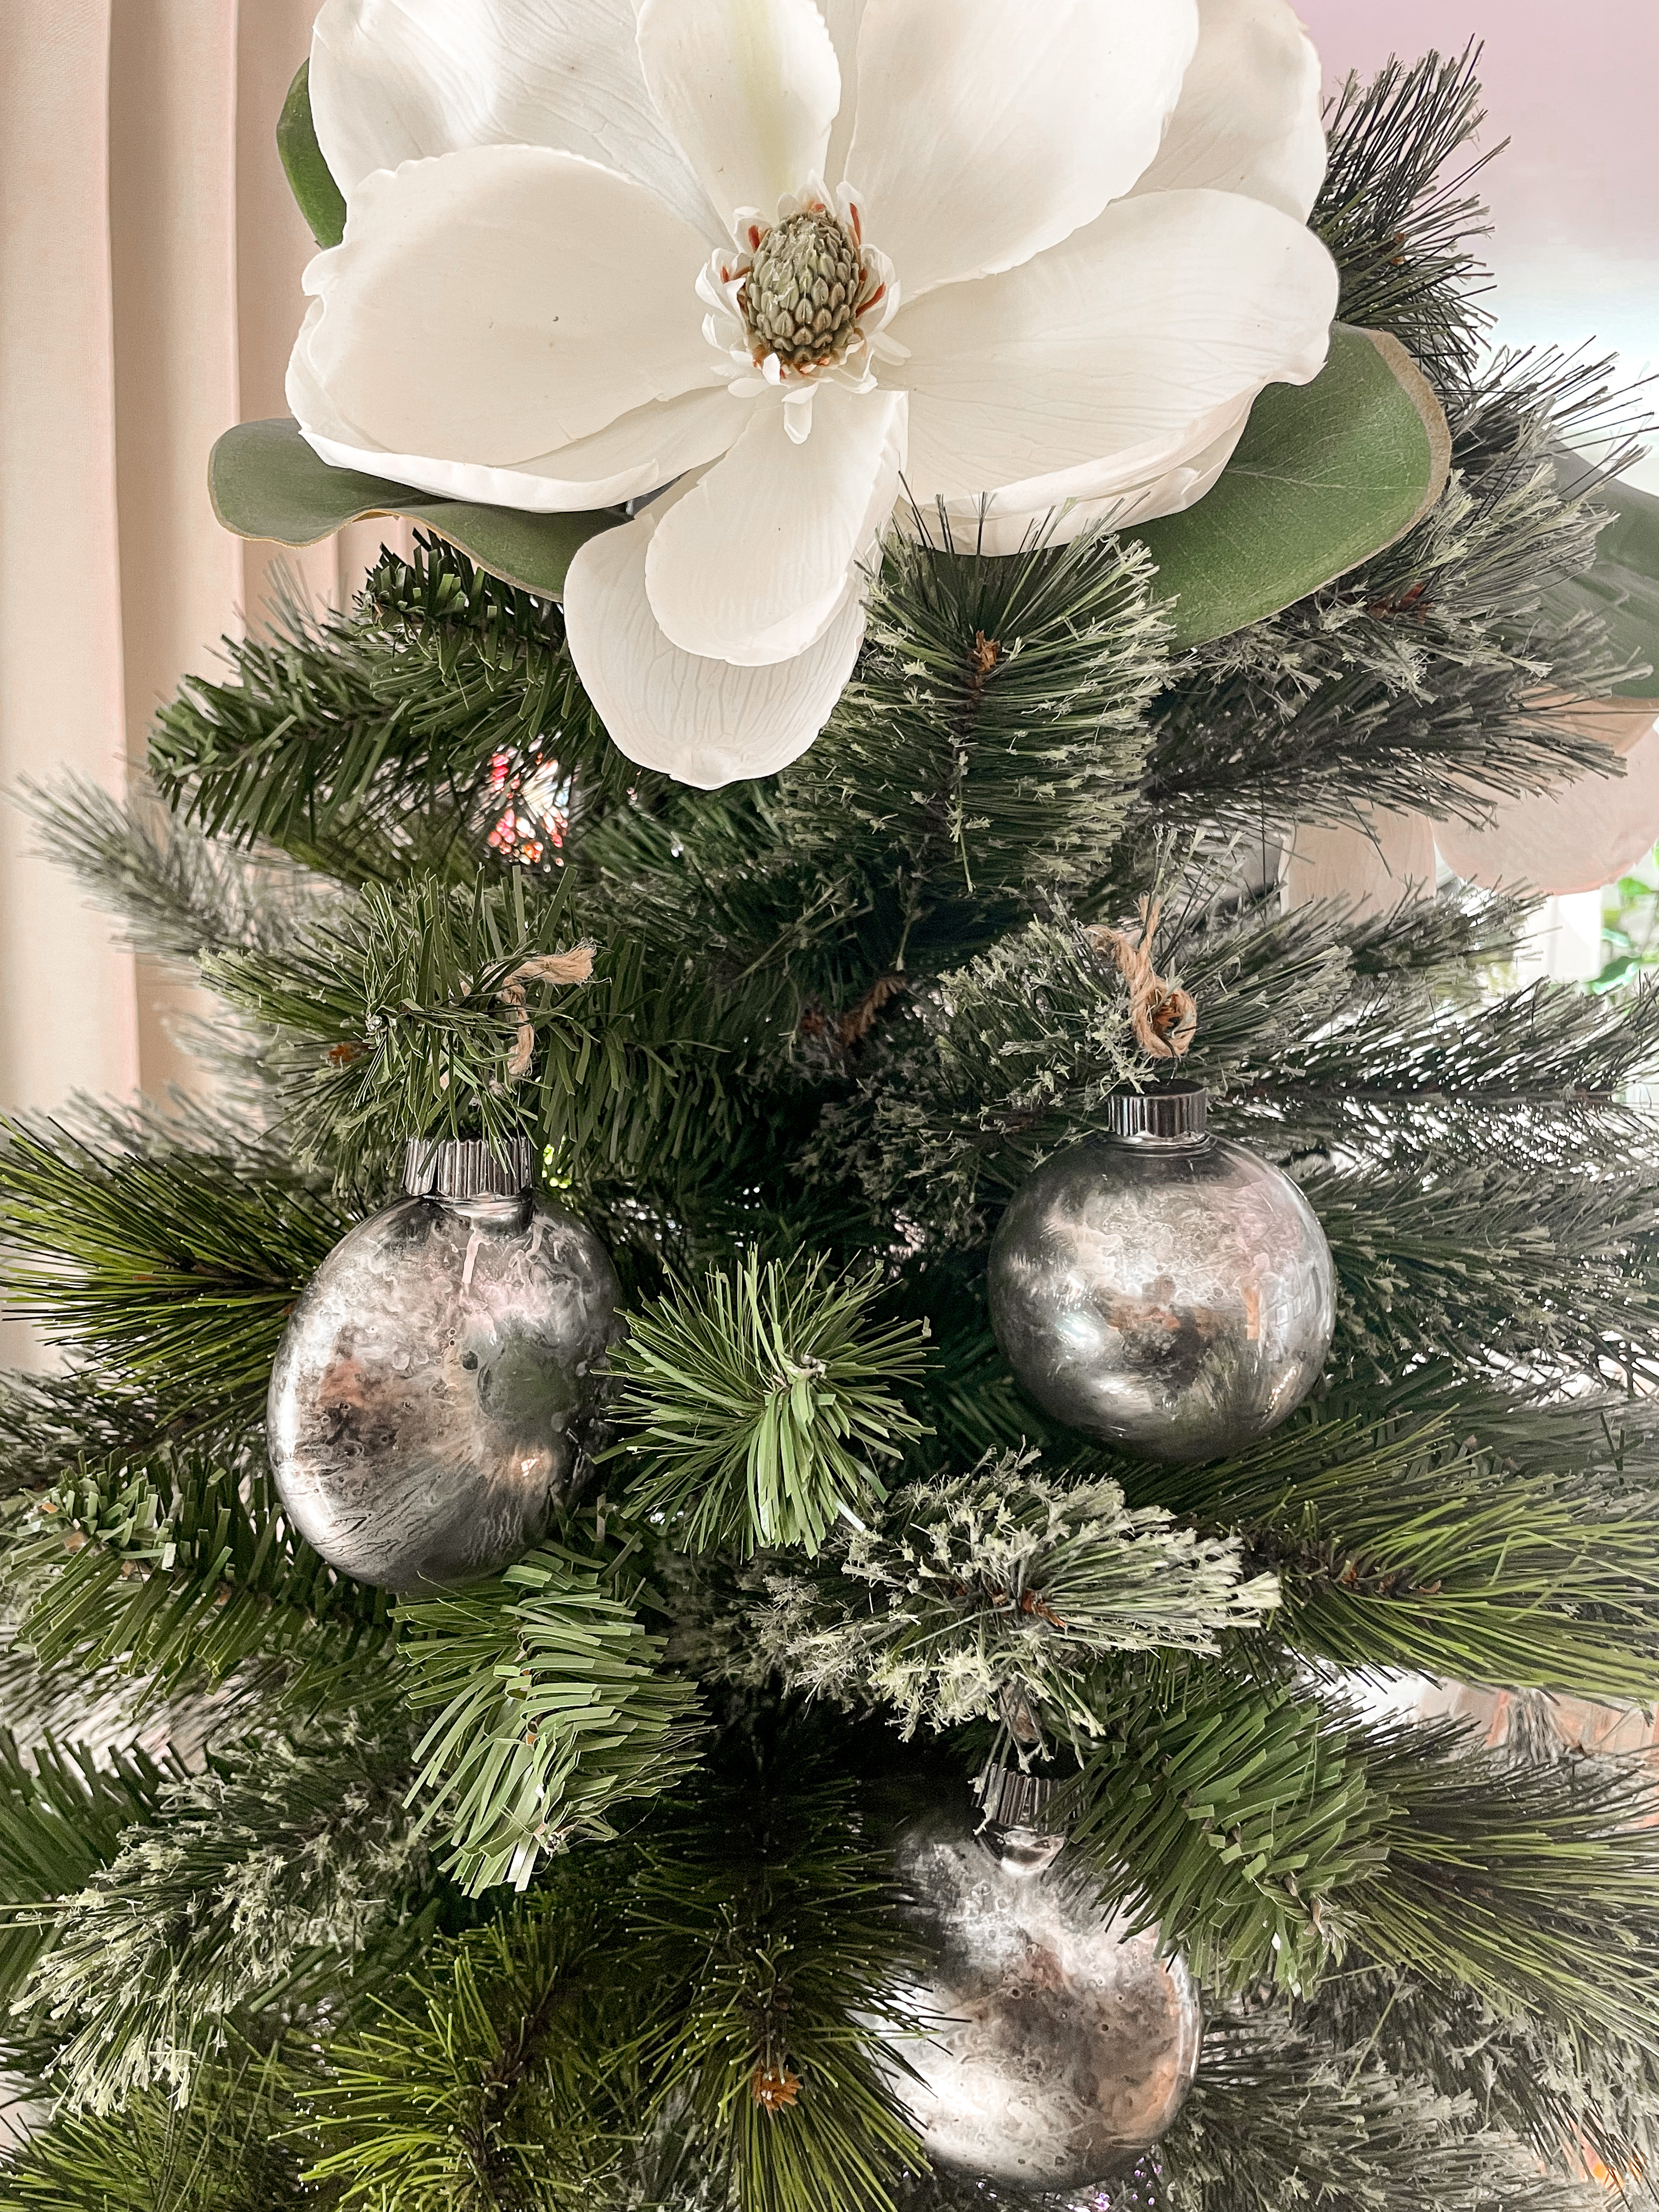
A step-by-step tutorial on how to DIY mercury glass Christmas ornaments affordably, quickly & so easily!
Christmas looks a little bit different ever since we rescued our cat son Oliver. Unfortunately, Christmas tree climbing is one of his favorite activities despite our efforts to deter him (plz let me know if you have any good solutions). With this in mind, so many of my “nice” or meaningful glass ornaments never make it out of the box and onto the tree. I’m always looking for pretty, shatterproof alternates.
This year, I decided to DIY these vintage mercury glass Christmas ornaments and they turned out so well! Cheap and easy is always my goal, and these ornaments fit the bill. I’ll share the exact supplies I used, as well as the step by step tutorial so you can make your own.

This post contains affiliate links for your convenience which may reward me in the event of a sale. Note that I only recommend tools and products I have personally used and loved.
SUPPLIES TO CREATE YOUR OWN DIY MERCURY GLASS CHRISTMAS ORNAMENTS
-Clear round and disc shatterproof ornaments
–Rust-Oleum Mirror Effect spray paint
-White vinegar in a spray bottle
-Hair dryer
-Rust-Oleum metallic oil rubbed bronze spray paint
-Paper towels

STEP 1: Start with Mirror Effect Spray
I had this Rustoleum Mirror Effect spray on hand already, and decided to give it a try to create a vintage, mercury glass appearance. It worked perfectly to give these clear shatterproof disc and round ornaments a mercury glass look.
The Mirror Effect spray serves as your base. I started with 2-3 sprays. Make sure the nozzle is pointed directly inside the neck of the ornament to avoid overspray and mess.

STEP 2: Add sprays of vinegar
Next, spray 2 squirts of white vinegar inside the ornament on top of the Mirror Effect spray. Swirl the spray paint and vinegar around to try and evenly coat the inside of the ornament.

STEP 3: Dry the ornament using a hair dryer
Use a hair dryer to speed up the process of drying the Mirror Effect spray paint. I tried to keep swirling and spinning the ornament while using the hair dryer around the outside of the plastic ornament. You can also blow air on the inside, which I did after drying around the outside. In my experience, the blow dryer quickly dried the paint, while leaving the vinegar as liquids still inside.

STEP 4: Repeat Steps 1 & 3
Repeat Step 1 with an additional 2-3 sprays of Mirror Effect paint. Think of this process as developing the mercury glass appearance in layers. Since I always had a bit of vinegar leftover inside after blow drying, I did not add more.
As you did in Step 3, use a hair dryer outside then inside to dry the spray paint again. Be mindful to swirl the ornament to get an even layer of Mirror Effect coverage. You may repeat this process as many times as you like until you get your desired look.

STEP 6: Fill in blank spaces with metallic oil rubbed bronze spray
After you have good coverage from the Mirror Effect spray, finish each ornament off with metallic oil rubbed bronze spray paint. This helped to fill any blank spaces, give dimension and contributed to the “vintage” look of the DIY mercury glass.
I sprayed 2-3 sprays of the metallic paint inside, swirled, then dried one last time both outside and in. I placed the ornament with the opening face down on paper towels to drain any remaining vinegar and dry for about 30 minutes.

STEP 7: Spray paint the top caps
I also used the oil rubbed bronze spray paint to spray the tops to all of my ornaments. I liked the dark bronze look better than the original silver. I found it added contrast. I did this by setting all of the caps inside a cardboard box and giving them a thin and thorough coat of spray paint. Then again in another 1-2 hours.

Enjoy your new DIY Mercury Glass Christmas Ornaments!
These were so quick and easy, so I’ve had time to craft a few other holiday projects this year, including:
- DIY Christmas Swag Wreath
- Dried Oranges
- DIY Christmas Cards (for less than 50 cents a card!)
- Hosting a holiday wine party
- DIY Marbled Ornaments
What do you think? I hope you feel this is a great shatterproof DIY alternative for authentic vintage mercury glass Christmas ornaments.


