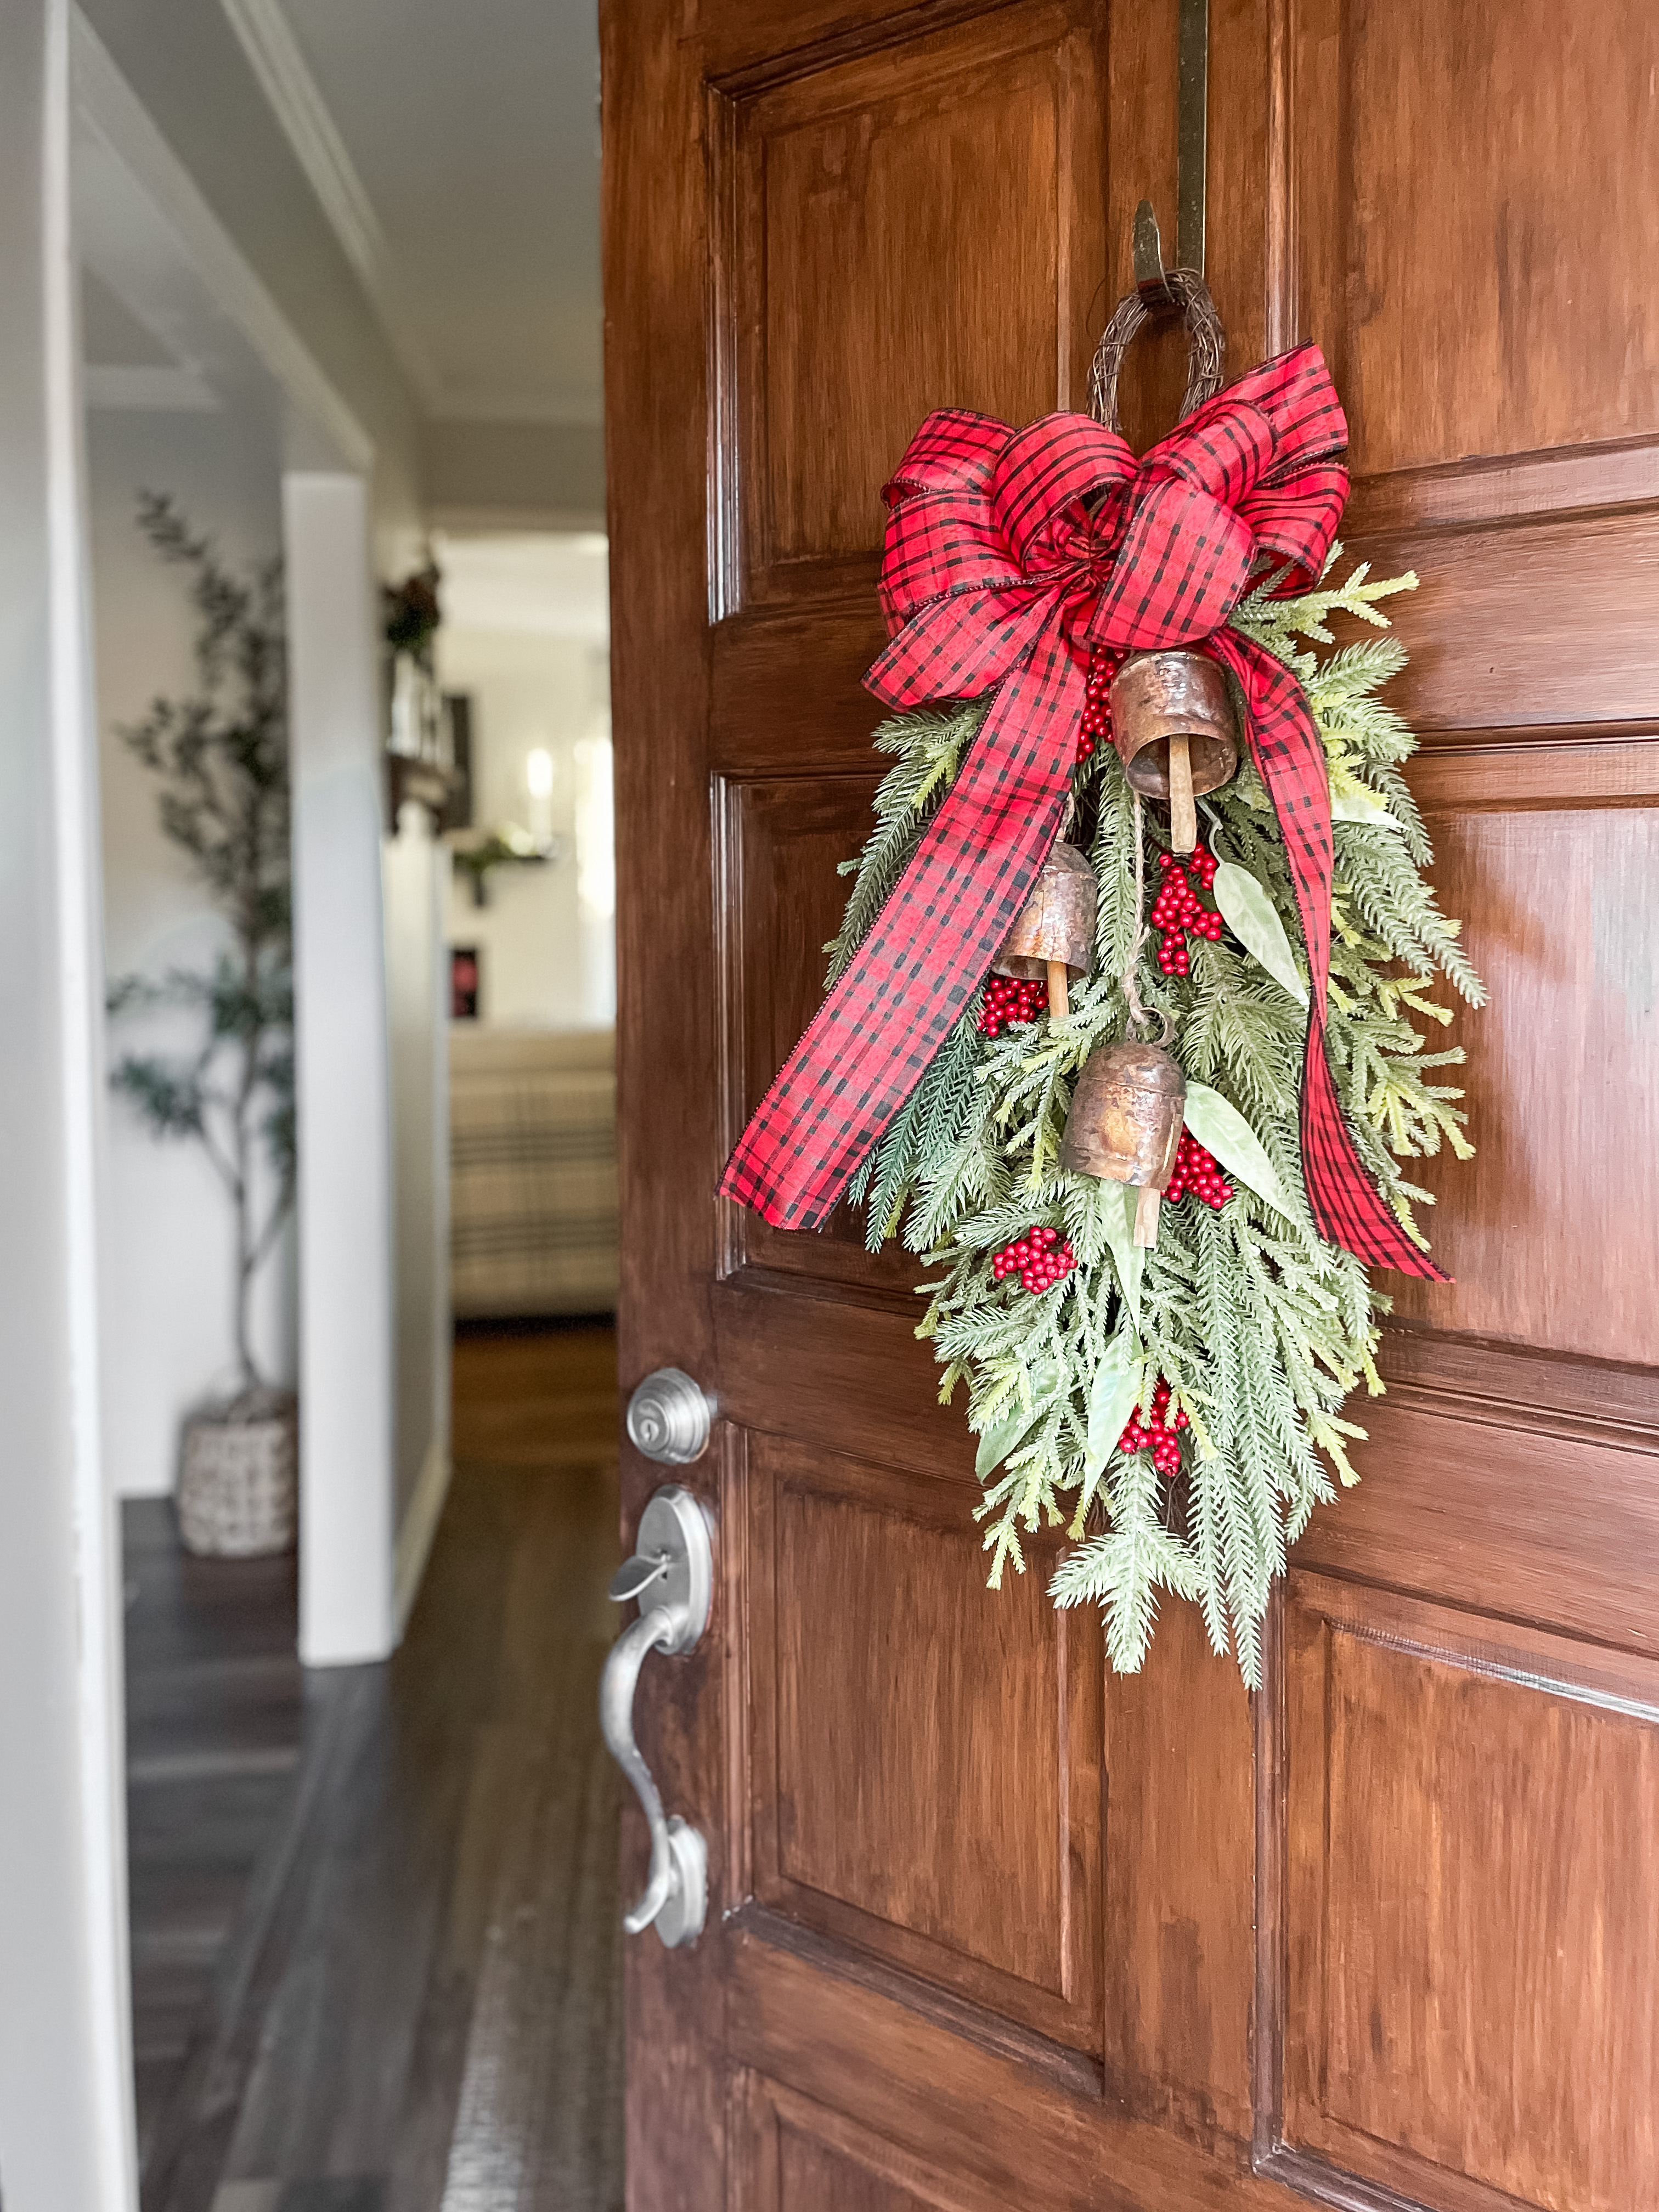
In the mood for something other than a round holiday wreath this year? I wanted something traditional with evergreen, berries, bells, and bows. I combined some affordable elements to create my own Christmas swag wreath that will last for years to come.
I went the faux route to create this DIY Christmas swag wreath, but this would be a great project to forage greenery for as well. Follow the step by step tutorial below to make one yourself in less than an hour.

Anyone remember my Easter swag wreath? This was my first attempt at DIY front door decor where I pulled together elements for an affordable solution that was both unique and festive. I enjoyed it so much, I decided to make a Christmas version as well!

And almost just as important as the door decor, is the front door itself. Would you believe this is just a plain old wooden door that was originally painted red? I decided to DIY my way to a wood look finish to compliment the brick. It’s been almost two years and I still love it. The finish has held up great, and is so much cheaper than purchasing a wooden front door.
SUPPLIES NEEDED TO CREATE YOUR OWN CHRISTMAS SWAG WREATH
-Teardrop shape swag
-Ribbon- I purchased mine in store from TJ Maxx
-Vintage Copper Bells
Wire- You can use floral wire, I used my favorite rope wire from Dollar Tree, you can find it in the floral section
-Any additional stems, greenery, berries or pine cones you would like to add to spruce up your swag
**The links to exact products in 2021 have expired, but I’ve updated the supply list with in stock options for the 2022 holiday season here.
STEP 1: Gather Supplies to Create your Christmas Swag Wreath
For my exact swag, I used only four supplies. My teardrop shaped greenery had evergreen needles, green leaves and red berries. I’ve always been so fond of these old vintage bells, and found some I loved this year.
To accent the berries, I found this large buffalo check bow with floral wire on the back.

STEP 2: Attach the bells
I used the wire covered by rope to tie and twist around the bells, and attach to the top of the swag. I chose to stagger my bells, and tied them at three different lengths.

STEP 3: Tie the Bow
My bow came with floral wire on the back, so I was able to easily attach it to the top of the swag to finish it off.


This one was quick and easy, which for me was perfect this holiday season. If you can catch the sales right, it is also affordable! I’ve been busy with a few other holiday DIY projects this year, including:
- DIY Christmas cards
- Dried Oranges
- DIY Vintage Mercury Glass Ornaments
- Hosting a holiday wine party
- DIY Marbled Ornaments
Thanks for following along, and remember to share, pin and tag me if you try this project yourself. I’d love to see how yours turns out!


