Have you ever wanted to add a little more to your tree to make it look designer, but on a budget? Welcome to my step-by-step tutorial where I will teach you how to decorate your Christmas tree with ribbon. Ready to learn how?
I don’t know about you, but decorating a naked tree at the beginning of every Christmas season is daunting. If you live with a furry cat friend, you may have to forgo the lights like us. Our cat chewed through the lights and messed them up year 1 with all his climbing, so we don’t have lights on our main tree anymore. Without lights, the tree really looked plain with only ornaments. The solution? Adding decorative ribbon!

If you’ve never done ribbon before, you may be wondering how to make it appear professional and cohesive. I have figured out the easiest way to achieve a seamless, flowing look! The key is cutting the ribbon into smaller sections so it can appear to billow down the tree, adding color, movement and texture.
Follow the tutorial below to learn how to add decorative Christmas tree ribbon. This is probably the simplest way to get the most bang for your buck with ribbon that you can use year after year.
Christmas Tree Ribbon Tutorial: Materials
I recommend using a variety of ribbon varying in color, width and texture. Make sure the ribbon has wire edges to help shape it and hold its branch so it stays in place. Some materials to search for include: burlap, mesh, satin, velvet, jute, and taffeta. Unless you don’t mind mess, I would steer clear of any glitter ribbon! You can easily find ribbon with iridescent strands woven in to give the same effect with less mess.
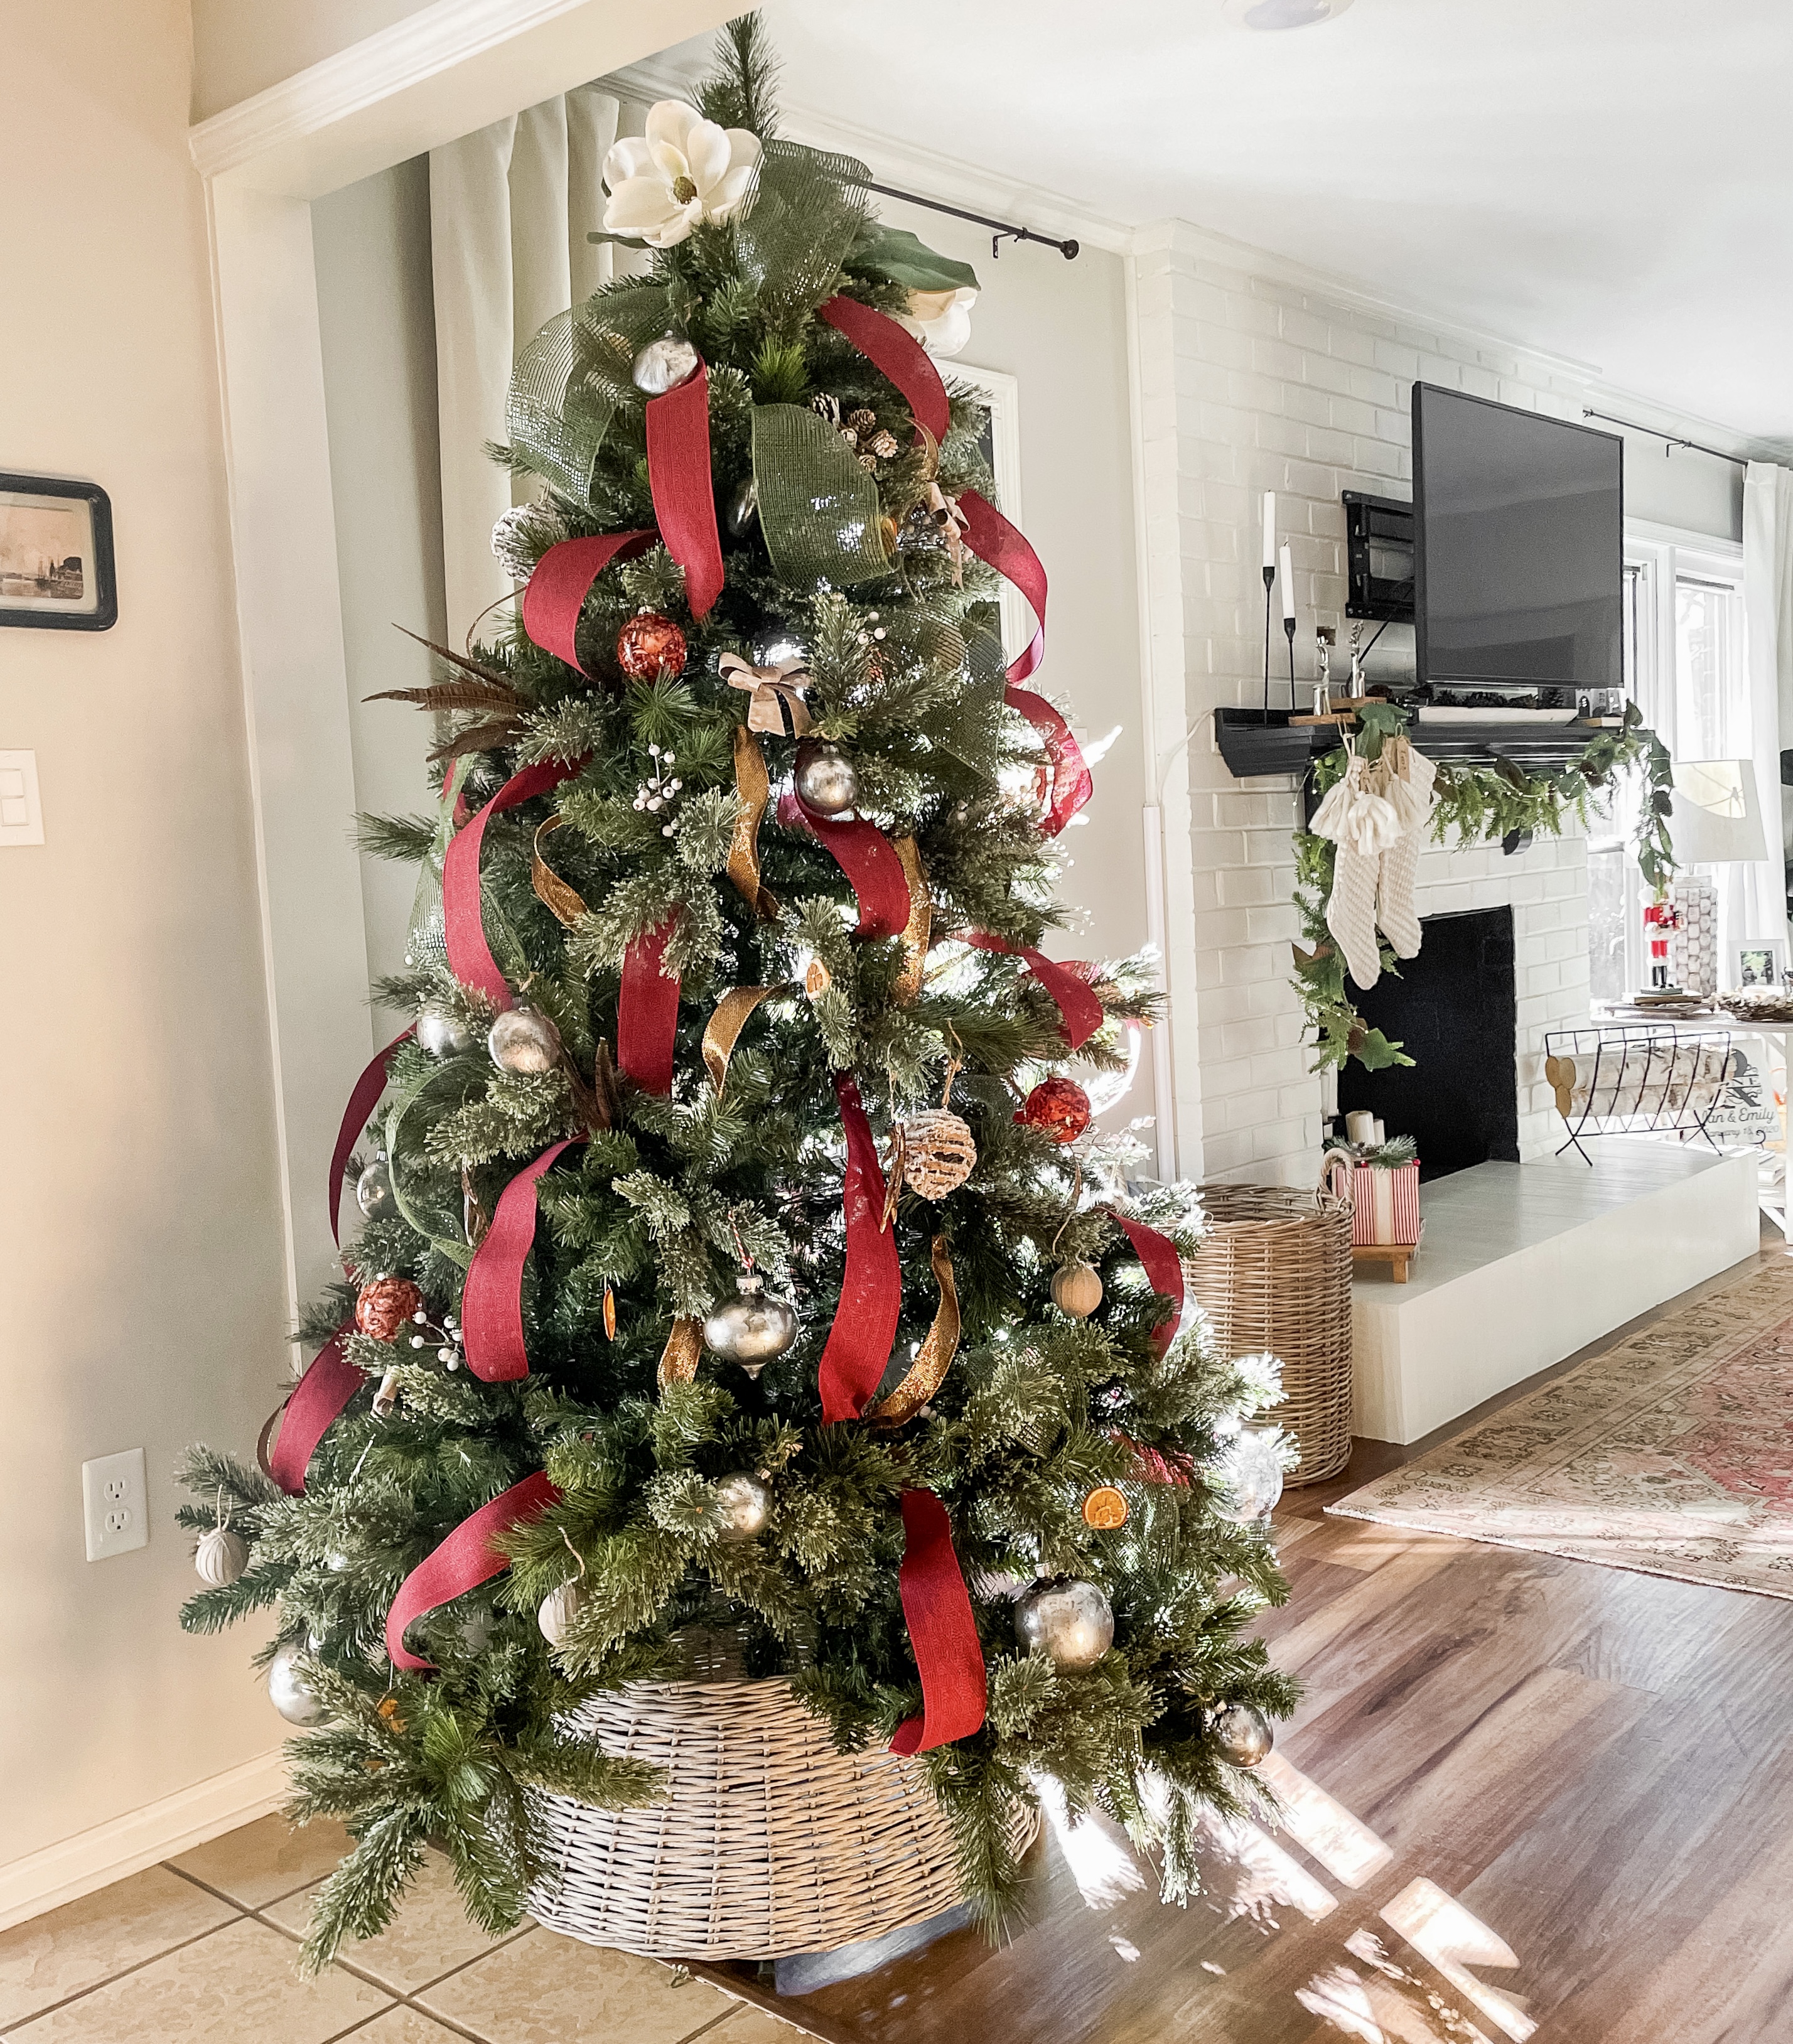
For my big tree, I used three varieties of ribbon all varying in width, color, and texture. I used a 1″ wide metallic gold ribbon, 2″ wide dark red ribbon with a muted black design woven in for depth, and a 3″ wide mesh green ribbon. I purchased these in store at JoAnn’s during the 2021 Christmas season, and can no longer find direct links. However, I’ve linked a ton of other options I’ve found to help you mix and match your own look.


Step 1: Complete your Lights
If you are putting lights on your tree, do this first. You want to make sure the lights are in place before you add the ribbon!
Christmas Tree Ribbon Tutorial Step 2: Cut Your Ribbon
After you have chosen the number and variety of ribbon you will use, it’s time to cut them down to size. I recommend cutting a variety of sizes of ribbon, from 1 ft., 1.5 ft, to 2 ft. long. These cuts do not have to be an exact science! But I’ve found it looks best to start with shorter lengths of ribbon at the top of your tree, and include longer pieces toward the bottom.

Step 3: Start Decorating from the Top of Your Tree to the Bottom
Choose a short piece of ribbon to start decorating your tree with at the top. Using your thumb and pointer finger, fold together the edges of the ribbon to form a point. Then, wrap a tree branch around the pointed end of the ribbon to secure it to the tree.
Follow the ribbon down to the other end, and choose another branch to wrap around the bottom point of the ribbon around. Make sure to leave a bit of a “billow” in the ribbon to add movement; don’t pull it taut!


After your initial piece of ribbon, grab another one about the same size or a bit longer (depending on how large your tree is). You will use the same branch you ended the first piece with to attach the next piece to. Both ends of the ribbon will be connected and using the same branch to stay in place. This helps to create the illusion of one seamless ribbon that billows down your tree like a waterfall.
If you are more of a visual person, you can check out my Instagram video of the process here.
Keep in mind spacing of your ribbon waterfalls down the tree. This will depend on how many varieties of ribbon you are using. The good thing about this technique is you can fix any pieces that don’t look quite right, are too long or short, or may have gotten a bit crooked. Every few ribbons, I usually take a step back and assess the tree to make sure everything looks good. There is truly no right or wrong way to add Christmas tree ribbon!


Christmas Tree Ribbon Tutorial Step 4: Add Picks, Ornaments and Other Decor to Complete Your Tree
Once your ribbon is complete, you are free to start placing tree picks, ornaments and other decorative elements to your tree! I have done these steps out of order before- and that is ok too. Last year I decided to add ribbon after I had decorated the tree with picks and ornaments. It’s just easier (and preferred) to do the ribbon first, but you can definitely add it after the fact as well.
Our cat doesn’t climb our small tree, so it gets lights and my collectable glass ornaments. The big tree is his playground the entire Christmas season, so it stays dark with only shatterproof ornaments.

Some ways I’ve kept the larger tree lively and decorative is with ribbon and some other favorite elements including:
–Large DIY Mercury Glass Ornaments
–DIY Marbled Ornaments (using nail polish!)
What do you think? Looking at the before and after, I definitely managed to affordably and fairly easy turn my tree into a fuller and more professional product that better suits my style. It is possible to love what you already have with a little creativity and a good DIY tutorial. I hope to always inform and inspire.


