Learn three ways to update a vintage dresser at home WITHOUT paint on a budget. Find out what I did to bring an antique into this century in my gender neutral nursery.
There is nothing quite like sturdy, wooden and worn antique furniture. I had been scouring facebook marketplace for the perfect dresser, and I just hadn’t found anything right yet.
According to my research, I was looking for a small dresser that was at least 36 inches tall, 18 inches deep, and 35 inches wide to use as a changing table.
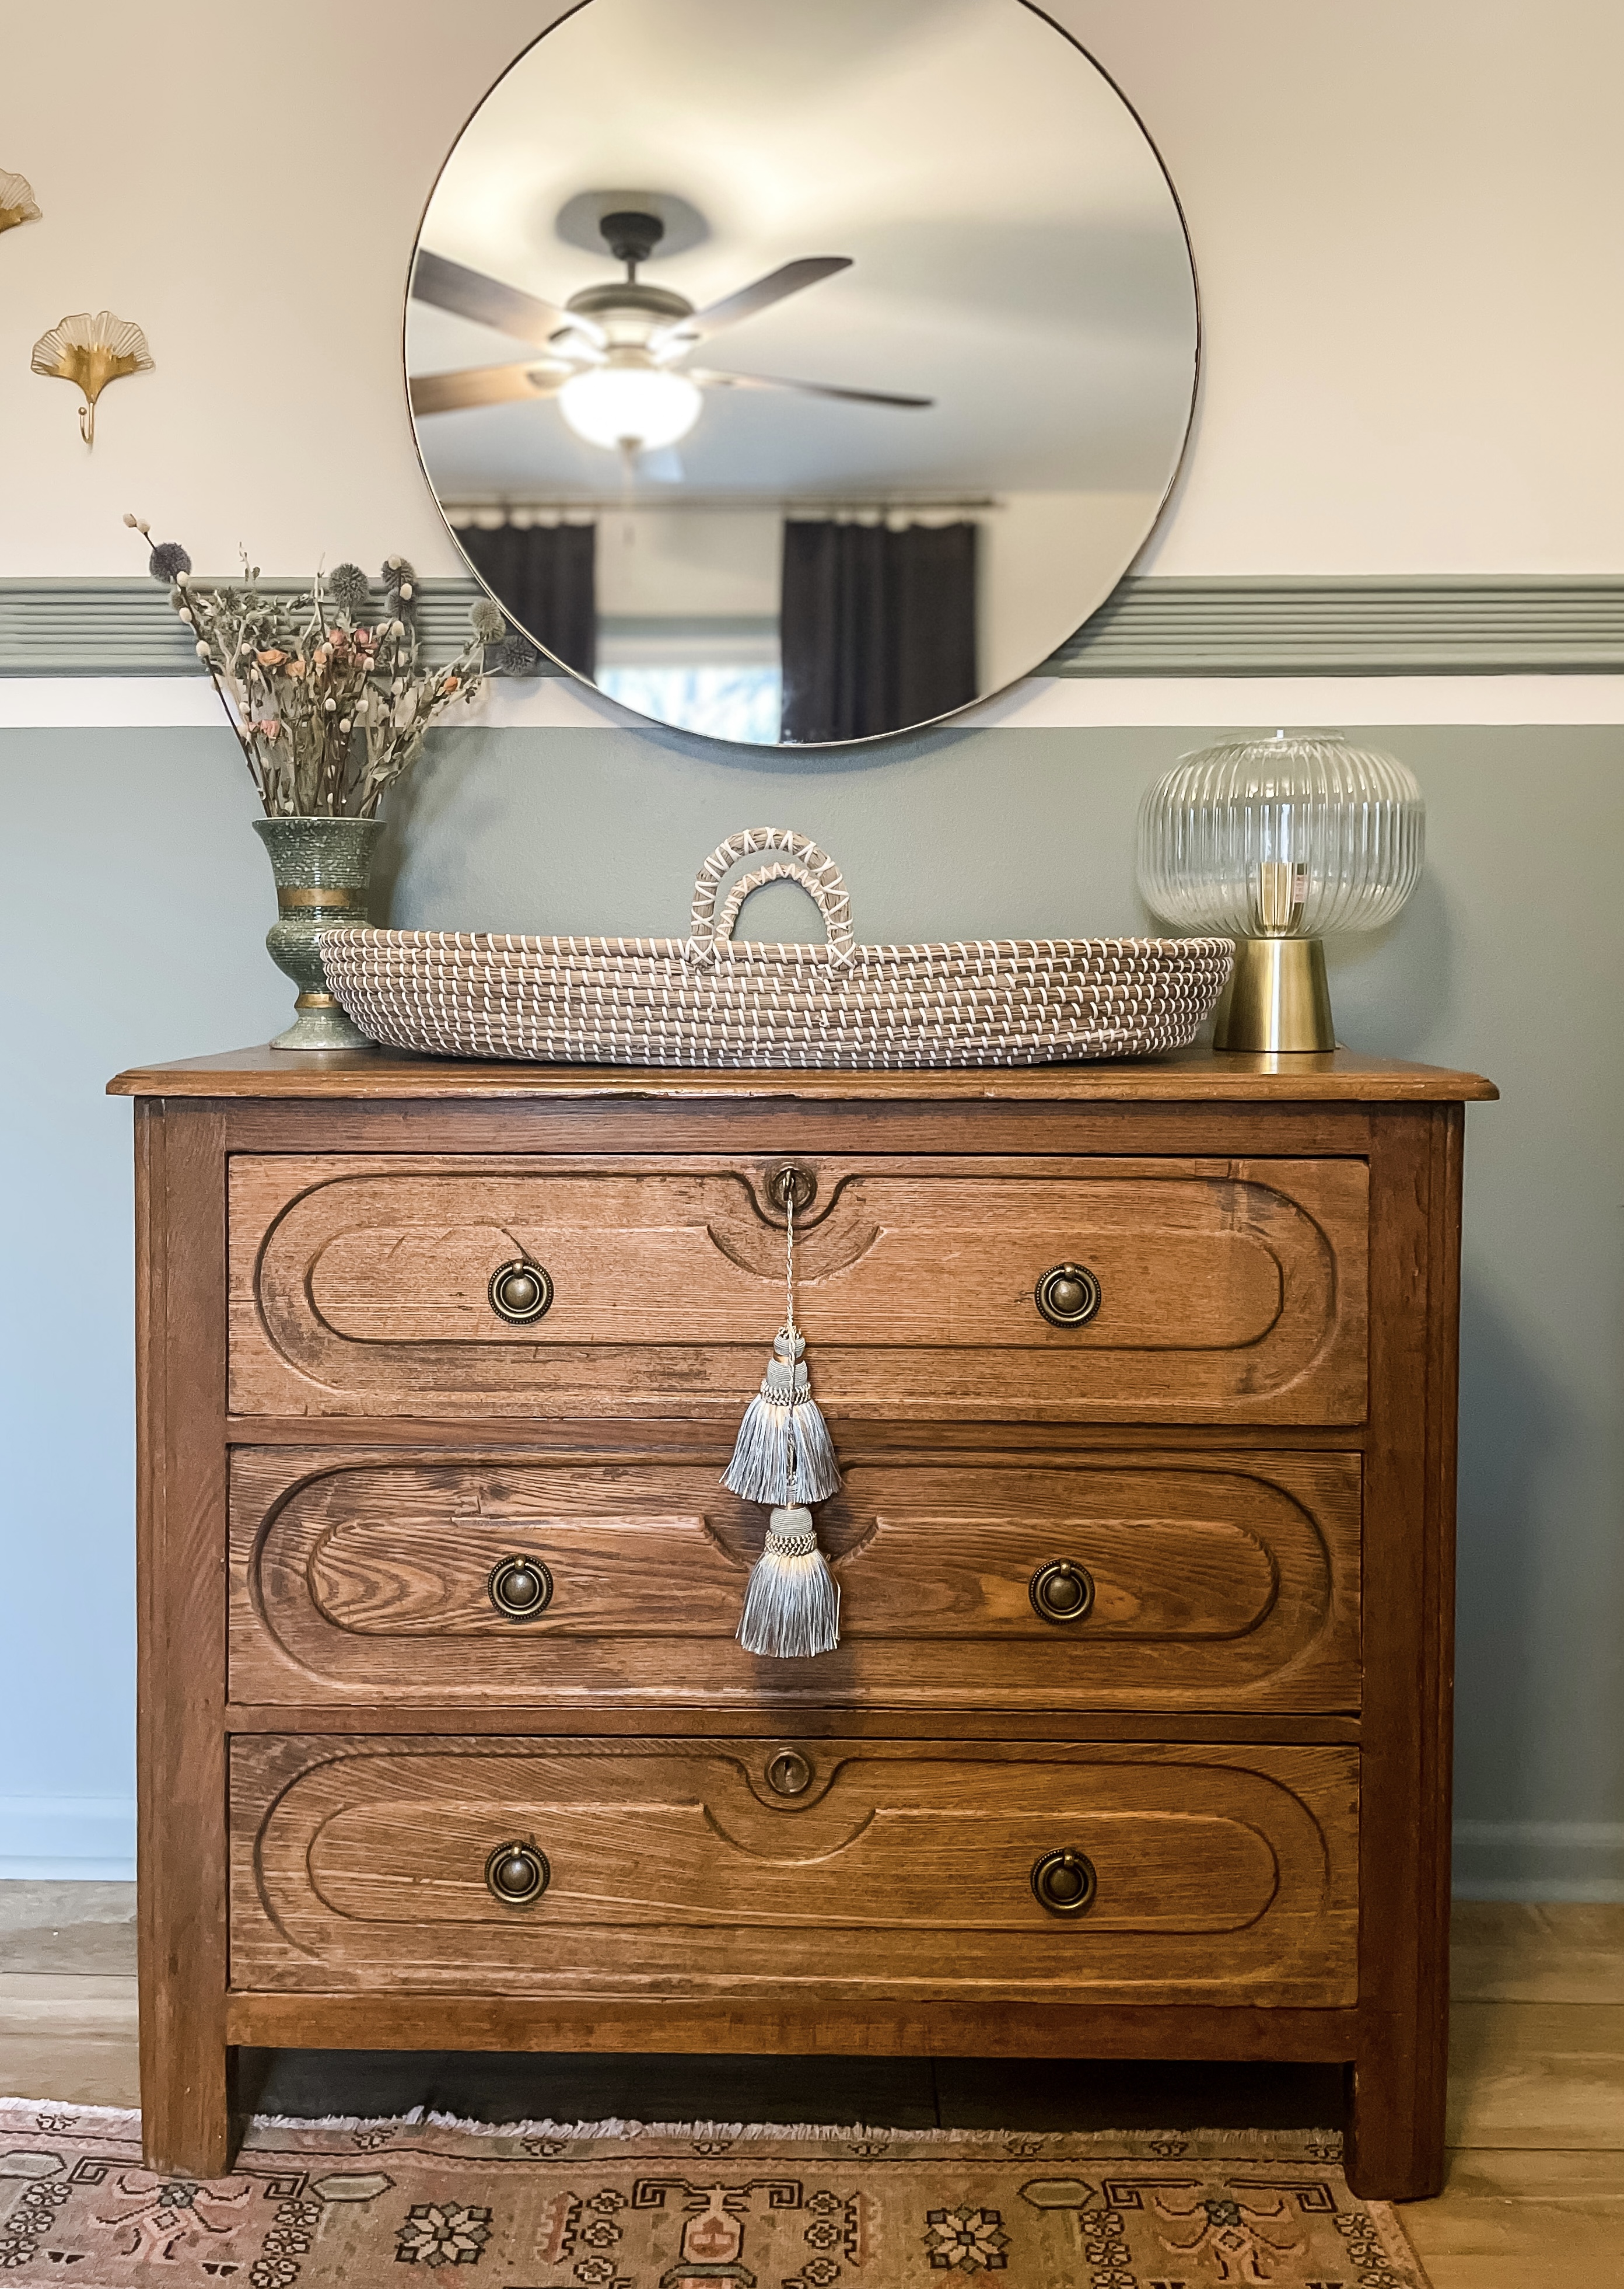
When we were home for Christmas, my mother-in-law offered this antique chest of drawers that was just about the perfect size! You can’t beat free, or furniture passed down through family. It was great as is, but I decided to do a few things to make it feel like my own and fit the space. Let’s learn how you can update a vintage dresser!

This post contains affiliate links for your convenience which may reward me in the event of a sale. Note that I only recommend tools and products I have personally used and loved.
STEP 1: Update Hardware
The existing hardware consisted of 6 wooden knobs. They were fine, but blended into the rest of the piece. The dresser was going in our gender neutral nursery with a brushed bronze crib and rocker, so I decided to pull in more metal elements to match.

I found antique pulls from Etsy that were the perfect size and finish. It was quick and easy to remove the old wooden knobs, and replace with the new hardware. I like the contrast and the way it makes the piece feel customized to match the space.
Throughout my home, I have replaced hardware in just about every room. This recommendation can (and should!) be generalized to the rest of your home! In fact, it’s one of the first five things I recommend doing after you close on a house.
Choose a finish and carry it out through the room or even the house for a cohesive look. I have custom hardware in the kitchen, bathrooms, and on other second hand furniture pieces throughout our home. It is an inexpensive fix that can elevate any space.
Step 2 to Update a Vintage Dresser: Add a Key + Tassel
I love when vintage dressers have locks and keyholes! The addition of a key is unique, and gives the opportunity to add a decorative tassel to bring color and texture. But how do you know the key you buy will fit? I’ve learned a bit about keys traditionally used for vintage furniture.

What’s a Skeleton Key?
Have you heard the term ‘skeleton’ key? These are the types of keys to buy that fit into most antique pieces. And the name is fitting; these keys have been hollowed out on the inside and the serrated edge removed so that they can be used to open a large variety of locks. Essentially- the key has been reduced to only its essential parts to make it versatile, hence the name ‘skeleton’ key.
Skeleton keys and locks date back to ancient civilizations as early as 4000 BC. Today, you can find antique skeleton keys priced around $10 or cheaper, while older, ornate skeleton keys may cost as much as $1,000. You can find them at estate sales, antique shops, or online. I purchased two different keys for under $5 a piece.

Never shopped an estate sale? Or wondering how to find them? I spill all my shopping tips and tricks here to help you score amazing secondhand finds. Here’s a list of 10 things I always buy when thrifting if you’re curious.
Tassel Time
Now lets talk about the decorative tassels you can hang from your skeleton key. The use of tassels dates back to ancient Egypt and Mesopotamia where they were used for more symbolic measures to ward off evil spirits. Tassels first became used as decor in Europe and were a sign of status and nobility.
In the 17th century, King Louis XIV of France used tassels to embellish the costumes of royals and in their residences. Drapery tiebacks adorned with tassels also became popular during this time as well. In 19th century, tassels became a popular choice to dress up upholstery and could be found hanging from the edges of chairs and sofas.
Even today, tassels used for decor have a European feel. Although designers agree that classic thread-bundle tassels work best in traditional rooms, I think you could find ways to incorporate them into almost any room and style.

The most traditional way to use a tassel is to hang it from a skeleton key in a chest of drawers (or any piece of furniture) with a lock. It’s a simple way to add color or style to an otherwise dull or dated piece. Some other ways to use tassels include on window treatments as curtain tie backs, on wall tapestry rods, from the edges of pillows, on dining room chair backs, or from lamp pulls. The possibilities are endless! Here are the tassels I purchased that come in a pack of 2 for less than $10.
Want to save this post for later? Pin it here!

Step 3: Clean
This may sound obvious, but when you purchase a vintage or antique dresser it may come with vintage or antique smells. The inside of my drawers were tired and musty, so I decided to clean them and restore them to glory.
Bacteria or mold are typically the culprits that cause wood to smell old, so first use a damp cloth with a 50/50 mix of vinegar and water to wipe the whole piece down, inside and out. Be sure to remove the drawers so you can get inside and underneath as well.
Next, you can fill a bowl with an odor lifting agent such as vinegar, coffee grounds, cat litter, or baking soda and leave it inside the closed drawers for several days to help absorb even more odor if you feel there is still some lingering.
This process is eerily similar to how we removed 30 years of cigarette smoke odors from our home. The complete tutorial (that still brings up a bit of PTSD) is here if you need it. Odors in your home are never fun, and its good to know how to remove them! When your house smells like you instead of whatever was there before you, the reward is worth the work.
After a thorough cleaning and odor removal, I lined the tired inside of the drawers to create a smooth, even and clean surface to store all the baby goods in. I chose an affordable, marbled print linter.

You can find waterproof, scratch-proof, crack, tear, and stain-resistant liners depending on the level of protection you need! To apply, measure the inside of your drawer and cut the lining down to size. You can either lay in the drawer, or affix with double sided tape or a stronger adhesive depending on how permanent you want it to be.
Update a Vintage Dresser- Done!
So there you have it! 3 easy and essential ways to update a vintage dresser. You can do one or all of the steps, but I promise these will help you be happy with your antique find.
Still need convincing that you should be shopping secondhand? I outline 5 reasons to thrift home decor here to fight the fast furniture trend. Your home, pocketbook, and the planet will thank you. I’d love to hear about your experiences!

Enjoy the process,