Wainscoting, wall treatments, moulding, millwork, wood paneling … whatever you call it, these wall additions can really elevate your space. Learn how to choose and install the right treatment to make a big impact.
Today I want to share 10 of my favorite ideas for adding wall treatments throughout your home! In my opinons, there are no rules or limits to where your creativity can take you. I hope to inspire a project or two and get your wheels turning about how you can add one (or more) of these wall moulding ideas to your home.
But before we get too far, lets figure out what the technical difference between all these terms is.
“Wall treatment” is a general term, used to describe any type of “treatment” applied to your wall. “Wainscoting” is general term as well, used as early as the 14th century to describe any type of wood paneling that covered the bottom of walls. Historically, this panelling was used to protect walls from dings, scuffs and furniture. Today, wall treatments can still serve the same purpose, but are generally viewed and installed decoratively.

“Moulding” can also be thought of as trim. Moulding includes baseboards, crown moulding, chair rails and door and window casings. Moulding can also be used to cap off another type of wall treatment or wainscoting to create a more finished look.
Finally, “millwork” is historically any decorative material produced in a wood mill and includes doors, panels and moldings. So some of these terms are more general, while others are more specific. To encompass any type of decorative wall detail I will use the term “wall treatment” throughout this guide!
Did you know? Guide to Wall Treatments Fast Facts
-Wall treatments can make an impressive first impression. Consider installing it in the first room guests see when they enter your home.
-You do not have to follow the same pattern, design or type of wall treatment in every room. Personalize it to fit the needs of that room.

-Common ratios when splitting up a wall to add a wall treatment is thirds. Installing moulding on the bottom third when it is about the same height as the rest of the furniture in your room can actually make it feel larger! I’ve also chosen to install a wall treatment over 2/3 of the wall (or about shoulder height). The rule of thirds is always a visually appealing choice.
So now that we know a bit of background, let’s dive into all your different options. Welcome to your complete guide to wall treatments!
Want to save this guide for later? Pin it here!

1. Shiplap
My introduction to wall treatments was shiplap courtesy of Joanna Gaines on Fixer Upper. I had never seen wood added to walls (unless it was dated wood paneling in my grandparents basement), and loved the texture it added to all her designs.
I also love the versatility and rustic feel of shiplap. You can install it horizontally or vertically. On one wall, or multiple. You can even install it on the ceiling! Painting it white is Joanna’s go to and helps modernize the look while keeping it bright & clean.


Source: Magnolia- Fixer Upper, Welcome Home
However, dark and moody is also trending. So don’t be afraid to stretch your comfort zone and paint your shiplap a deep and dark shade such as brown, navy or an earthy green.

2. Fluted Moulding
Here is an extremely unique take on wall treatments. I’d been personally dreaming of adding fluted detail somewhere in my home since I wrote this top trends of 2021 post. It is now 2023, and far past time I incorporated fluted wood in one of my DIY’s.
I drew inspiration from this pole wrap panel moulding Terra Nelson did. She used a vertical fluting pattern that required many more cuts than if it were horizontal. But I do love the look! She used pole wrap which is a great, versatile product that can make our fluted DIY dreams come to life more easily and affordably.

I chose to install a horizontal fluted chair rail in a color block pattern to add a statement in our gender neutral nursery. The installation guide includes a full project tutorial and direct supply links for your convenience if you are brave enough to incorporate a fluted wall treatment in your home!

Guide to Wall Treatments #3: Bobbin Molding
There is no limit to the creativity and variety of wall mouldings- and this bobbin trim is no exception. I love how fun and whimsical the oversized “bobbins” are. I am visualizing this trim in a children’s bedroom, or maybe a fun home office or traditional sitting room space.


Source: Decora Mouldings
4. Board and Batten
Board and batten is a great choice if you are a beginner just jumping into the world of installing your own wall paneling. This is the first wall treatment project I completed, and learned a lot along the way. I installed it in our guest bathroom, but I love the look just about anywhere in your home. Bedrooms, dining rooms, living rooms, etc.

Board and batten typically includes both the vertical boards, and horizontal battens on the top and bottom. However, there are variables to the traditional look including just battens or a grid wall. With so many variations, this is a wonderfully versatile choice.

Historically, “board and batten” referred to the process of actually framing a home. The horizontal battens were nailed to the vertical boards to seal gaps in the siding after a home was framed. Today, this wall treatment indoors is only aesthetic in nature.
5. Plaid Accent Wall
If this isn’t the most fabulous and creative wall treatment execution, I don’t know what is. The plaid pattern is so unique and refreshing! It is absolutely perfect behind a master bed as shown below. This project would require more planning, precision, and math. But in my opinion, would be more than worth it.

One of my favorite Instagram follows Renee Renovates just completed a plaid patterned wall treatment in her entryway AND up the stairwell! Watching her complete this monster of a project was so inspiring. And the final product is so good. DIY will never cease to amaze me.
Guide to Wall Treatments #6: Beadboard
The charm beadboard adds to a space is undeniable. I have had panels in my garage for over a year just waiting for the perfect inspiration to hit. Until then, I will admire it in other people’s spaces.

Beadboard is type of paneling with narrow vertical grooves and small ridges known as “beads” . Typically, beadboard is be found in bathrooms, kitchens and on ceilings. However, I think this type of wall treatment is versatile and can work anywhere!


Source: Stonington Bourough CT & Sprucing Up Mamahood
Install is also simple since beadboard comes in panels. This is a great beginner friendly project.
7. Tongue and Groove Paneling
Similar to beadboard, tongue and groove paneling is a vertical slatted pattern as well but is traditionally made up of wider planks (and does not come in one large panel). Perhaps even more similar though is shiplap!
The main difference between tongue and groove paneling and shiplap is the manner of installation. Shiplap panels overlap, and take a bit more work to install flat and orderly. They also run the risk of shrinking and warping over time depending on your climate. Tongue and groove on the other hand can be more expensive, but is installed in an interlocking puzzle pattern where indentations and grooves fit together perfectly. This makes install easier and often creates a cleaner, more uniform look.


8. Box Moulding
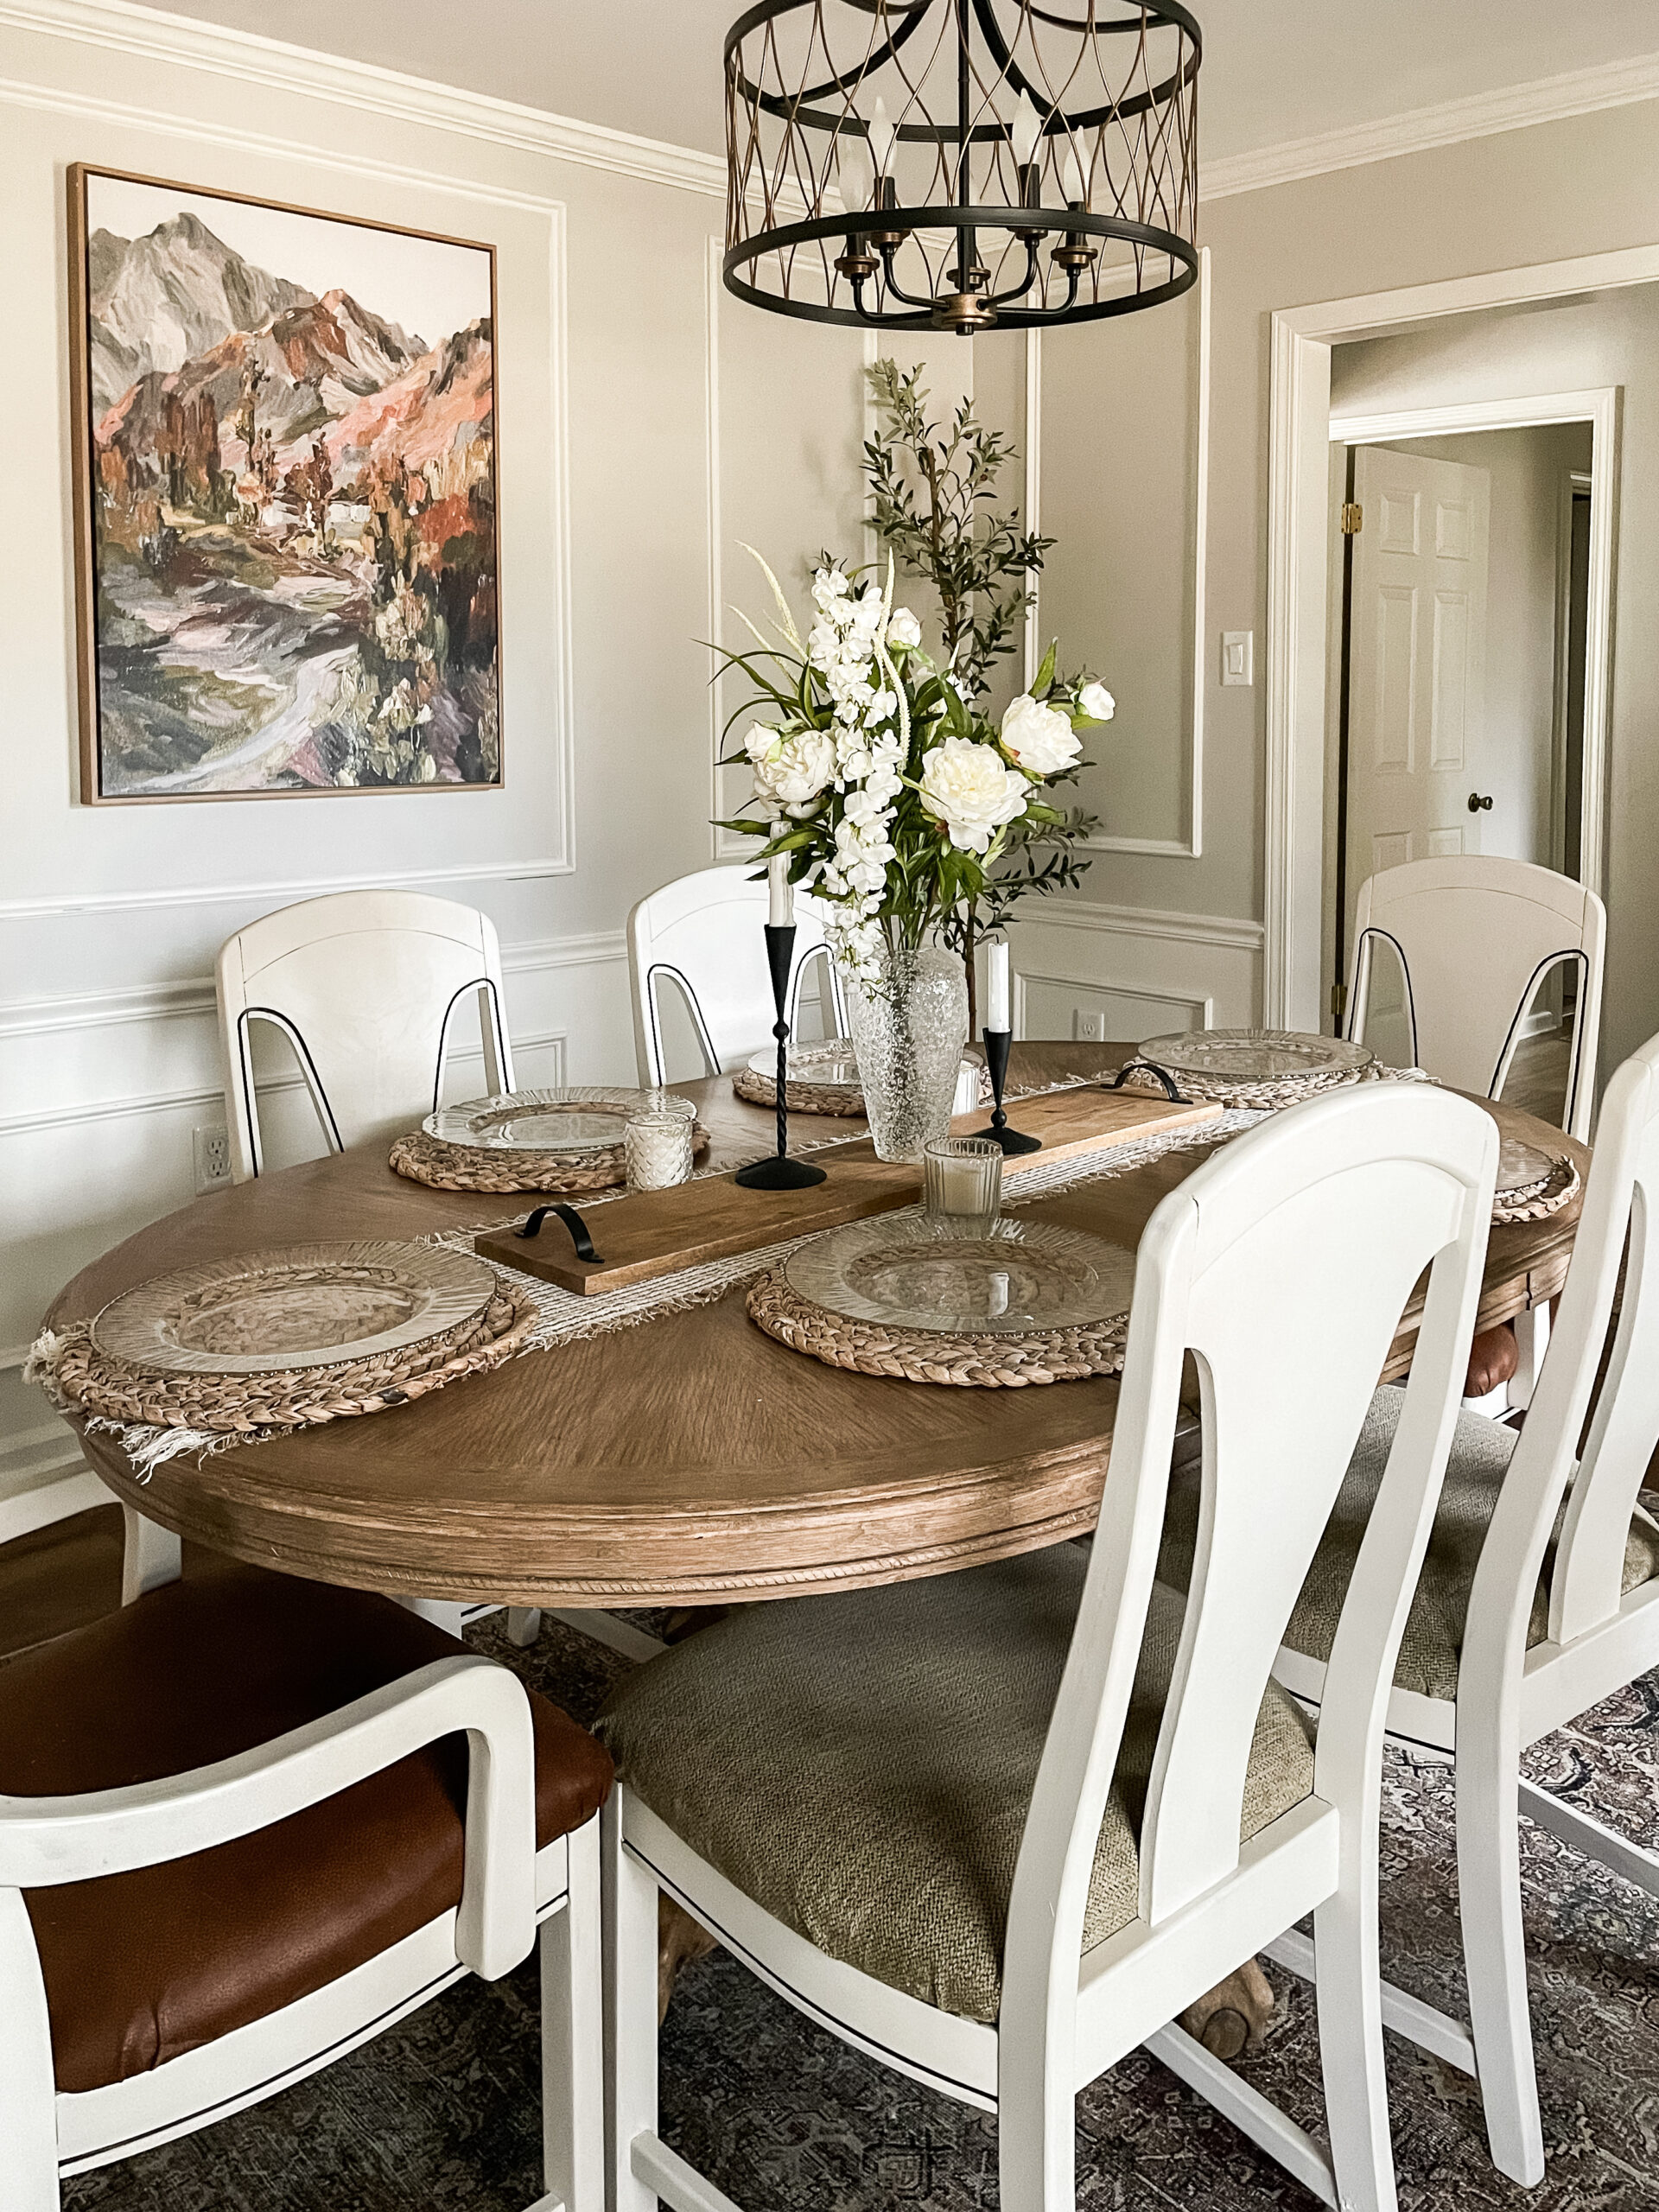
Box moulding or trim can also be known as picture frame moulding. This is one of the more traditional and elegant types of wall treatment on this list. I love the look in a formal dining or living room.
I took on this project last winter and am so happy with the results. The box moulding added so much character and timeless elegance to these walls! And overall is an inexpensive way to add custom elements. Oh, and did I mention this project can be done WITHOUT a saw?

Want to kick your box moulding up a notch? Add wallpaper inside the frames! I think this inset wallpaper is such a fun touch.


Guide to Wall Treatments #9: Slat Wall
Not only is a slat wall aesthetically pleasing, it is also one of the easier and more inexpensive wall treatment options! A slat wall is essentially a series of wooden slats installed at whatever width you choose. It is perfect for beginners because of the simplicity and 90* angles.

One of my favorite executions of the slat wall is by Lauren at Blesser House. She used incredibly inexpensive lattice strips to create her slats. “Lattice” are thin strips of wood usually used outdoor for trellises or porch skirting. But they are a perfect solution for interior wall treatments as well!

10. Herringbone
Last but not least, the herringbone pattern has been having a moment lately. I’ve seen flooring installed in a herringbone pattern (see above), but what about wall treatments? I say go for it!
This is going to be a more advanced project due to the angles, but would be a fun way to add movement and dimension to your walls.

This list is not all inclusive, and never will be because the possibilities to add wooden accents to walls is limitless! These are my top 10 favorite ideas, and a good mix of beginner and more advanced projects. Each one adds a level of texture, color and dimension to otherwise blank and empty walls. Which one do you want to incorporate into your home first?
Enjoy the process,


