I have perfected the art of toning down dated orange tone wood with 2 products, no chemicals required. Keep reading to find out this simple and easy trick to modernize orange toned wood in just 3 steps.
The current trends seem to be leaning toward more weathered, white washed, or natural wood tones these days. So the brighter orange stains have fallen out of favor. In the right places and doses, orange toned wood can be worked around. Or you may even prefer the orange tone! But sometimes, you need to modify it to make a room more modern, or more your style. Don’t worry, I’ve got you!
This technique has been perfected over the years with projects including my secondhand dining room table, and our guest bathroom vanity. I have tweaked it as I have used and learned more about different products, and found a way to keep the wood tone while toning down the orange tint.
My First Time Using Antiquing Wax
My first time using antiquing wax was on our guest bathroom vanity that was…. yes, you guessed it. Orange. I desperately needed to tone down the orange wood to help the vanity blend with the pink and purple tiled floors. There were a lot of crazy colors going on in this bathroom! For a full history and project list to see how these before and after photos were achieved, you can read about it here.


I used a chalk paint + antiquing wax to achieve the finish, and avoid having to sand. Although I was extremely pleased with my results, the wood grain did get covered up with the chalk paint. The antiquing wax helps achieve a faux wood finish, but the actual grain is gone. I wanted to see if I could find a way to let the natural wood grain still shine through.
Second Experience Toning Down Orange Wood
My first time using liming wax was on our Facebook Marketplace dining room table. We found this solid wood table for a great price. And although it was not orange toned wood, it was dark and needed a facelift. I used liming wax and antiquing wax in combination for the first time, and loved the weathered wood finish I was able to achieve with these products.


To read more about how the dining room table went from the before and after you see above, you can find all the details here.
Current Project: Tone Down the Orange Wood Riser
I found this ceramic wood framed riser from my favorite local thrift store for $4. I thought it was the perfect size to add height to my newly painted vintage lamp. I wanted the wood frame to be more weathered and warm, so I did this quick DIY with just 2 products.


Supplies Needed to Tone Down Orange Wood
To tone down orange wood, I used the following supplies:
–Mask
-Rag
-Brushes
STEP 1: Sand the wood
The diligence with which you sand, depends on what you are transforming. For this project, it was a simple cosmetic fix. Not a big deal, and didn’t have to be perfect. I used my mouse sander with 120 grit sandpaper to take off the finish. My goal was not to remove stain, or get down to raw wood.
However, depending on your project that may be your goal! In which case I would recommend you spend much more time sanding. You always start with the lowest grit (most rough, like 80 grit) sand paper, then move your way to the higher grits (less rough, like 220 grit) to get a soft finish.
Don’t want to lose this tutorial? Pin it here to safely save it for later 🙂

After sanding, wipe your piece off with a tack cloth to remove any dust or debris from sanding to reveal a clean and smooth surface.
STEP 2: Apply Liming Wax
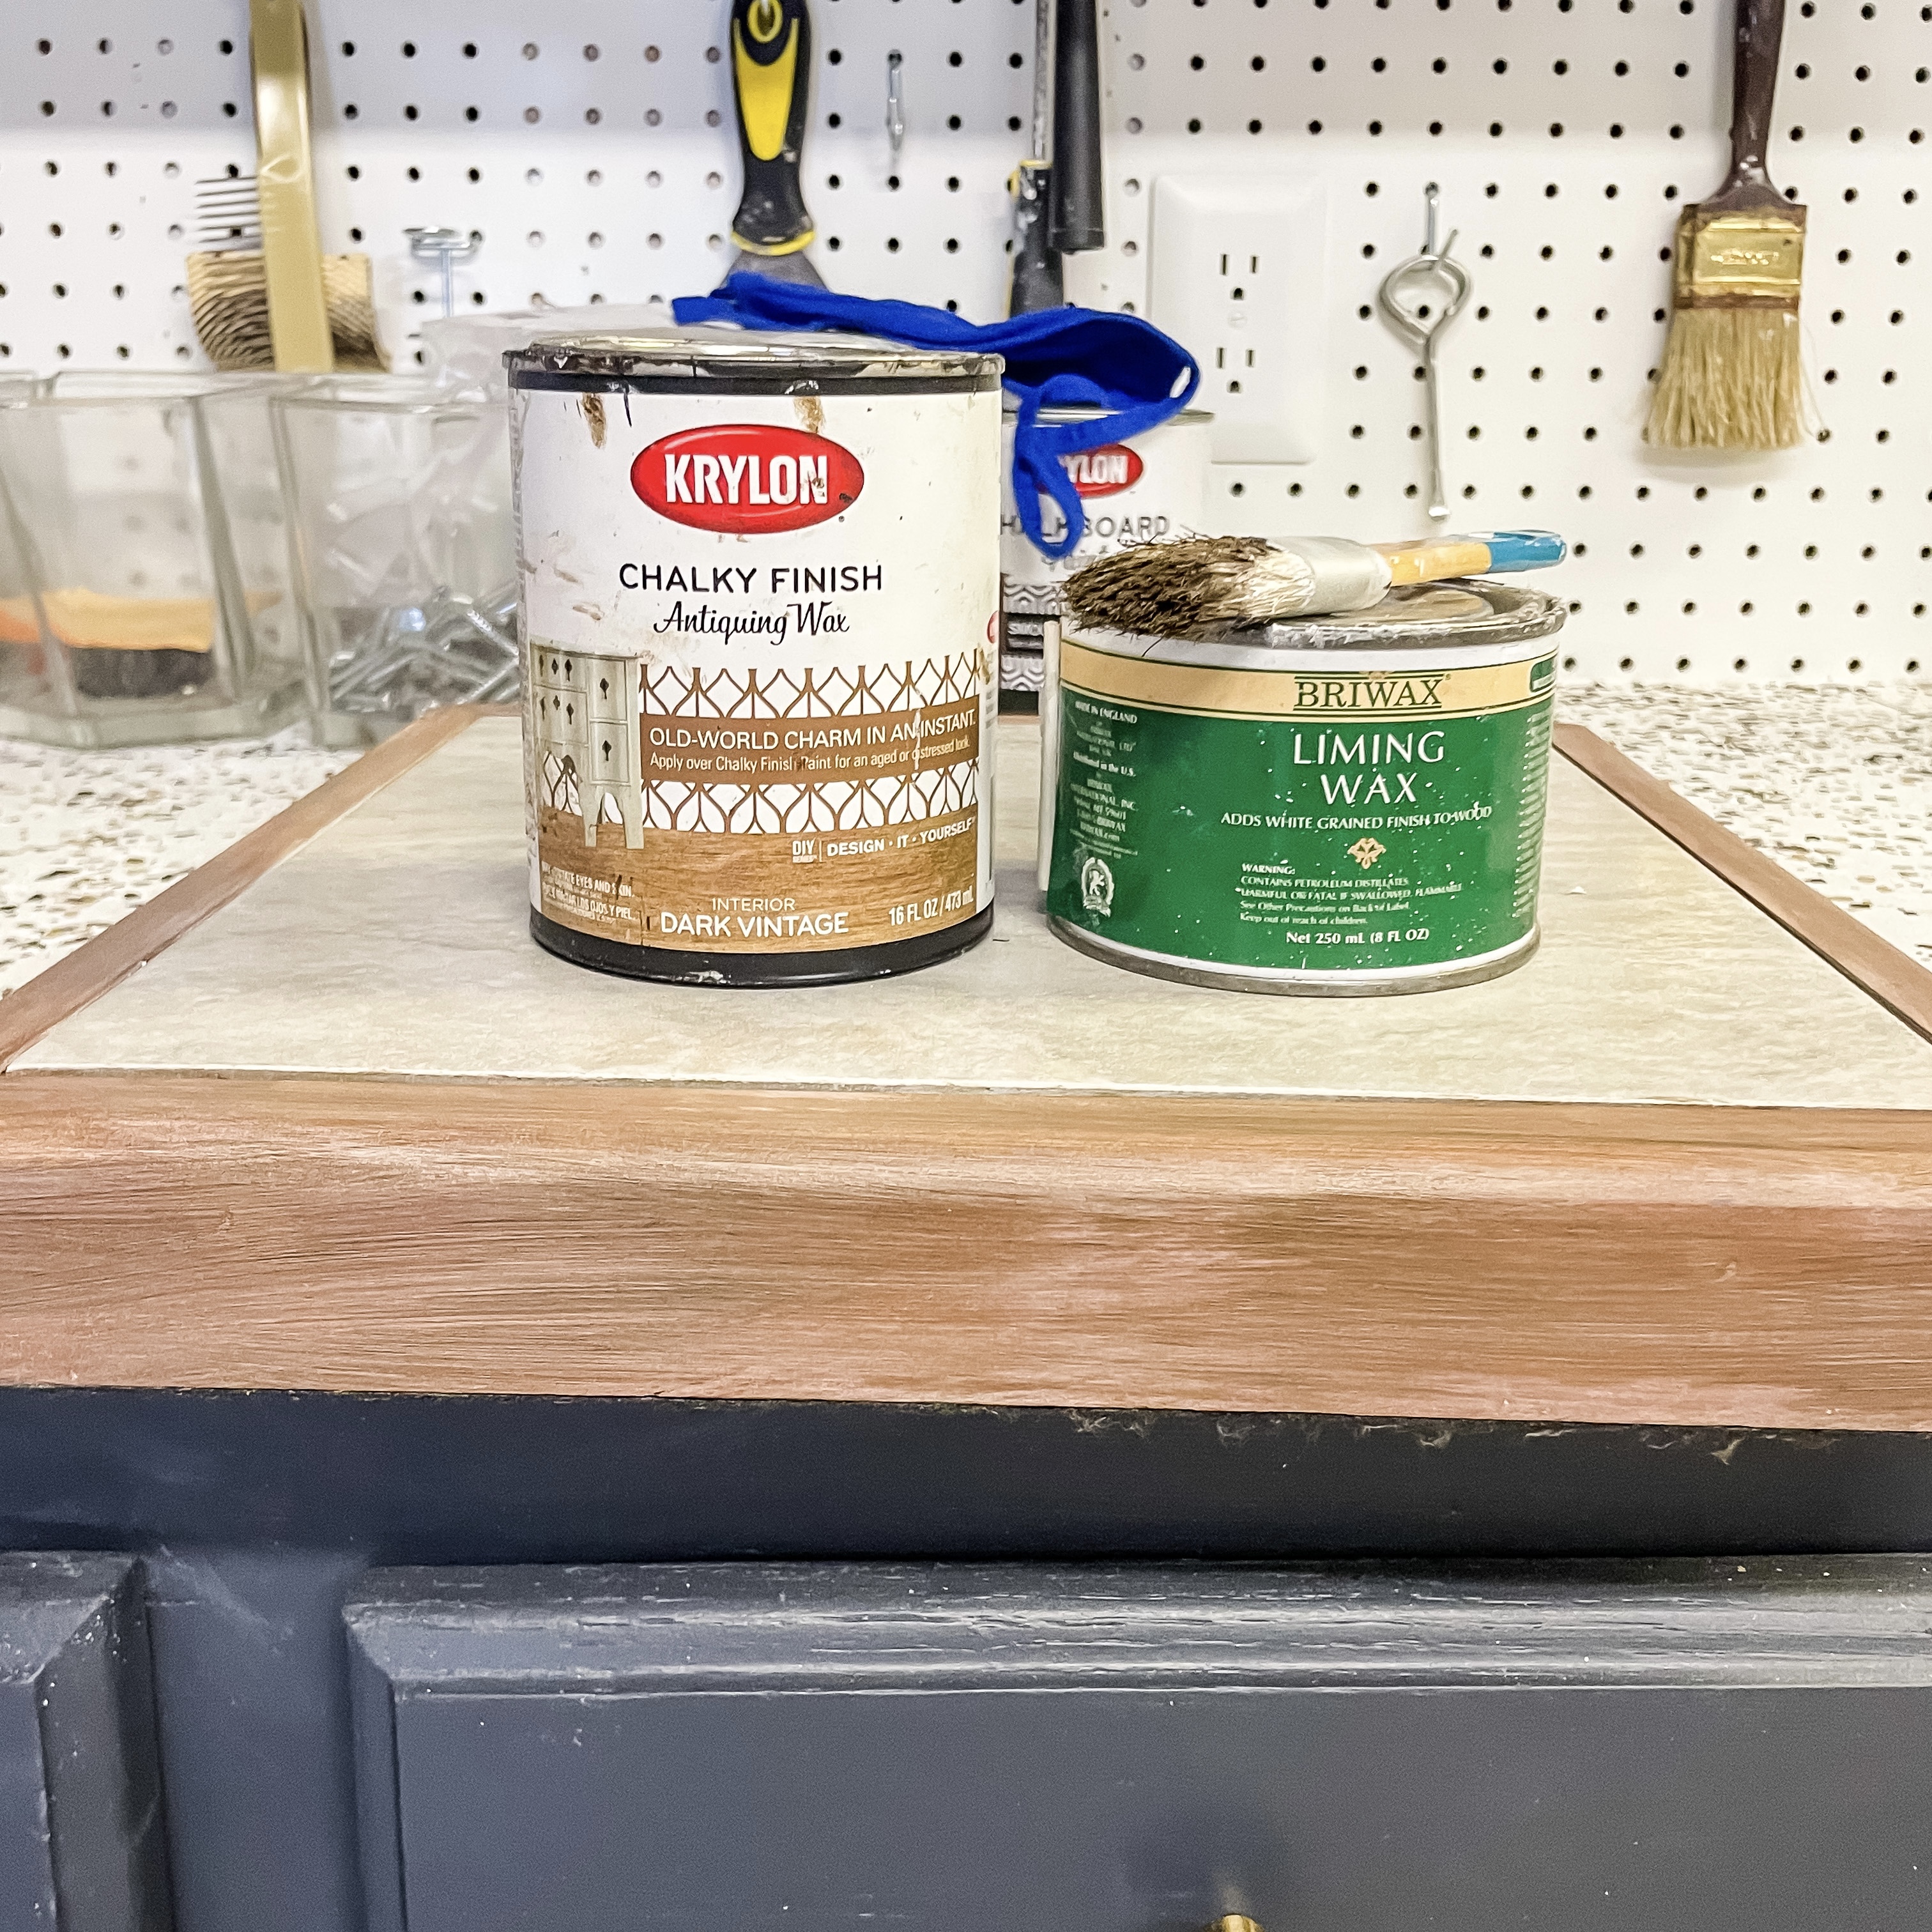
After your piece has been sanded and any finish has been removed, it’s time to apply the Liming Wax. This white wash helps to neutralize the orange, and lighten it up. I used a small paint brush I already owned to paint in on, then a rag to wipe off the excess. It leaves a faint, white wash on the wood.


STEP 3: Apply Antiquing Wax
This is the only brand and shade I have used in wax, and I will never search for another. I love the Krylon Dark Vintage Antiquing Wax. It is such a warm color, and can be applied to mimic variances in real wood grain. In fact, I used it on top of white paint to totally fake wood on my bathroom vanity. In this instance, I was able to achieve a more “grain like” application with a Chip Brush. But for this project, since I did not cover up the old wood grain and only lightened it with liming Wax, I used a regular paint brush to apply.


With Antiquing Wax, a little goes a long way. Apply it with your brush sparingly, then feather it out. You can control how much or how little you add. It does dry quickly! So work in small areas at a time. I would apply a few blots onto one side, then work it in until I was happy with the finish before moving to the next side.

And that’s it! You’re done! Again, depending on the project you may want to add a finish to help protect or seal your piece. The Liming and Antique wax should provide a small level of protection, plenty for a lamp riser. If you need something more heavy duty, I prefer a paste finishing wax to seal furniture. Note that a wax sealer does not provide the same “hard” finish as poly, but it still protects from scuffs, stains and scratches with a softer finish that feels smooth and resists water.
Please let me know if you have any questions, but this combination can be applied to so many wooden surfaces to create a modern, warm and weathered finish WITHOUT the use of any harsh chemicals, stripper, or stain (all of which can be a pain to work with). I know the amount of options for wood products can be overwhelming, but these have proven themselves 3 times on 3 different projects.


