Perfectly hung and styled curtains are a non-negotiable element to a well dressed room. But sometimes it’s hard to know exactly how to achieve the perfect hang. Let me teach you how to hang curtains with clips to get the perfect faux pinch pleat without spending a fortune.
1 room. 8 weeks. Countless DIYers coming together to encourage and inspire. Welcome to the One Room Challenge (ORC)! I’m so excited to be participating as a guest in the 2023 Spring season.

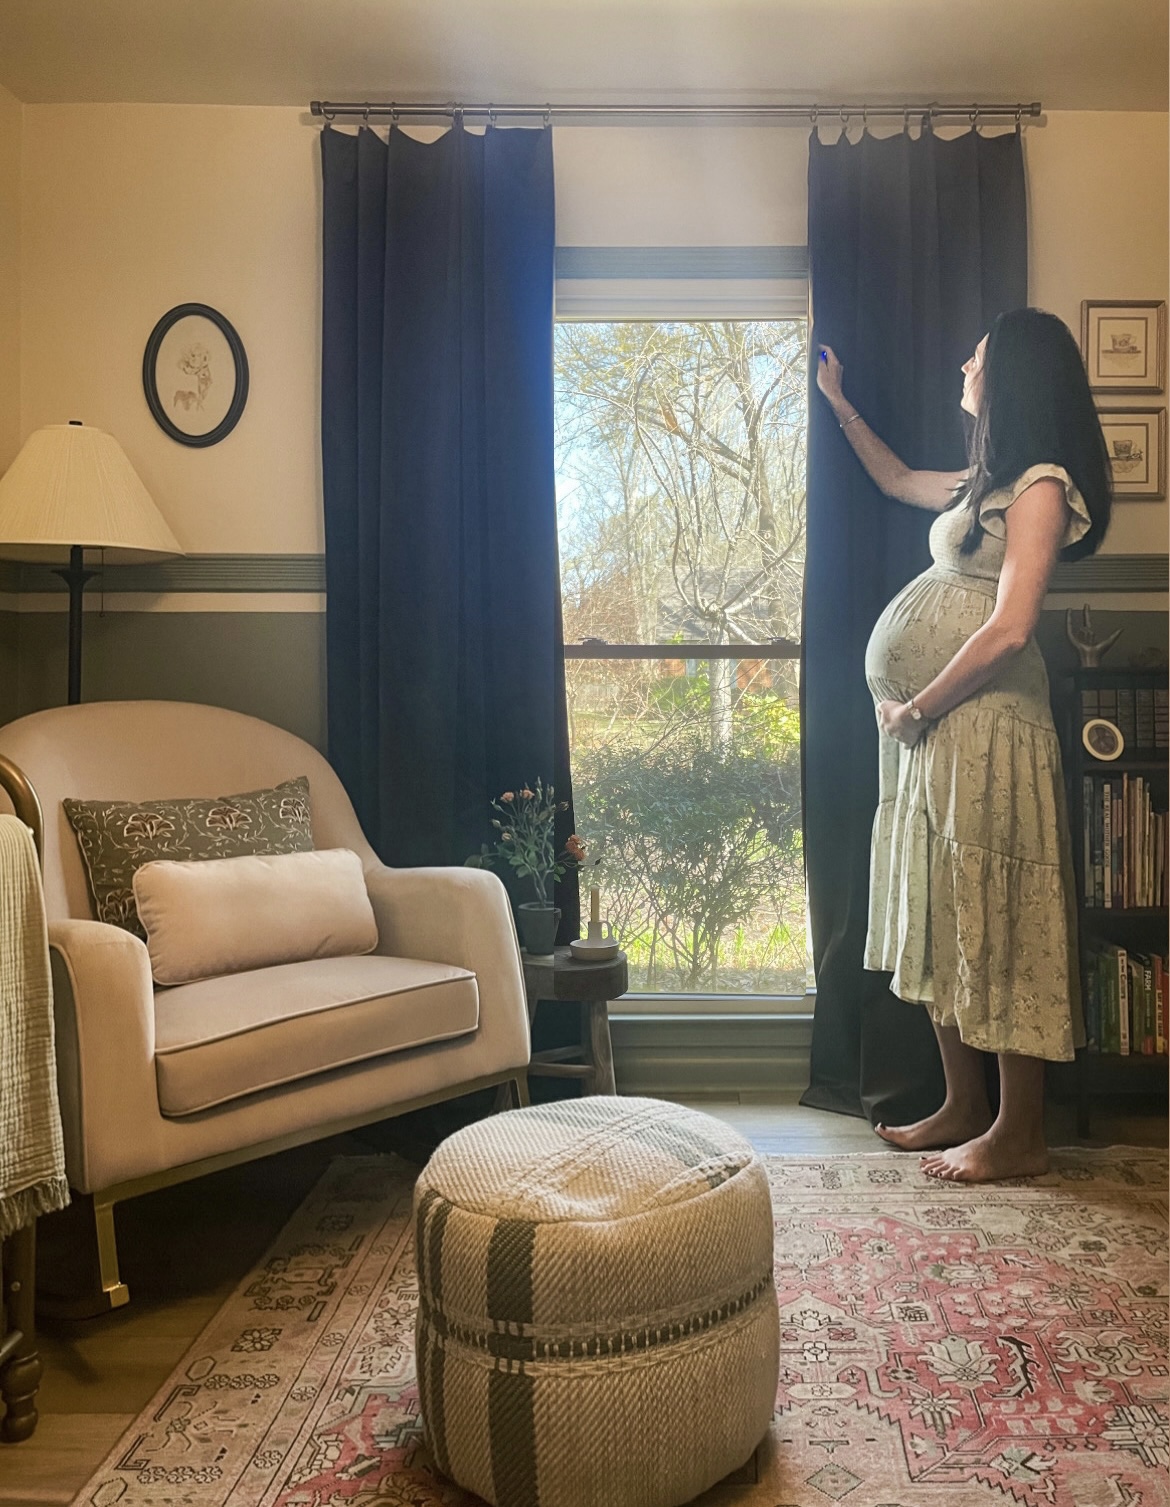
After choosing a paint color and installing custom reeded wall moulding, I needed to make a statement with a window treatment. And doing it affordably was a priority!
In fact, I spent less than $100 for the gold curtain rod, clips, and two high end looking blackout velvet curtain panels. I am so happy with the end result, and how easily my curtains slide open and closed!
Sleep is important and can be hard to come by for babies (or at least that’s what I’ve heard!). Why not eliminate any variables that may interfere with that precious sleep? Surprisingly, we never had (or put) blinds on any of our windows. I have PTSD from having to clean blinds as a punishment as a kid, so I knew I didn’t want to go that route.

Here is my inspiration
Drapes attached to clips offer an easy way to slide curtains open and closed to block out the light. Since these curtains were so affordable, I didn’t think they would reallyyy be blackout, so I had a rough plan to also purchase roller bamboo blinds in a neutral ivory and DIY a blackout panel for the back of the shade. Here was my inspiration!
To my surprise, the affordable curtains were 95% blackout! The room stays so dark even during the brightest part of the day. I decided the roller bamboo blinds would not be necessary after all. These chocolatey brown velvety curtains not only control light, but provide privacy, texture, color AND warmth.
But I digress- let’s learn how to hang curtains with clips to achieve a faux pinch pleat finish!
Want to save this post for later? Pin it here for safe keeping.

This post contains affiliate links for your convenience which may reward me in the event of a sale. Note that I only recommend tools and products I have personally used and loved.
Supplies Needed to Hang Curtains with Clips
-Drill
-Measuring Tape
Step 1: Measure your Space & Order supplies
First, measure your window to gather the proper measurements you will need for your curtain panels and curtain rod. Keep in mind you want to hang your curtains high and wide, so the rod will need to be long enough to span beyond your window. The general rule is to go 8″-12″ wider than your window. You should also plan to hang your curtain 4-6 inches above the window frame. But again, this number may depend on the size of your window and height of your ceilings
The width of the curtain panels should be 2-2.5 times the width of the actual window if you plan on closing your curtains all the way. The clips also make the curtains hang a bit lower than the rod, so take this into account when thinking about curtain panel length as well.
Hanging curtains high and wide makes your room fill bigger and taller. Your curtains should ideally “kiss” the floor. Mine ended up being a bit longer than anticipated and are slightly puddled on the floor due to the clips adding length, which I forgot to account for. But it doesn’t bother me.
Step 2: Hang your Rod
So again, we are aiming for the curtain rod extending 8-12″ wider than your window, and 4-6″ above your window frame. But use the actual curtain panels to help determine the height. Follow the installation instructions that come with the curtain rod, as well as the included hardware. You will need a drill.
Step 3: Create your Faux Pinch Pleats
Next it’s time to create your faux pinch pleats. This pack comes with14 gold curtain clips, so I used 7 for each panel. I started on the outer edge, and using my thumb and forefinger created a small pinch of fabric and applied the clip. I spaced mine out every couple inches or so, and honestly just eyeballed it. I don’t think this needs to be an exact science!


Once all your clips are on both curtain panels, you can slide them onto the curtain rod. I was amazed at how much easier it was to move the curtain panels using the clips! They slide back and forth with such ease, and I love the movement and elegance the pinch pleats add.

Prefer to watch hang curtains with clips in video form? I created a reel for you to watch on Instagram.
COMPLETED
2. Choose a Sage Green Paint Color
4. DIY Pinch Pleat Curtains
TO DO:
5. Update a Vintage Dresser into a Changing Table (Without Paint!)
6. All the Details
7. DIY Nursery Art Prints
8. Final Reveal!
I’m glad you are still on this nursery journey with me! Creating a gender neutral space for new bundle of joy has been so much fun.
Next week I will share how I chose to update a vintage dresser into a changing table! Don’t forget to stop back by for the final before & after’s revealed.
I hope this helps you hang curtains with clips to get the perfect faux pinch pleat without spending a fortune! Let me know if you have any questions.
Enjoy the process,


