1 room. 8 weeks. Countless DIYers coming together to encourage and inspire. Welcome to the One Room Challenge! Keep reading to discover how I added reeded wall moulding to transform our guest room into a gender neutral nursery.
I’m so excited to be participating as a guest in the 2023 Spring season of the One Room Challenge (ORC)!

This post contains affiliate links for your convenience which may reward me in the event of a sale. Note that I only recommend tools and products I have used and loved.
This spring I am transforming our guest room into a nursery for our first baby. We are not finding out gender, so am keeping everything neutral! I shared my vision during week 1, and which sage green paint color I chose during week 2.
This week, I want to add elements since it’s not often I get the chance to totally create a new room from scratch.
DIY Reeded Wall Moulding
I started DIY projects during the pandemic like so many others. It’s been three whole years, and although I’m no longer a “beginner”, I am still not trained in design and often feel left to my own devices to name and explain my projects.
Terminology
With this moulding project, I originally thought I had chosen “fluted” moulding. However, thanks to Lauren at Blesserhouse I learned I actually bought “reeded” moulding! I love learning new things.

Image source: Lynn Byrne
Fluting is concave, whereas Reeding is convex. So fluting dips in, while reeding rounds outward. It’s a small difference, but I always want to make sure I am using the correct terminology.
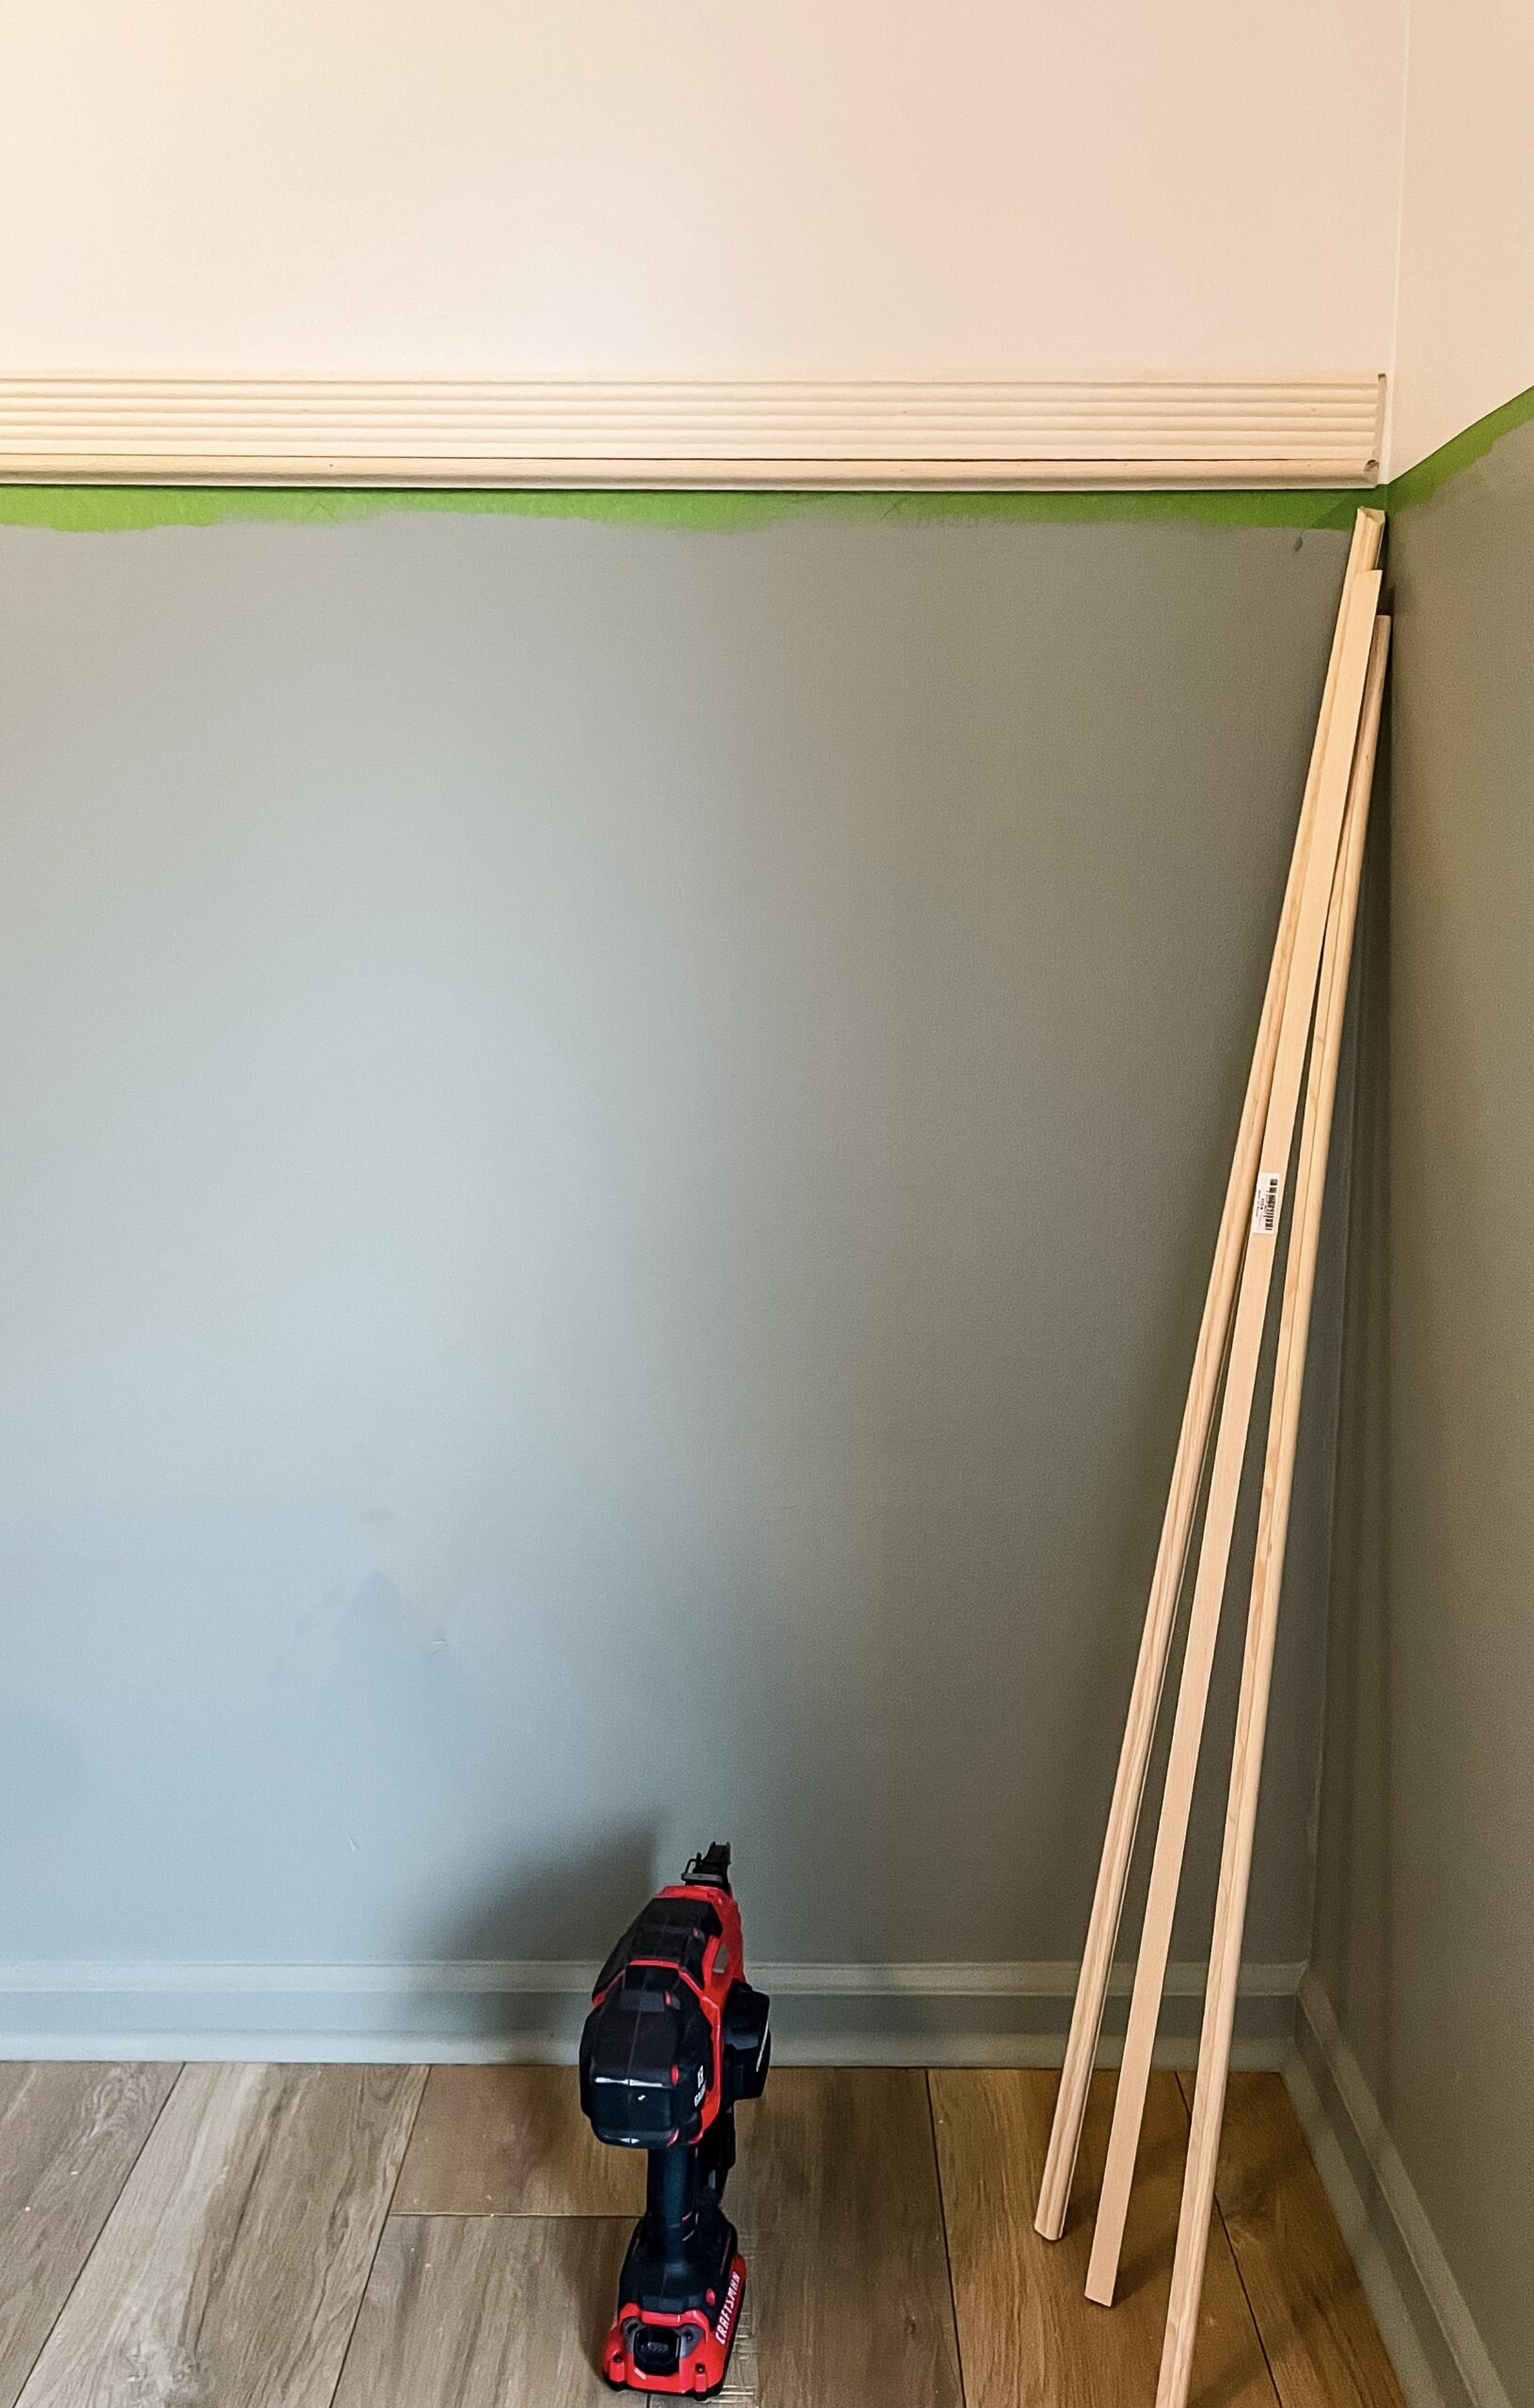
DIY Reeded Wall Moulding Process
This project took about a week as I worked slowly and surely. Completing it pregnant definitely slowed me down a bit, but gave me a purpose and made me feel like my old self again (which can be hard at times during pregnancy). I wrote a separate post to detail the step by step tutorial where I have also linked all of the supplies and products used.
I chose to put together a combination of three pieces of trim to make this reeded wall moulding. I stacked two pieces of pine base cap above and below a piece of reeded casing to create my custom moulding. I have linked the exact trim pieces I used here!

During installation, I was thrown off when I got to the corners. I had to cut what are known as “inside corners” where the trim met in the corners between the walls. I had only ever cut “outside corners”, and it took a while to figure out the angles with my pregnancy brain.

To cut angles for an inside corner, keep the trim standing up (not lying flat), to cut your 45* angles! I used my miter saw for this, as it was easier to keep the trim straight up and down than it was with my miter shears. However, miter shears are still a great option for flat cuts on the smaller pieces of pine base cap.
Never heard of miter shears? They are a game changer when working with smaller pieces of trim for moulding projects! They made my picture frame moulding project in the dining room doable without the need for a larger saw. I’ve linked mine here if you’re curious– they are a must in my book.


I love the way the reeded wall moulding turned out! Let me know if you have any questions. This could be a beginner project, but have lots of patience and expect mistakes and hiccups! But that’s always the way DIY goes, and your skills sharpen with every completed project.
Next week, I am planning to share how to DIY faux pinch pleat curtains, so stay tuned!
Just to recap, here is the plan for the entire ORC 8 Week process:
COMPLETED
2. Chose a sage green paint color
3. DIY reeded wall moulding
TO DO:
4. Faux DIY pinch pleat curtains
5. Update a vintage dresser into a changing table (without paint!)
6. All the small details
7. DIY nursery art prints
8. Final reveal!
Enjoy the process,


