A step-by-step tutorial showing you how to paint a DIY baby birth announcement door sign, perfect for the hospital or your front door at home!
At 39 weeks pregnant, I was so antsy and uncomfortable I needed something therapeutic to keep my hands (and mind) busy. I decided to DIY a baby birth announcement door sign. This project turned out so well, I wanted to share just in case you find yourself in the same boat as me at some point during pregnancy.
You can definitely purchase a baby birth announcement door sign, and I found lots of cute inspiration and options through places like Etsy. However, I needed it fast and figured I already had all the supplies I would need to make my own on hand. Let’s go through the supply list.
Supplies to DIY a Baby Birth Announcement Door Sign
-Particle board
-Miter, table or jigsaw
-Acrylic paint
-Paintbrushes
-Access to Canva, paper and a printer to design & print words and/or images
-Scissors
-Drill
-Ribbon
Don’t have time to read the whole post now? Pin it here to keep it safe and sound for later.

Step 1: Choose How Big You Want Your Sign & Cut
I decided to start out with a 20×20 square, and worked from there. I used the miter saw to make the initial cuts, then my jigsaw to finish it off.

I had leftover particle board from another project I decided to use, but you could really use anything sturdy that you can think of. If you are going to the store to buy material for your sign, I would recommend choosing something MDF that is already white so you can skip the next step.

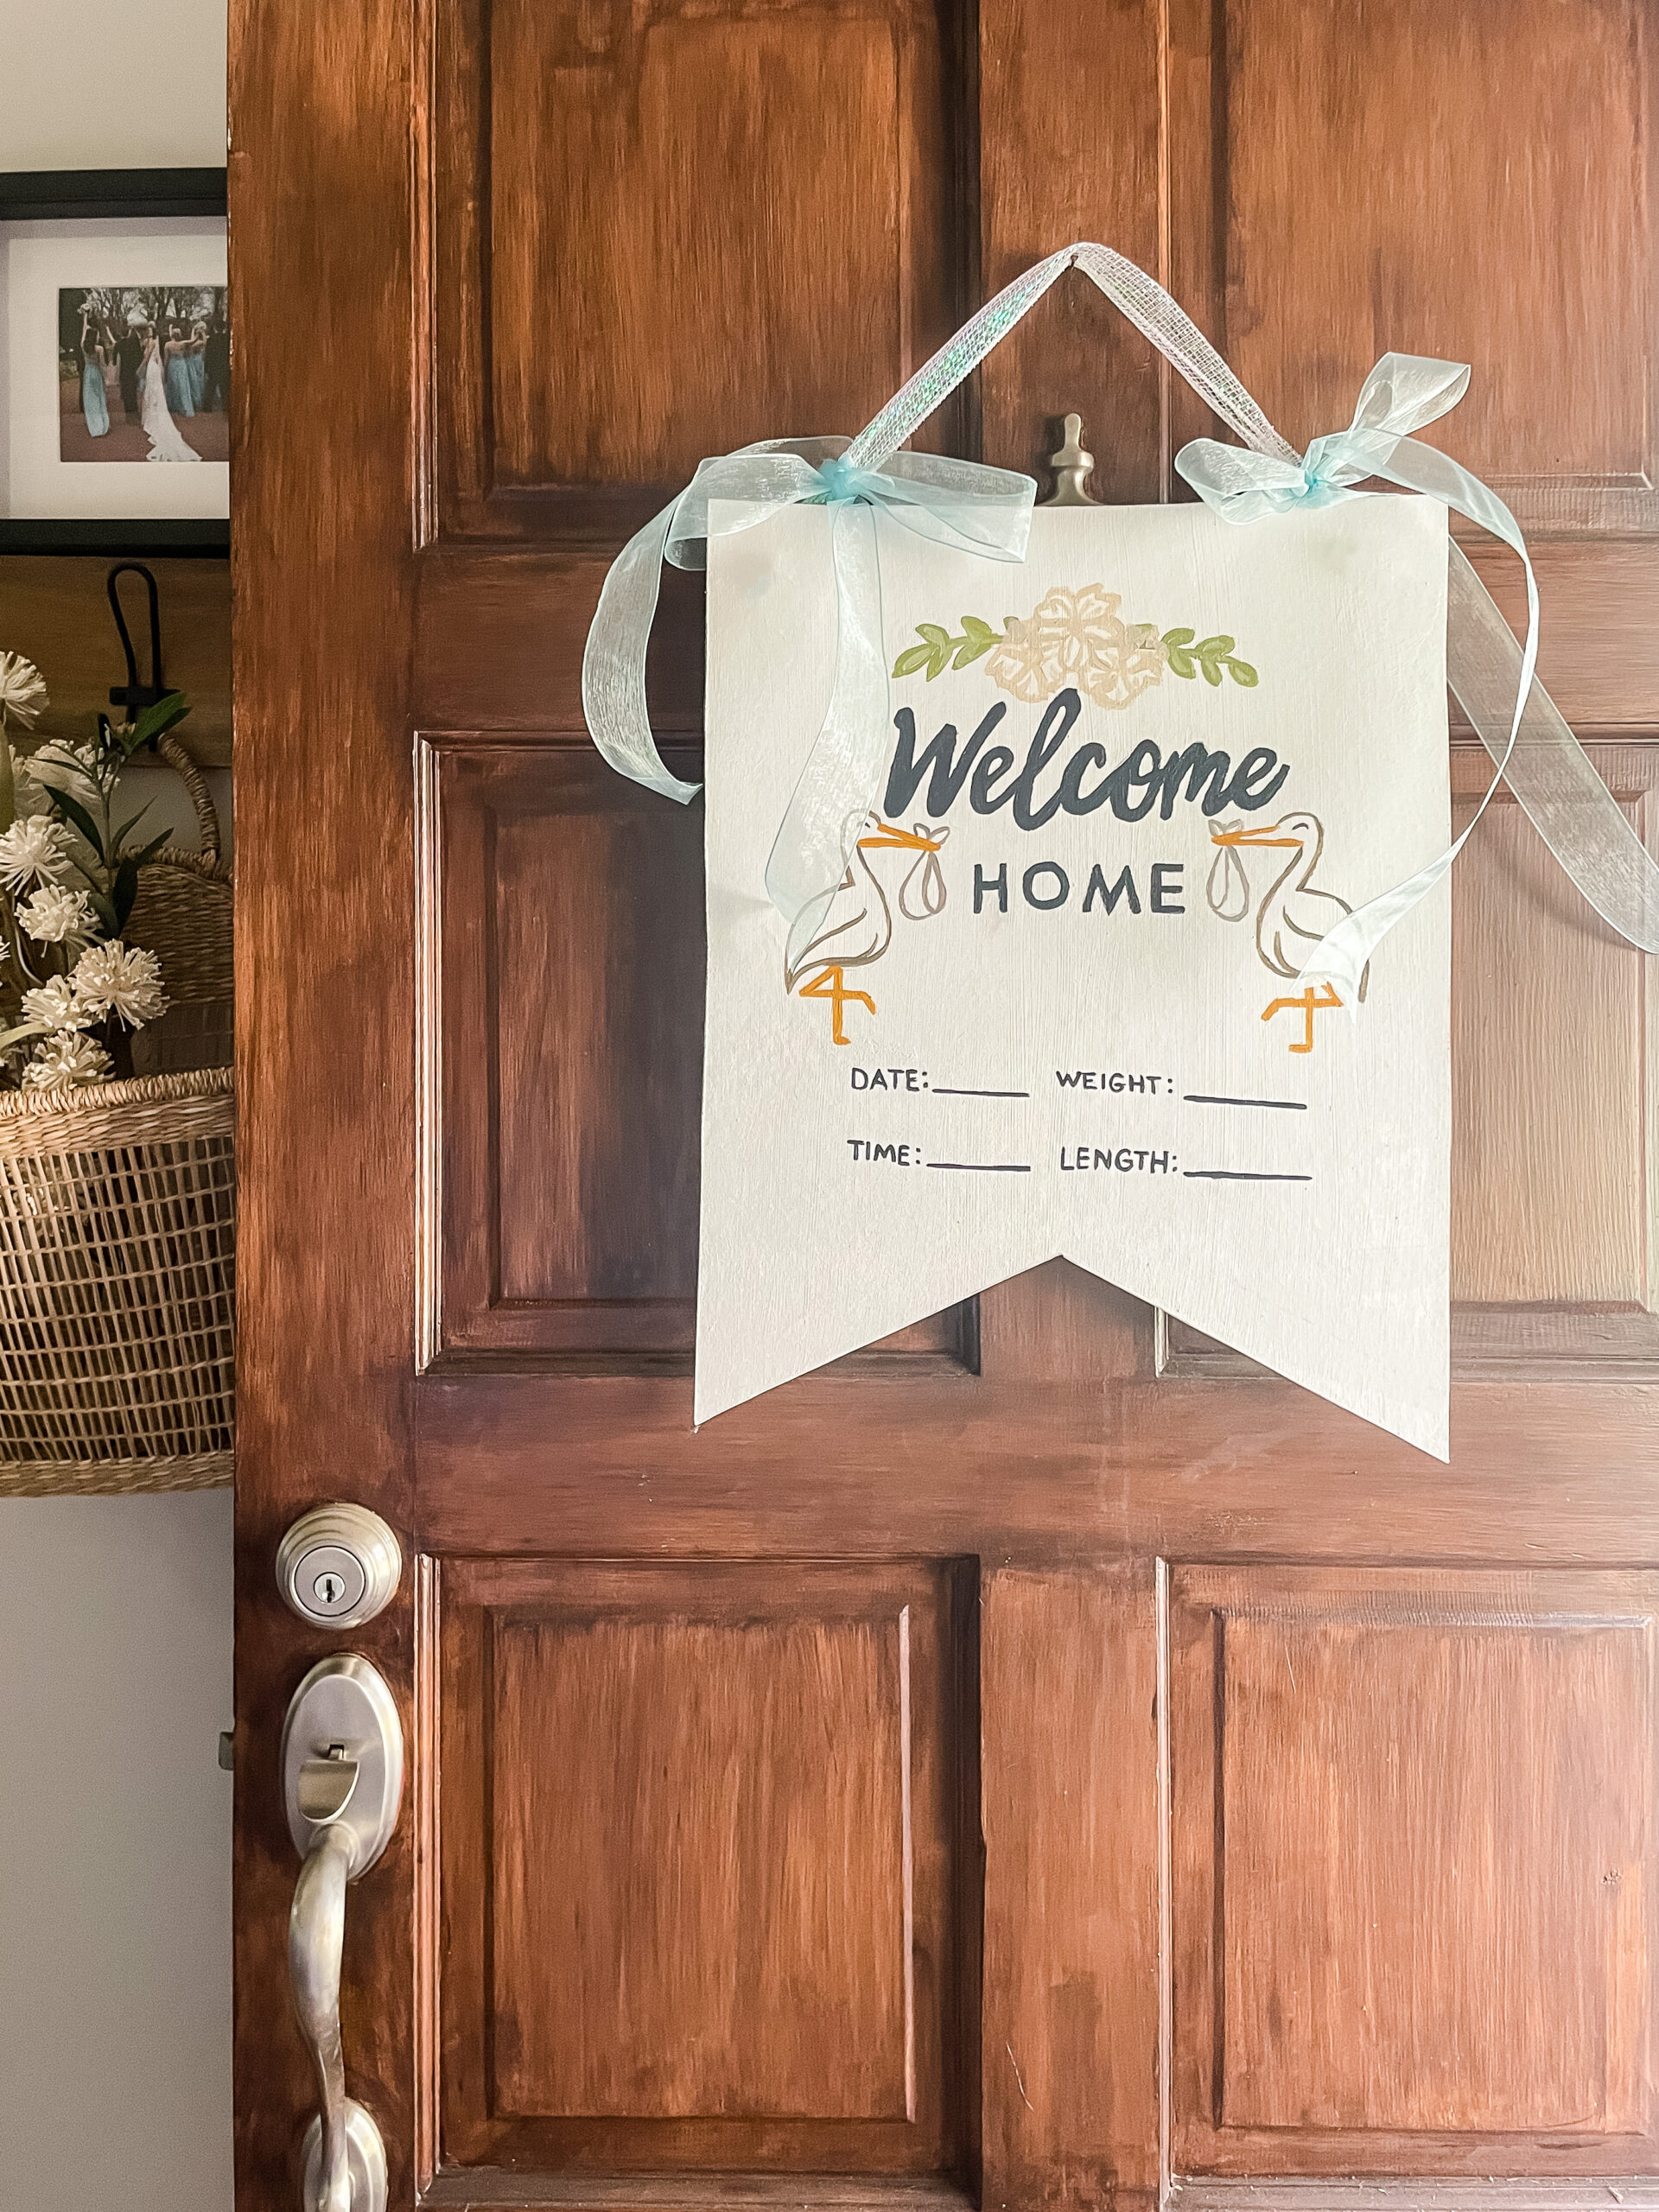
As I began laying out the words and images of the design, I decided to cut the sign down a bit more and create angled edges like this. The final dimensions were 19×15, with a notch cut at the bottom.
Step 2: Paint the Sign White
I used leftover spray paint I already had to create a clean blank slate on my particle board. Wearing a mask and goggles for proper protection, I sprayed two thin coats outside with proper ventilation. Remember, less is more with spray paint. Thin even coats are always better than thick, globby coats with adequate dry time in between.

You could also use white acrylic paint to achieve a clean white background, or whatever else you already have on hand! Spray paint was just the fastest option for me.
Step 3: Design Your Birth Announcement Door Sign
I used the online graphic design website Canva to create my words and images for my baby birth announcement door sign. Using a mix of cursive and capital fonts I created visual interest with the different words. I also found clip art of storks and a greenery & floral image for the top.

You could definitely skip this step and freehand the design on your sign as well. It’s up to you how much support you need. I wanted something nearly perfect, and didn’t have the time or energy to execute this by hand. I used a similar method when I painted DIY cornhole boards last year.
Once I was happy with my design on Canva, I saved as a PDF and printed the graphic on regular computer paper (landscape). I then cut out the design, and laid it out on the sign. I used a pencil to trace the outline of most of the design elements.


Step 4: Paint
It’s time to paint! I used a variety of acrylic paints and craft paintbrushes to bring the design to life. I find that painting small words is the hardest part, so it would be okay to use a Sharpie or other bold marker for the finer print if you want.

Since we weren’t finding out gender beforehand, I tried to keep the colors as neutral as possible so it would work either way. I prepped both a boy name to add afterwards in blue, and a girl name in pink.


I have both the blue and pink elements painted, cut out and ready to make this sign work either way! Once we get home, I will Mod Podge the correct name and flower onto the sign before I hang our sweet announcement.
Step 5: Hang
I created two holes in the upper corners using a drill, and looped ribbon through the holes to hang the sign. Again, I had blue and pink ribbon ready depending on the gender! I created two more bows for an extra touch to decorate the corners of your baby birth announcement door sign.


I hope this tutorial helps you create a special announcement for your new family member to welcome this into this world! Let me know if you decide to create your own.
Enjoy the process,


