Learn how to DIY a milestone photo board to display baby’s pictures from the first year! Perfect to use as decoration at a first birthday party or as a keepsake to commemorate growth from month to month over the first year!
You know you’ve seen the monthly milestone pictures taken and shared electronically on social media each month. But these precious pictures deserve a physical presence too. Creating a milestone photo display board is a perfect opportunity to use these sweet snapshots!
Yes, you can purchase one of these milestone photo display boards on Etsy, and you may choose this route to save you time. However, if you want to save money, consider making your own.
This can honestly be a beginner friendly project if you take your time and follow these steps. I’ll walk you through the supply list first. I was able to make mine for $34, saving roughly $50 than if I would have purchased one from Etsy!
Don’t have time to read the whole post now? Pin it here to keep it safe and sound for later.

This post contains affiliate links for your convenience which may reward me in the event of a sale. Note that I only recommend tools and products I have personally used and loved.
Supply List to Create a DIY Milestone Photo Display Board
-1/4″ x 2′ x 4′ Project Board
-Pre-stain
-Minwax stain (I used Golden Oak because I already had it on hand)
-Staining sponges
-Access to www.Canva.com
-Paper & printer
-Pencil
-Ruler
-Scissors
-Paint pen
-Acrylic paint
-Craft Paintbrushes
-12 4X4 pictures
-Circular saw or Jigsaw
Optional: Cricut machine
Follow the link to view and purchase all of the supplies here!


Step 1: Gather Supplies
You may already have a lot of these supplies on hand! For those you don’t, head to your local home improvement and craft store to make sure you have everything you need.
I purchased a project board that was 1/4″ thick, 2′ x 4′ linked here. To display the 12 photos plus the lettering at the top of the board, I only needed about 30 inches of the height. I cut about 19 inches off at the end. You can do the same, or try to find a board that is closer to your preferred dimensions from the beginning. If you don’t have access to a circular or jigsaw, you could also see if your big box store will make the cut for you! Lowe’s or Home Depot should offer this service.
Finally, a Cricut machine would make this project much quicker and perfect. However, I still don’t have one so I will be sharing how to make this milestone photo display board by hand. If you aren’t confident in your tracing, cutting and painting skills, you may consider using a Cricut to print out the lettering using peel and stick vinyl.
Step 2: Stain Your Wooden Board
The project board I chose was 1/4″x2’x4′ sanded plywood. Since it was a light, raw wood I chose to stain my board! But you have options. You can also purchase project boards in maple, mahogany, walnut, red oak, or poplar. So choose a wood you like, or sanded plywood and stain if desired.
I used a stain I already owned to keep the project cost down. Pictured below is one coat of Pre-stain, then a coat of Minwax Golden Oak. I applied both the Pre-stain and stain using a staining sponge. You can also use a rag or chip brush, but I prefer a staining sponge.

Step 3: Create the Lettering
As I mentioned, I created the lettering on my milestone photo display board the old fashioned way. I’ve used this method before to create a set of custom cornhole boards and a birth announcement sign. I will outline my process again for you here.
To start, I used the online graphic design website Canva to create my words for the milestone photo display board. Using a mix of cursive and capital fonts I created visual interest with the different words. I used the font “Glacial Indifference” for the capital letters, and “Playlist Script” for the name in cursive.

You could definitely skip this step and freehand the design on your board as well. It’s up to you how much support you need. I wanted something nearly perfect, and didn’t have the time or energy to execute this by hand.
Once I was happy with my design on Canva, I saved as a PDF and printed the graphic on regular computer paper. I then cut out the design, and laid it out on the sign. I used a pencil to trace the outline of most of the design elements.
Step 4: Measure & Sketch Out Your Design
After your stain is dried, it’s time to layout your design. I eye balled everything, then pulled out my ruler to make sure everything was evenly spaced. I laid the writing out on top, then the 12 4×4 photos in a 4×3 grid.


Use your pencil to sketch everything out until you are happy with it.
Step 5: Paint
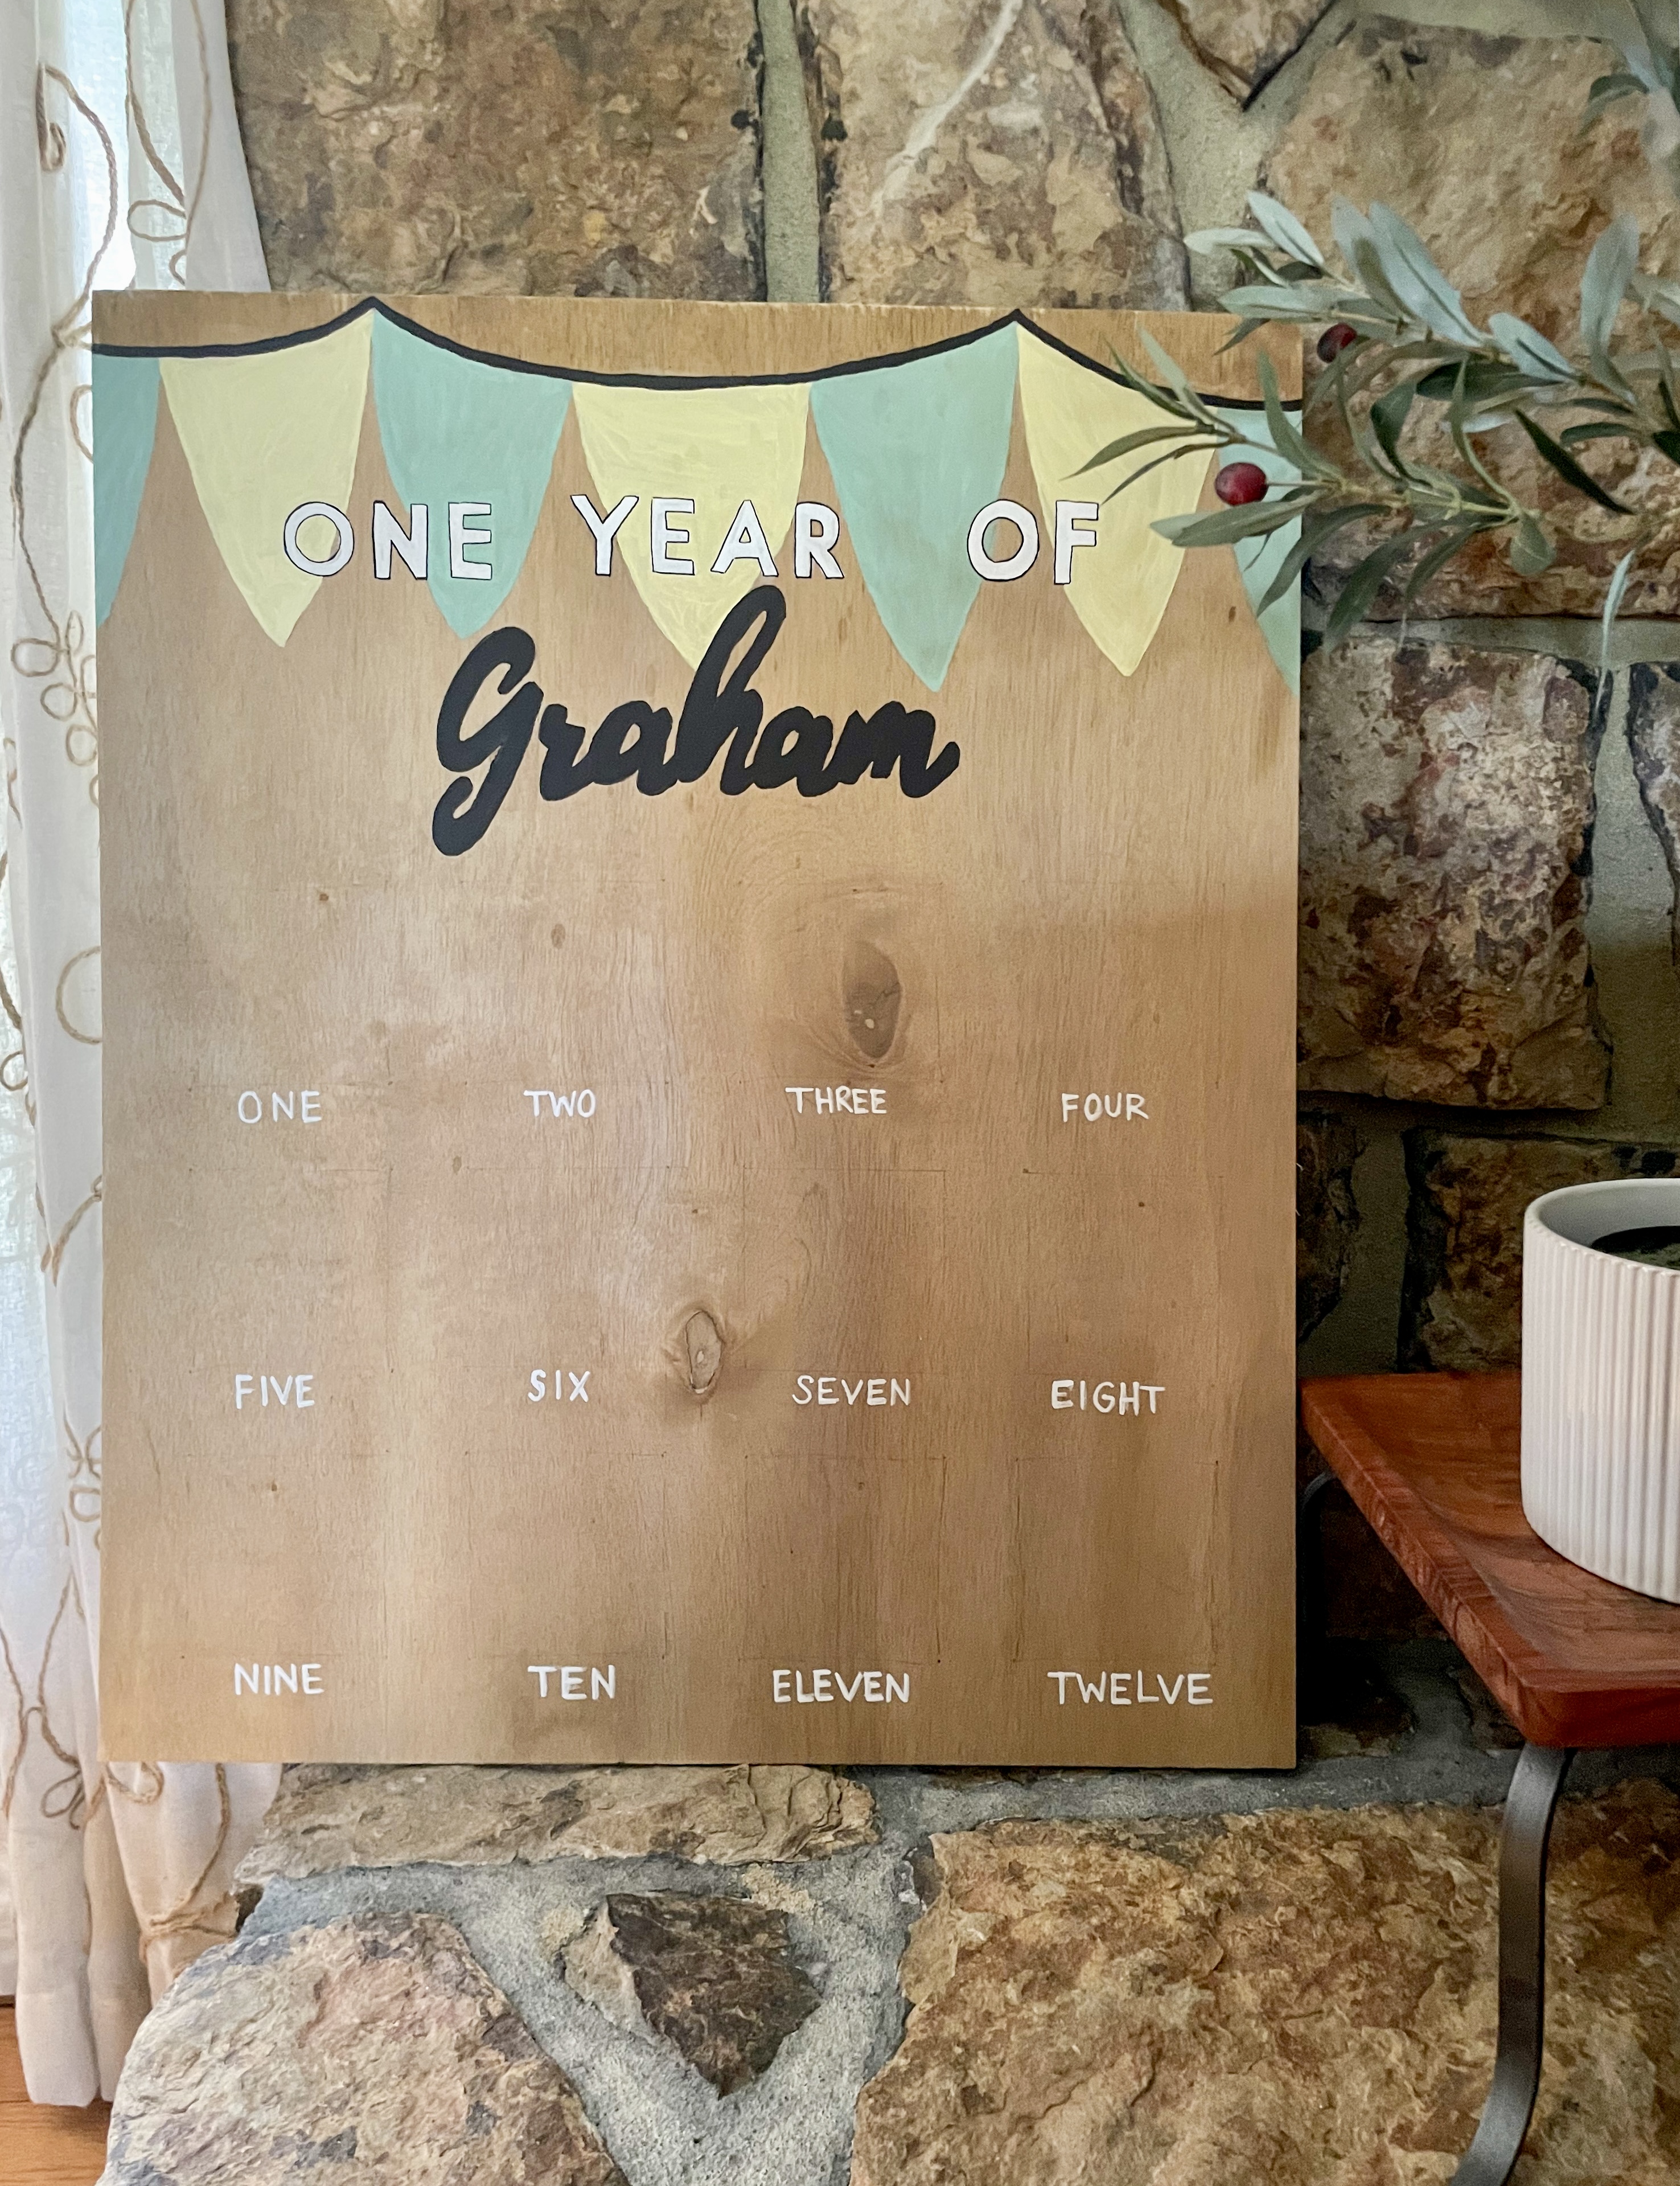
It’s time to paint! I used a variety of acrylic paints and craft paintbrushes to bring the design to life. I find that painting words is the hardest part, so it would be okay to use a Sharpie or other bold marker for the finer print if you want. I chose to use a white paint pen for the capital letters, a sharpie to outline them, and a craft brush and acrylic paint for his name in cursive and the flagged banner I decided to add the the top.

Step 6: Finishing Touches
To finish the milestone photo display board, cut the board down to size if needed. I used a circular saw. And made a mistake!
Here’s a tip- always turn the board over to make a cut. That way, if the board splits along the cut line it messes up the back of the board instead of the front.


Finally, paste the photos on and your display board is ready for the party! I hope you enjoy, and let me know if you have any questions.
Enjoy the process,


