A STEP-BY-STEP TUTORIAL ON HOW TO DIY A HOME BAR IN YOUR KITCHEN USING A BASIC, UNFINISHED WALL CABINET. ADD WINE BOXES, GLASS DOOR INSERTS, AND HANG WITH EASE TO ELEVATE AND CUSTOMIZE YOUR SPACE.

BUDGET & SUPPLY LIST
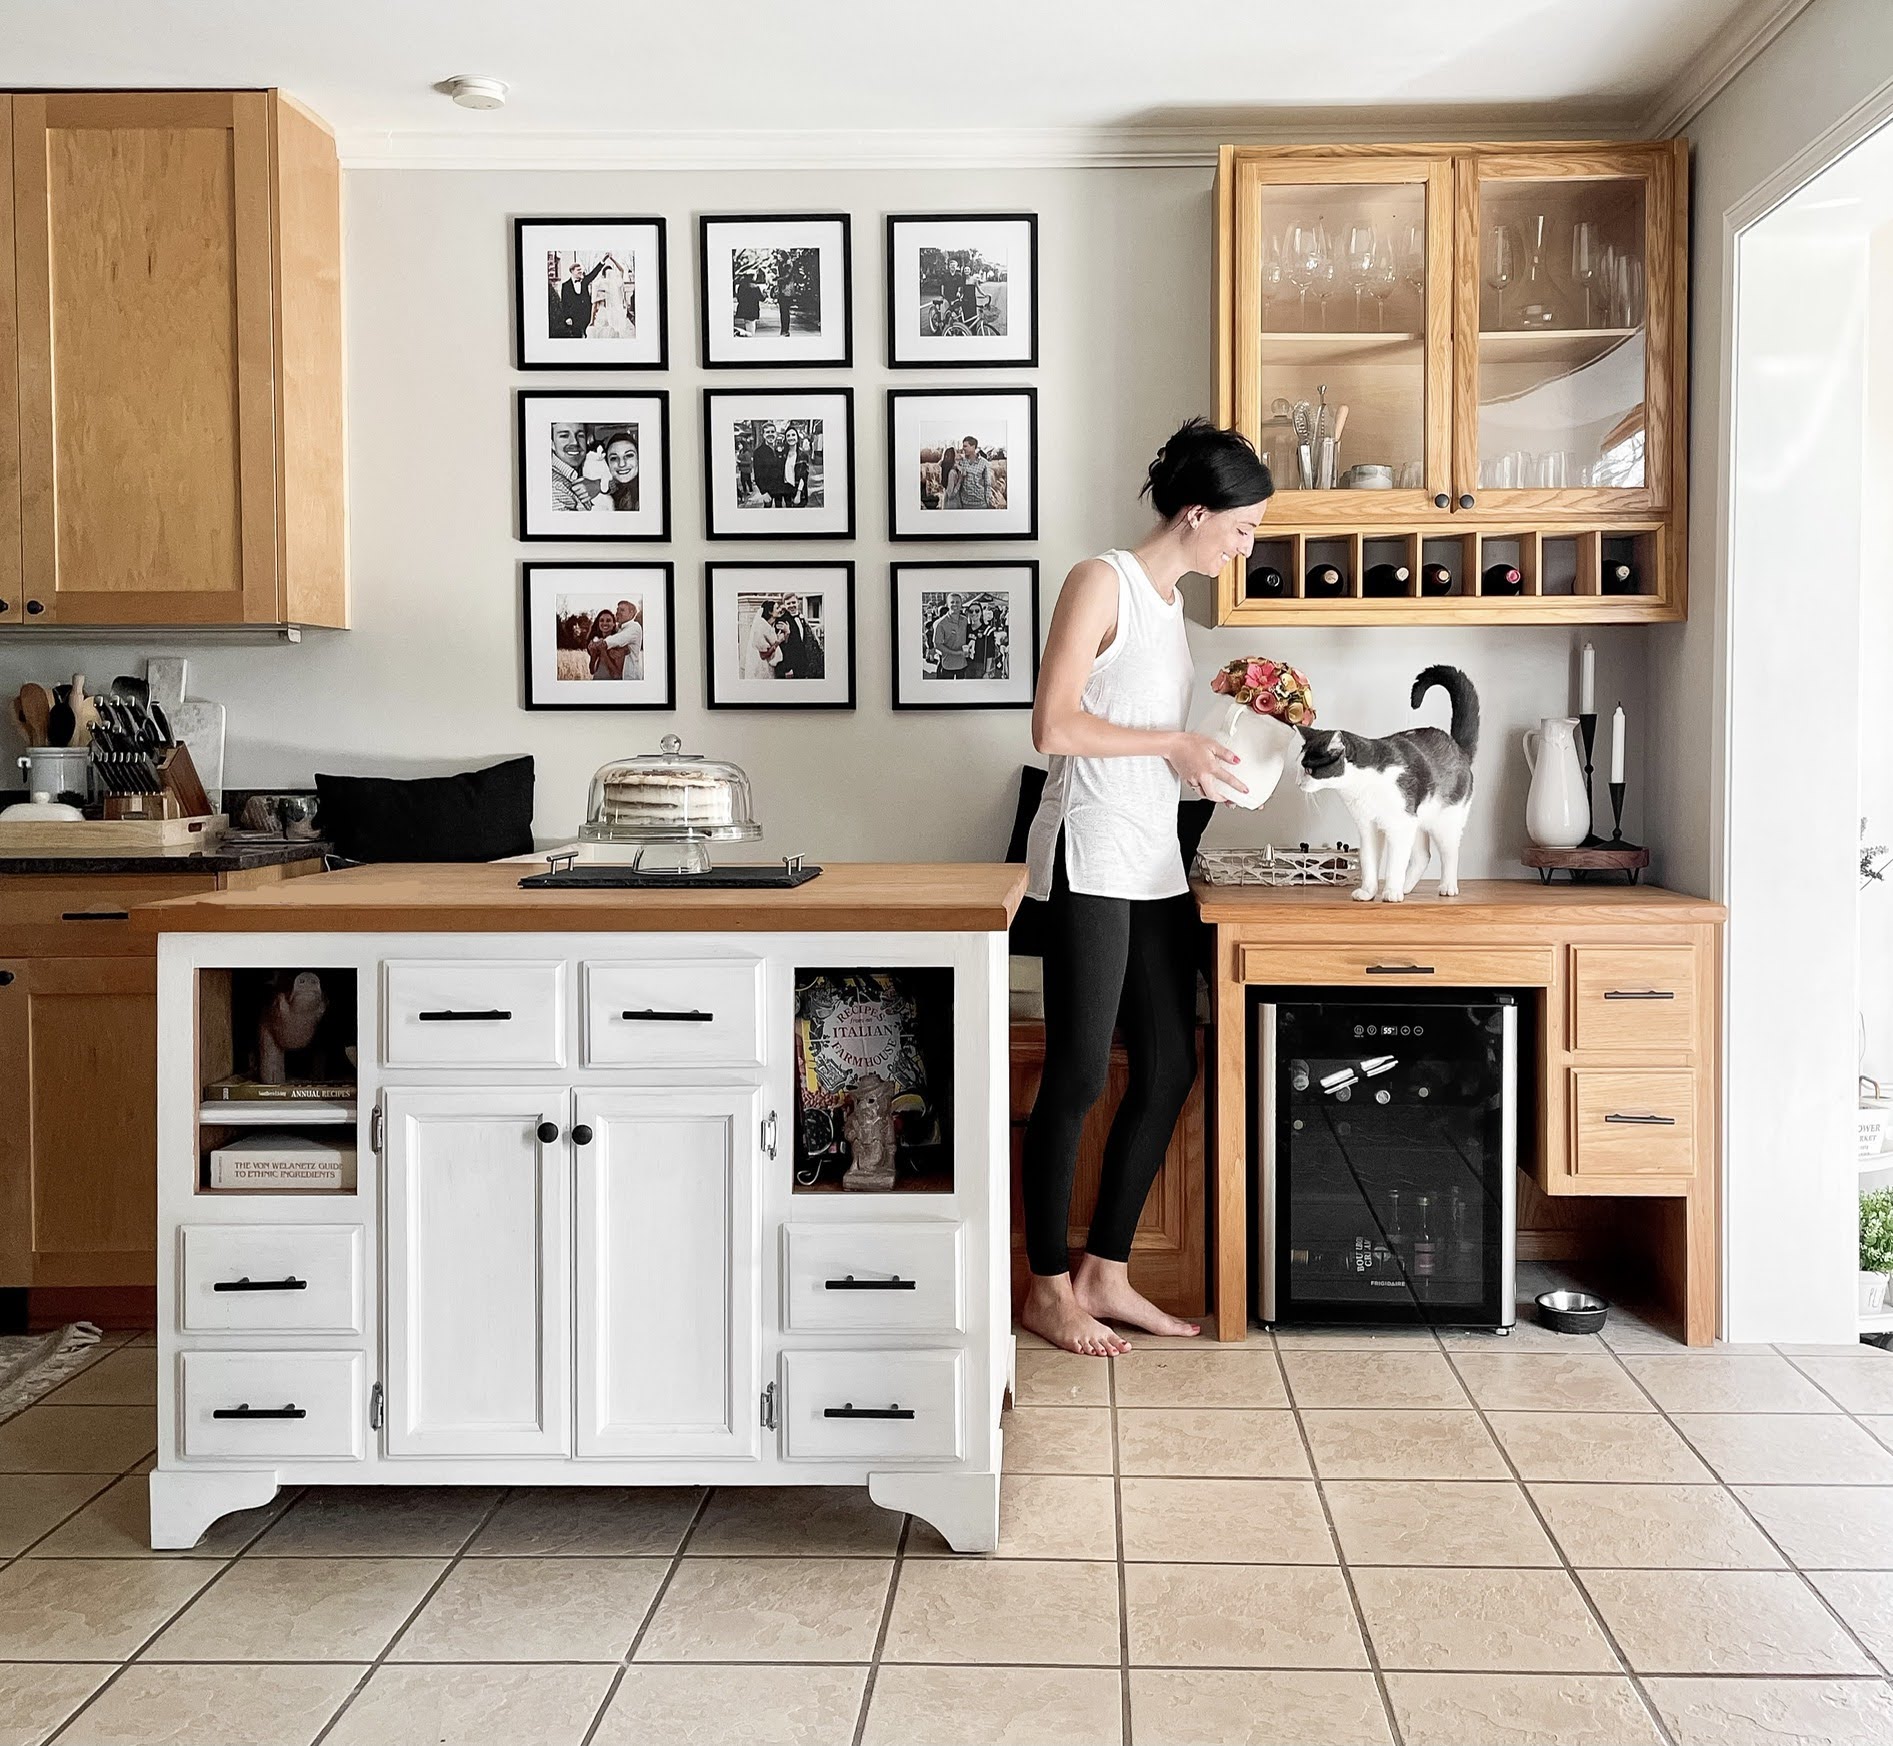
to DIY a home bar cabinet in your kitchen
I got a quote from a local carpenter before I started this project. I showed him the inspiration picture above, and he provided a quote for a custom oak cabinet he would build. He quoted $2,500. Below, I have outlined my budget for the project. Coming in at less than 10% of the professional quote, I was extremely happy.
–Cabinet $85
–Plexiglass 2 sheets for $30 ($15/piece)
–Stain: custom color created at Sherwin Williams- $15/qt
– 3 in. Wood Screws $2.5 (2 packs of 3)
–Cabinet End Piece $10
–Shiplap for top moulding $9
-Detailed trim and corner pieces $23
–Contour Gauge $10
Total to DIY a home bar cabinet in your kitchen=$193.50
Already owned:
–Pre-Stain wood conditioner
–Hardware (cabinet knobs with screws)
-Boxes for wine holders
-Pencil


Read about the other projects that have transformed this space including:
-Everything you need to know about painting walls and trim
-How to affordably custom chalk paint your kitchen island (or anything else)
-How to hang a gallery wall the easy way
STEP 1: Purchase cabinet
Can you build a cabinet to use for your DIY home bar cabinet in your kitchen, yes. But remember, I am a beginner writing to other beginners. Let’s not get ahead of ourselves. I recommend taking on projects that only require 1-2 new skills at a time. It’s never fun to get in over your head. I want you to enjoy the process, not get frustrated. I chose this 30×36 unfinished oak wall cabinet from Lowe’s.

STEP 2: Remove the doors
Unscrew the two doors, and keep the screws together in a baggie so you don’t lose them. It’s easier to stain and hang the cabinet with the doors off.
STEP 3: Stain
I had a brochure of all the Minwax stain colors from a previous project, so I laid it on top of the desk below where my new to DIY home bar cabinet would hang in my kitchen. If you follow along on Instagram, you saw how hard it can be to match existing stained wood to a small sample stain picture!


I went to Sherwin Williams and asked if I could take home a few stain samples. The associate said they do not sell Minwax stain in quantities smaller than a quart, but explained an amazing service they offer. They asked for a sample from the stained desk I needed to match (I brought the desk drawer pictured above), and a piece of wood from the unfinished cabinet. She explained they would sample stains on the unfinished piece of cabinet I brought in until they came up with a good match to the already stained desk drawer. They ended up creating a custom stain color to match that is most similar to the color “Honeymeade”. It was so great to know I was taking home an identical match rather than waste time and money trying to do it myself- always leave things up to the experts when they offer!


* Note * Honeymeade is not my preferred stain color. However, I have learned to love the wooden cabinets in my kitchen after lots of contemplation about whether or not I should paint them. If you think painted cabinets is the only way to go, give this post a read to find out 5 reasons NOT to paint your cabinets! I have found ways to decorate with and around the wooden cabinets that still fit my taste. In a perfect world, I would have a lighter, more raw stain with gray undertones. But you work with what you have within your budget. See my post here outlining 2021 trends, and believe it or not wood is making a comeback.
When I stain wood, I always apply Pre-stain wood conditioner per directions on the product for an even finish before staining. For this project, I needed to stain the cabinet, the doors, the cabinet end piece, the trim, quarter round, and corner trim pieces. I applied one coat of stain with a chip brush, then wiped it off (a staining pad, old t-shirt or rag work great for this).

STEP 4: Glue cabinet end piece to visible side of cabinet
Both sides of the cabinet are particle board. The right side of my DIY home bar cabinet would be flush against the wall in my kitchen, so it would be hidden. However, I needed to finish the left side of the cabinet with a real oak panel because it would be visible. Lowe’s sells a cabinet end piece specifically for this purpose. I used wood glue to adhere, and clamps to apply pressure.
Any time you use wood glue, you should always apply enough to spread a thin layer over your wood. You should wait a minute or two to allow the glue to get “tacky” before attaching the wood to the surface you are adhering it to. I always use clamps to apply pressure for at least 12 hours, sometimes 24. If you are working at an angle that doesn’t allow for use of clamps, use painter’s tape and attach with as much tension as possible.

*Did you know- wood glue is actually stronger than screw or nails because the surface area it covers is greater than the area where just a screw or nail would go!
STEP 5: Affix wine storage below cabinet
I had small wooden boxes the previous homeowner had left that she used for a mail/craft station. Luckily they were the perfect size to fit a bottle of wine, and helped bring to life what I saw in this inspiration picture.


There were 2 separate rows of boxes 5 units long. To match the length of the cabinet, I needed to cut up the bottom boxes and add two to the top row, creating a single row 7 boxes long. I used a jigsaw to cut the boxes, and wood glue to attach them.

Using corner trim pieces, I covered the sides and bottom of my cabinet for a seamless finish. I glued and clamped these on as well. Make sure and remember to cut 45* angles where your trim will meet.
STEP 6: Problem solve if you have existing crown moulding
I had crown molding running the length of the wall I was going to secure my wall cabinet to. You have options to remove sections if you need to, or try to work around it!

The first option would be to remove the entire length of crown molding. First, you cut along the caulk line then pull gently with a lever tool to remove. Once you have the crown molding down, measure and mark where you need to cut to allow for the wall cabinet to fit flush against the wall. Hang the molding back up using small finishing nails, apply wood putty to fill in the holes, sand, and paint.
You could also use an oscillating tool to make a cut through only the molding for the section you need to remove. This may be hard to execute a straight cut, and may be hard to ensure you do not cut too deep and damage the wall. I’m not sure how difficult it would be, but it is an option.
I decided to leave the crown moulding where it was, and purchased a contour gauge (like the one you see on commercials or ads on Pinterest) to mimic the shape of the moulding. The tool works like this.

Now that you have the shape of your moulding, trace and cut it out with a jigsaw on your shiplap so that it will fit snug against the crown moulding without having to remove it.
STEP 7: Hang Wall Cabinet- (see more in depth tutorial here)
I will give an abbreviated version, but head to my other post for a more in depth description. First, you want to find and mark your studs. Measure how far down you want your cabinet to come on the wall, and mark the base of the cabinet with a pencil straight across the wall. Install your guide board with 4 or 5 nails so that the top of the board sits right underneath the line you’ve drawn on the wall.
You need two people to install the cabinet. One person will hold the cabinet steady while it rests on the guide board, the other person will drill in the screws. To make it easier, I marked the location where the screws will go to hit studs with tape on the inside of my cabinet.

STEP 8: Remove the wooden panel from the doors
Not that your cabinet is on the wall, it’s time to create those glass doors. I started by hammering a nail into the wood and creating a hole where I wanted to begin using the jigsaw. A screw would also work, or anything else to puncture the wood to give yourself a starting point. I used a jigsaw to cut the wooden panel out of the doors, leaving a little space around the border. The way the wood is connected, just get as close to the edge as you can, then pull the leftover wood out of the tray it is sitting in with pliers.


STEP 9: Install Glass Inside Doors
I brought one of the cabinet doors and went to the glass cutting section in the windows and doors aisle of Lowe’s. The associate insisted on using Plexiglass, stating that real glass may break easily due to the way it will be installed. He measured the empty window in the middle of the door, and cut the Plexiglass for me. In order to fit it into the empty space, we needed the flexibility of the Plexiglass to bend it into the tray. It fit width wise, but was too short length wise when gravity brought it to the bottom of the tray when it was upright. The associate recommended I use a bead of clear silicon caulk around the edges to hold the Plexiglass in place.


Unfortunately, I had the glass placed then came home and stained and sealed the cabinets. It was hard to keep the stain and sealer off the glass, and I ended up spending quite a bit of time using white vinegar to clean the areas that had stain on them. I taped the glass border in preparation for the clear silicon caulk. I ran a thin bead of caulk around all the sides, then removed the tape. The glass shifted some, and caulk ended up smearing on the Plexiglass surface. Again, I used white vinegar to scrub and remove the smudges.

STEP 10: Install cabinet door hardware
I measured the location of the cabinet knobs on my existing kitchen cabinets so that the new cabinet would match. They were 1 inch from the bottom, and 1 inch from the side. The two marks should make a little cross, and that’s where you will drill. Because I only had two to install, I did the simple measurements and marked the location of the screw with a pencil. If I had more than a couple doors to install hardware on, I would probably look into purchasing one of these templates from Amazon.
Once your hole is marked, use a drill with a bit slightly smaller than the screw that comes with your hardware. Pre-drill your hole. Then, hold your screw and drill it through the door going from the back to the front and screw on your knob.
STEP 11: Replace doors
You are almost done with your DIY home bar cabinet in your kitchen! Screw your doors back onto the cabinet, making sure they are straight.

STEP 11: Add trim
I wanted to add trim to the top of the cabinet to make it the same height as my existing cabinets (it was about 3 ½ inches too short). Traditional crown moulding looked too formal, so I plan to attach a simple piece of pine shiplap to the top to bring it flush with the ceiling. The shiplap was a more cost effective option, and more basic in style than ornate crown moulding.
I added a quarter round to the left side of the cabinet that sits flush with the wall.


And there you have it! 2 months (I DIY slow due to my full time job), 11 steps and $193.50 later and you have a custom bar cabinet to balance out your kitchen!


