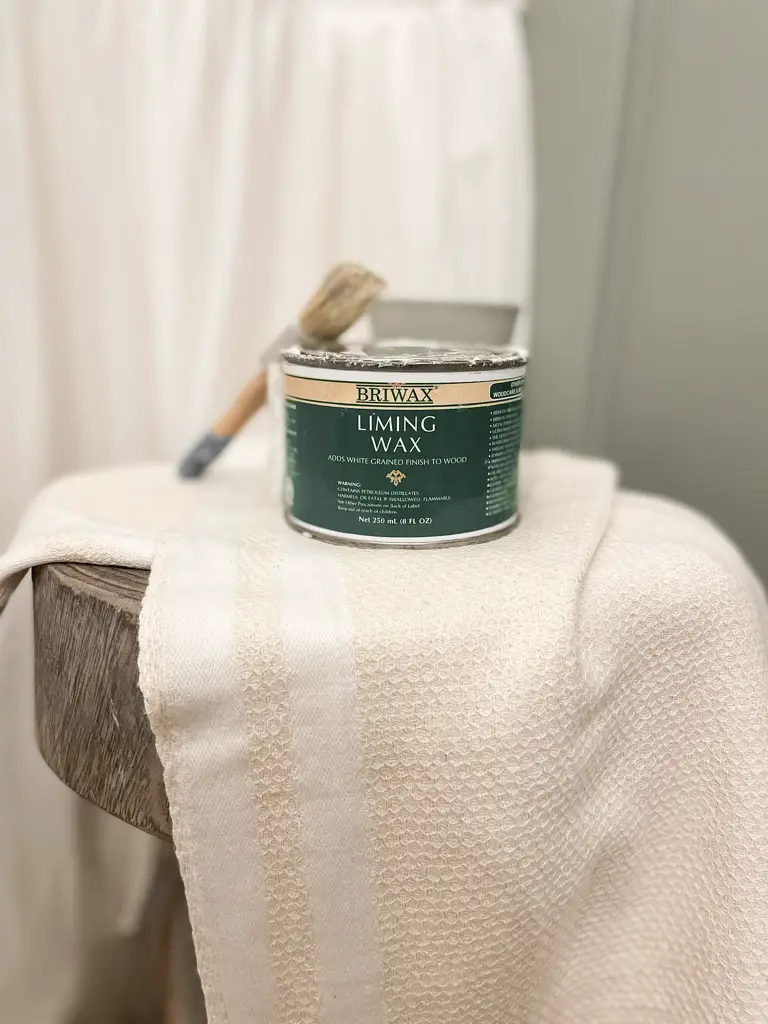
A step by step tutorial showing you how to whitewash wood using Liming Wax. Keep reading to discover how to do this using a single product and follow direct links for your convenience.
So often, you find a wooden piece you would love if only the finish wasn’t so dated. I’ve been there too!
I’ve written all about how to “de-orange” wood before, and create a Restoration Hardware weathered wood finish. But today, I want to share more about how to simply white wash wood. I have successfully done this numerous times using just one product, Liming Wax! This makes it so easy to keep the wood grain you love, but create an entirely different finish.
Supply List to Whitewash Wood Using Liming Wax
–Chalk Paint Brush (or a Chip Brush)
-Rag
-Lint Free Rag or Cheesecloth
This post contains affiliate links for your convenience which may reward me in the event of a sale. Note that I only recommend tools and products I have personally used and loved.
Don’t want to lose this tutorial? Pin it here to safely save it for later!

Step 1: Prepare your Surface
Best case scenario is you have a piece of raw wood you want to white wash. I have done this before with a serving tray I use to organize utensils, etc. on my kitchen counter. I say this is the best case scenario because you can apply the liming wax directly onto your piece of unfinished wood with no prep work necessary!
However, if you have a piece of wood that has been previously stained or sealed, you will need to either sand it or strip it first. Do more research on your particular scenario to choose the best route. For the Liming Wax to work optimally, you want a surface free of any hard seal or finish.
You can read more about a piece I simply sanded before using Liming Wax here, and a dining room table I chose to strip, then sand here! No matter your situation, it is still simple to whitewash wood using liming wax.
Step 2: Apply Liming Wax
Once your wood is prepped and ready, its time to apply your Liming Wax. I prefer to use these chalk paint brushes for the best finish. If you are looking for even cheaper brushes, I have also used Chip Brushes with a similar outcome.

Dip your brush into the Liming Wax and paint it into the wood grain. Be sure to work it in well. then, I like to take a rag and buff off the surface to remove any excess and create a faint “white washed” finish.
Depending on the look you are going for, you may choose to do only one or multiple coats of wax. If you are starting with raw, unfinished wood, one coat should be all you need.
Optional Step 2.5
If you are curious about other options, you can add Antiquing Wax after Liming Wax for a weathered wood finish! You can read more about that process here.

Step 3: Seal
Depending on how your wood piece will be used, you may decide to seal your product to finish it. Polyurethane provides the hardest and most resilient finish, but can cause white surfaces to yellow over time or allow the wood stain underneath to bleed-through . I have personally never tried to finish a piece I have white washed using Liming Wax with Polyurethane, so I can’t directly speak to the result.
If my piece needs some protection, I use Minwax Paste Finishing wax product in the “natural” color. Note that a wax sealer does not provide the same “hard” finish as poly, but it still protects from scuffs, stains and scratches with a softer finish that feels smooth and resists water.

To apply the finishing wax, place a small ball of wax inside a thin clean cloth (such as cheese cloth). As you start to work the product into the wood, the wax warms up and will work through the cloth. This is the recommended technique and allows for a thin, even coat of wax. I have also simply used a lint free cloth to work the wax into my piece before with good results.
And that’s it, you’re done! Please let me know if you have any questions, but this produce is such a simple way to create a more modern finish on wood. I’d love to know how you chose to use it!
Some other projects and surfaces I have used Liming Wax on include:
–a riser I used as a lamp stand


Yes, you can use this product on any woven surface as well. It is not just good for wood! I love the whitewash I was able to give my dining room placemats pictured above- such a quick and easy solution.
Enjoy the Process,


