Learn how to quickly and inexpensively update your garage (or any) refrigerator using a bit of paint & wallpaper. The power of paint never ceases to amaze me. Read on for the supply list and step by step tutorial to easily paint your refrigerator.
It’s common to upgrade your kitchen refrigerator and move the old one to the garage. You know, to store all those fun adult beverages. Or maybe you aren’t ready to upgrade your kitchen fridge quite yet, but are tired of looking at the rusty, dated exterior. Well, you are in luck, because loving what you already have is what I am all about at Emily Rone Home. I’m going to share a DIY refrigerator makeover that takes no more than a day or two, a few basic supplies, and is super affordable!


This post contains affiliate links for your convenience which may reward me in the event of a sale. Note that I only recommend tools and products I have personally used and loved.
After I spent an extensive amount of time organizing our garage then painting the unfinished walls, the rusty dated garage fridge stood out like a sore thumb. I needed to give it new life to fit the aesthetically pleasing space I had created around it.
Don’t have time to read the whole post now? Pin it here to safely save it for later 🙂

Supply List to Wallpaper & Paint Your Refrigerator
–Mouse sander or a sanding sponge
-Rag
-Water + soap
-Paint
-Small fine bristle paint brush
-Wallpaper paste
-Stir Stick
STEP 1: Prep the Refrigerator Surface
To promote adherence of paint and wallpaper, you want to scuff up the surface of your fridge. I used my mouse sander, and recommend rough (80 grit) sandpaper. You could also do this step by hand with sheets of sand paper, or a sanding sponge.

Next, make sure to clean off all the sanding dust and debris. A tack cloth is a fancy solution if you have the supply already on hand, but a damp rag works as well. Once the sanding dust is gone, do a quick wash with soap and water to remove any leftover grease or dust.
STEP 2: Prime
I chose to prime the fridge first to seal in any stains and prep the surface for paint. Primer is also cheaper than paint, so using a coat of primer saves on coats of paint.

I have recommended tinted primer in the past if you are going to use a dark paint color on top of it. I was planning on using Sherwin Williams Cyber Space navy blue, so using tinted primer would cut down on the total coats of paint. However, I purchased a large 3 gallon bucket of primer, and needed most of it white so I didn’t want to tint the whole thing. I used a bit of Cyber Space navy paint to mix in the white primer and tinted it myself.
STEP 3: Paint
I chose to paint the front of our old, white refrigerator Cyber Space to match the garage cabinets and accent wall. I had leftover paint from those paint sprayer projects as well, so I put it to good use. You could tape off the edges here if you prefer, but I like to freehand using just a paint brush. The fridge needed 2 coats of paint to get good coverage, with adequate dry time in between.
STEP 4: Rub ‘N Buff the Hardware
I chose gold hardware for my garage workshop cabinet glow up, and didn’t see why I shouldn’t be able to carry that finish over to the fridge as well! Rub ‘n Buff was the perfect solution. A little goes a long way. I can’t speak to it’s longevity on a family fridge used daily, but it has been perfect for our garage fridge. I have seen others use it on bathroom drawer and cabinet hardware, so I’m assuming it would be fine.

There are a multitude of shades of Rub ‘n Buff, but I use Antique Gold and have been happy with the color. I’ve used it on other projects, including adding a gold finish to a black mirror, update pop-up camper cabinet hardware, and add pops of gold to Christmas decor.

To apply, I squeezed a small amount directly onto the handle, and painted it using a small paint brush. My handles were made out of 2 different materials, so I only painted the front of them. I left the back beige, and you can’t tell.
STEP 5: Wallpaper
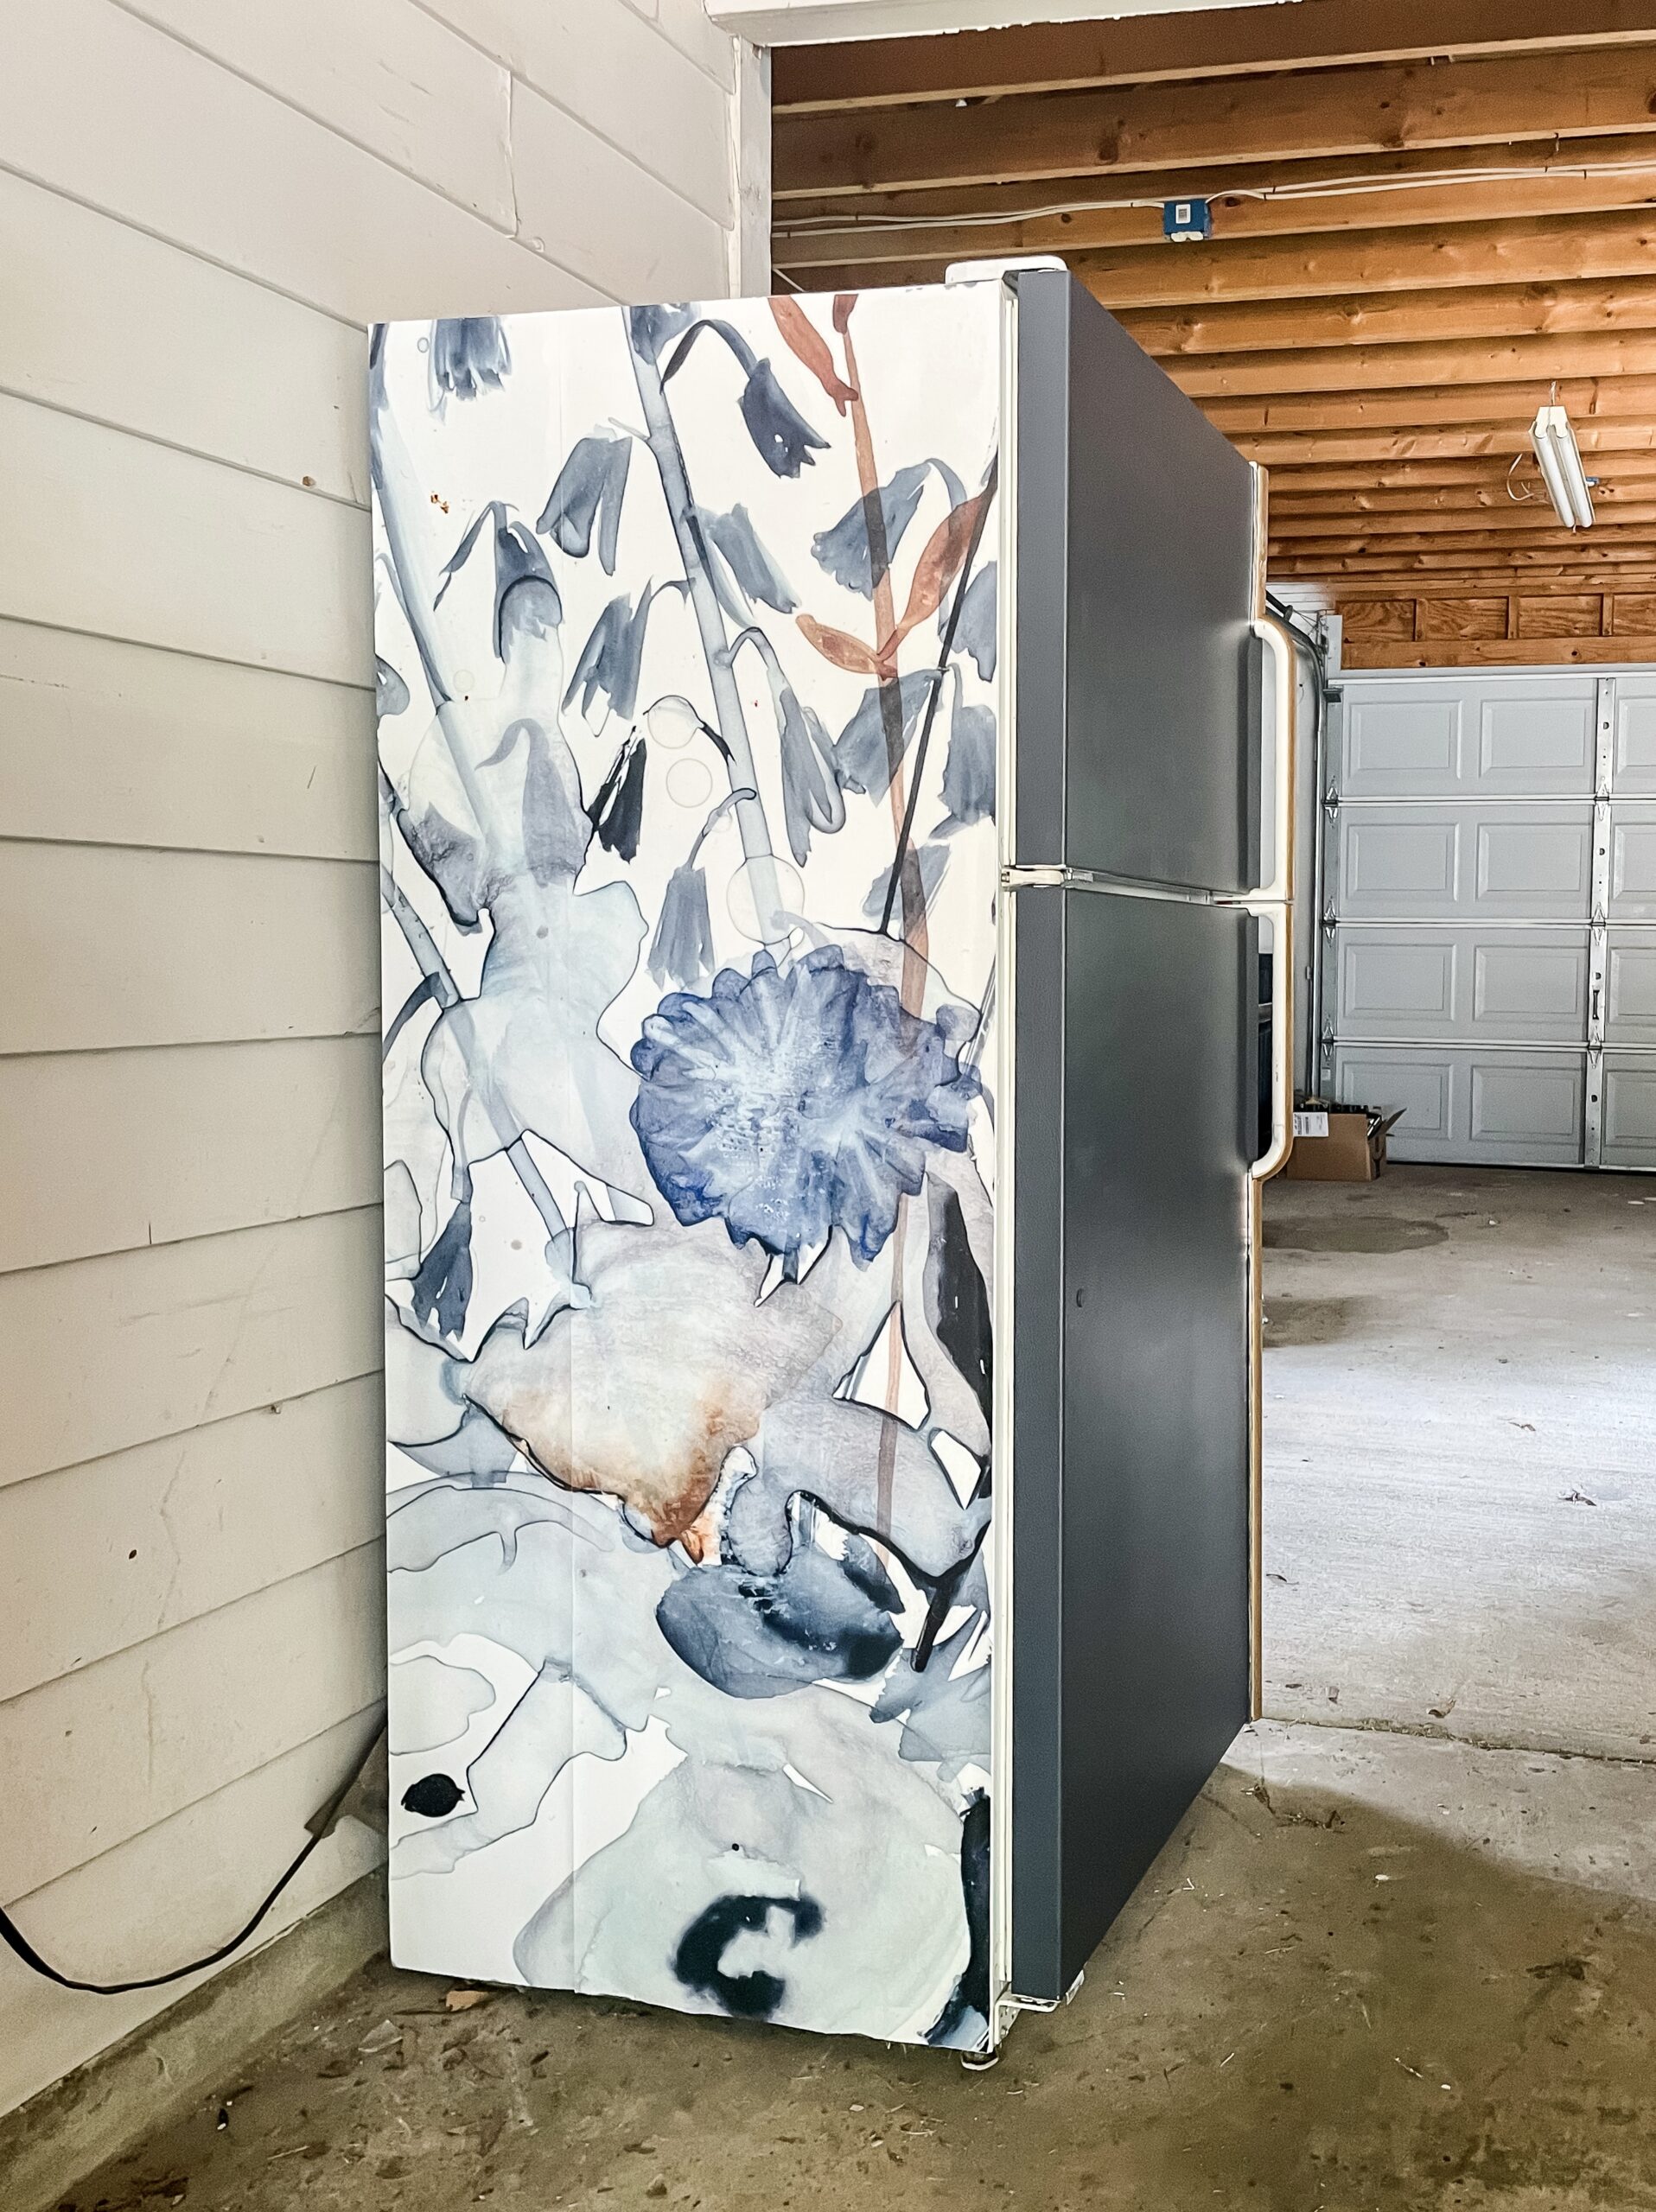
Now it’s time for the fun part (or the headache, depending on who you ask). I ordered wallpaper in a fun print from Photowall to compliment the white, navy and gold already in the garage space. The wallpaper pattern even had pops of red to play off the exposed brick we left in the front and sides of the garage.

If you order and use wallpaper from Photowall, they send it to you in panels and include powder so you can mix your own wallpaper paste using a bucket, warm water and a stir stick. I didn’t bother cutting the wallpaper down to the exact size on the front end, I figured it would be easier to use a box cutter to precisely remove any excess once the wallpaper was up on the fridge walls. And lucky for me, I was right.

To apply the wallpaper, I painted a generous amount of wallpaper paste on the sanded and cleaned surface of my fridge using a cheap chip brush. Once the whole surface was covered, I lined up the wallpaper panel in the lower corner, and used my hands to smooth it out, working my way over and up. I used my hands to smooth out any air bubbles, and applied pressure to help it stick.


A quick note- Photowall did mention that non-porous surfaces (AKA a fridge) may require up to 24 hours for the paste to dry. I did have a bit of trouble getting the wallpaper to adhere, but I found that quickly cutting off the excess so that the heavy extra wallpaper wasn’t dragging it down, and propping up weights and boards to apply pressure helped. I lined up the next panel evenly to keep the pattern going, and followed the same sequence of steps as above until both sides were covered.


This was such a fun and quick 2 day project. How many people do you know with such a fancy beer fridge? This is a beginner friendly project as well to get more comfortable with paint or wallpaper before trying it out on a larger scale somewhere in your home. I’d love to see your creative masterpiece if you give this project a try, be sure and tag me on Instagram!


