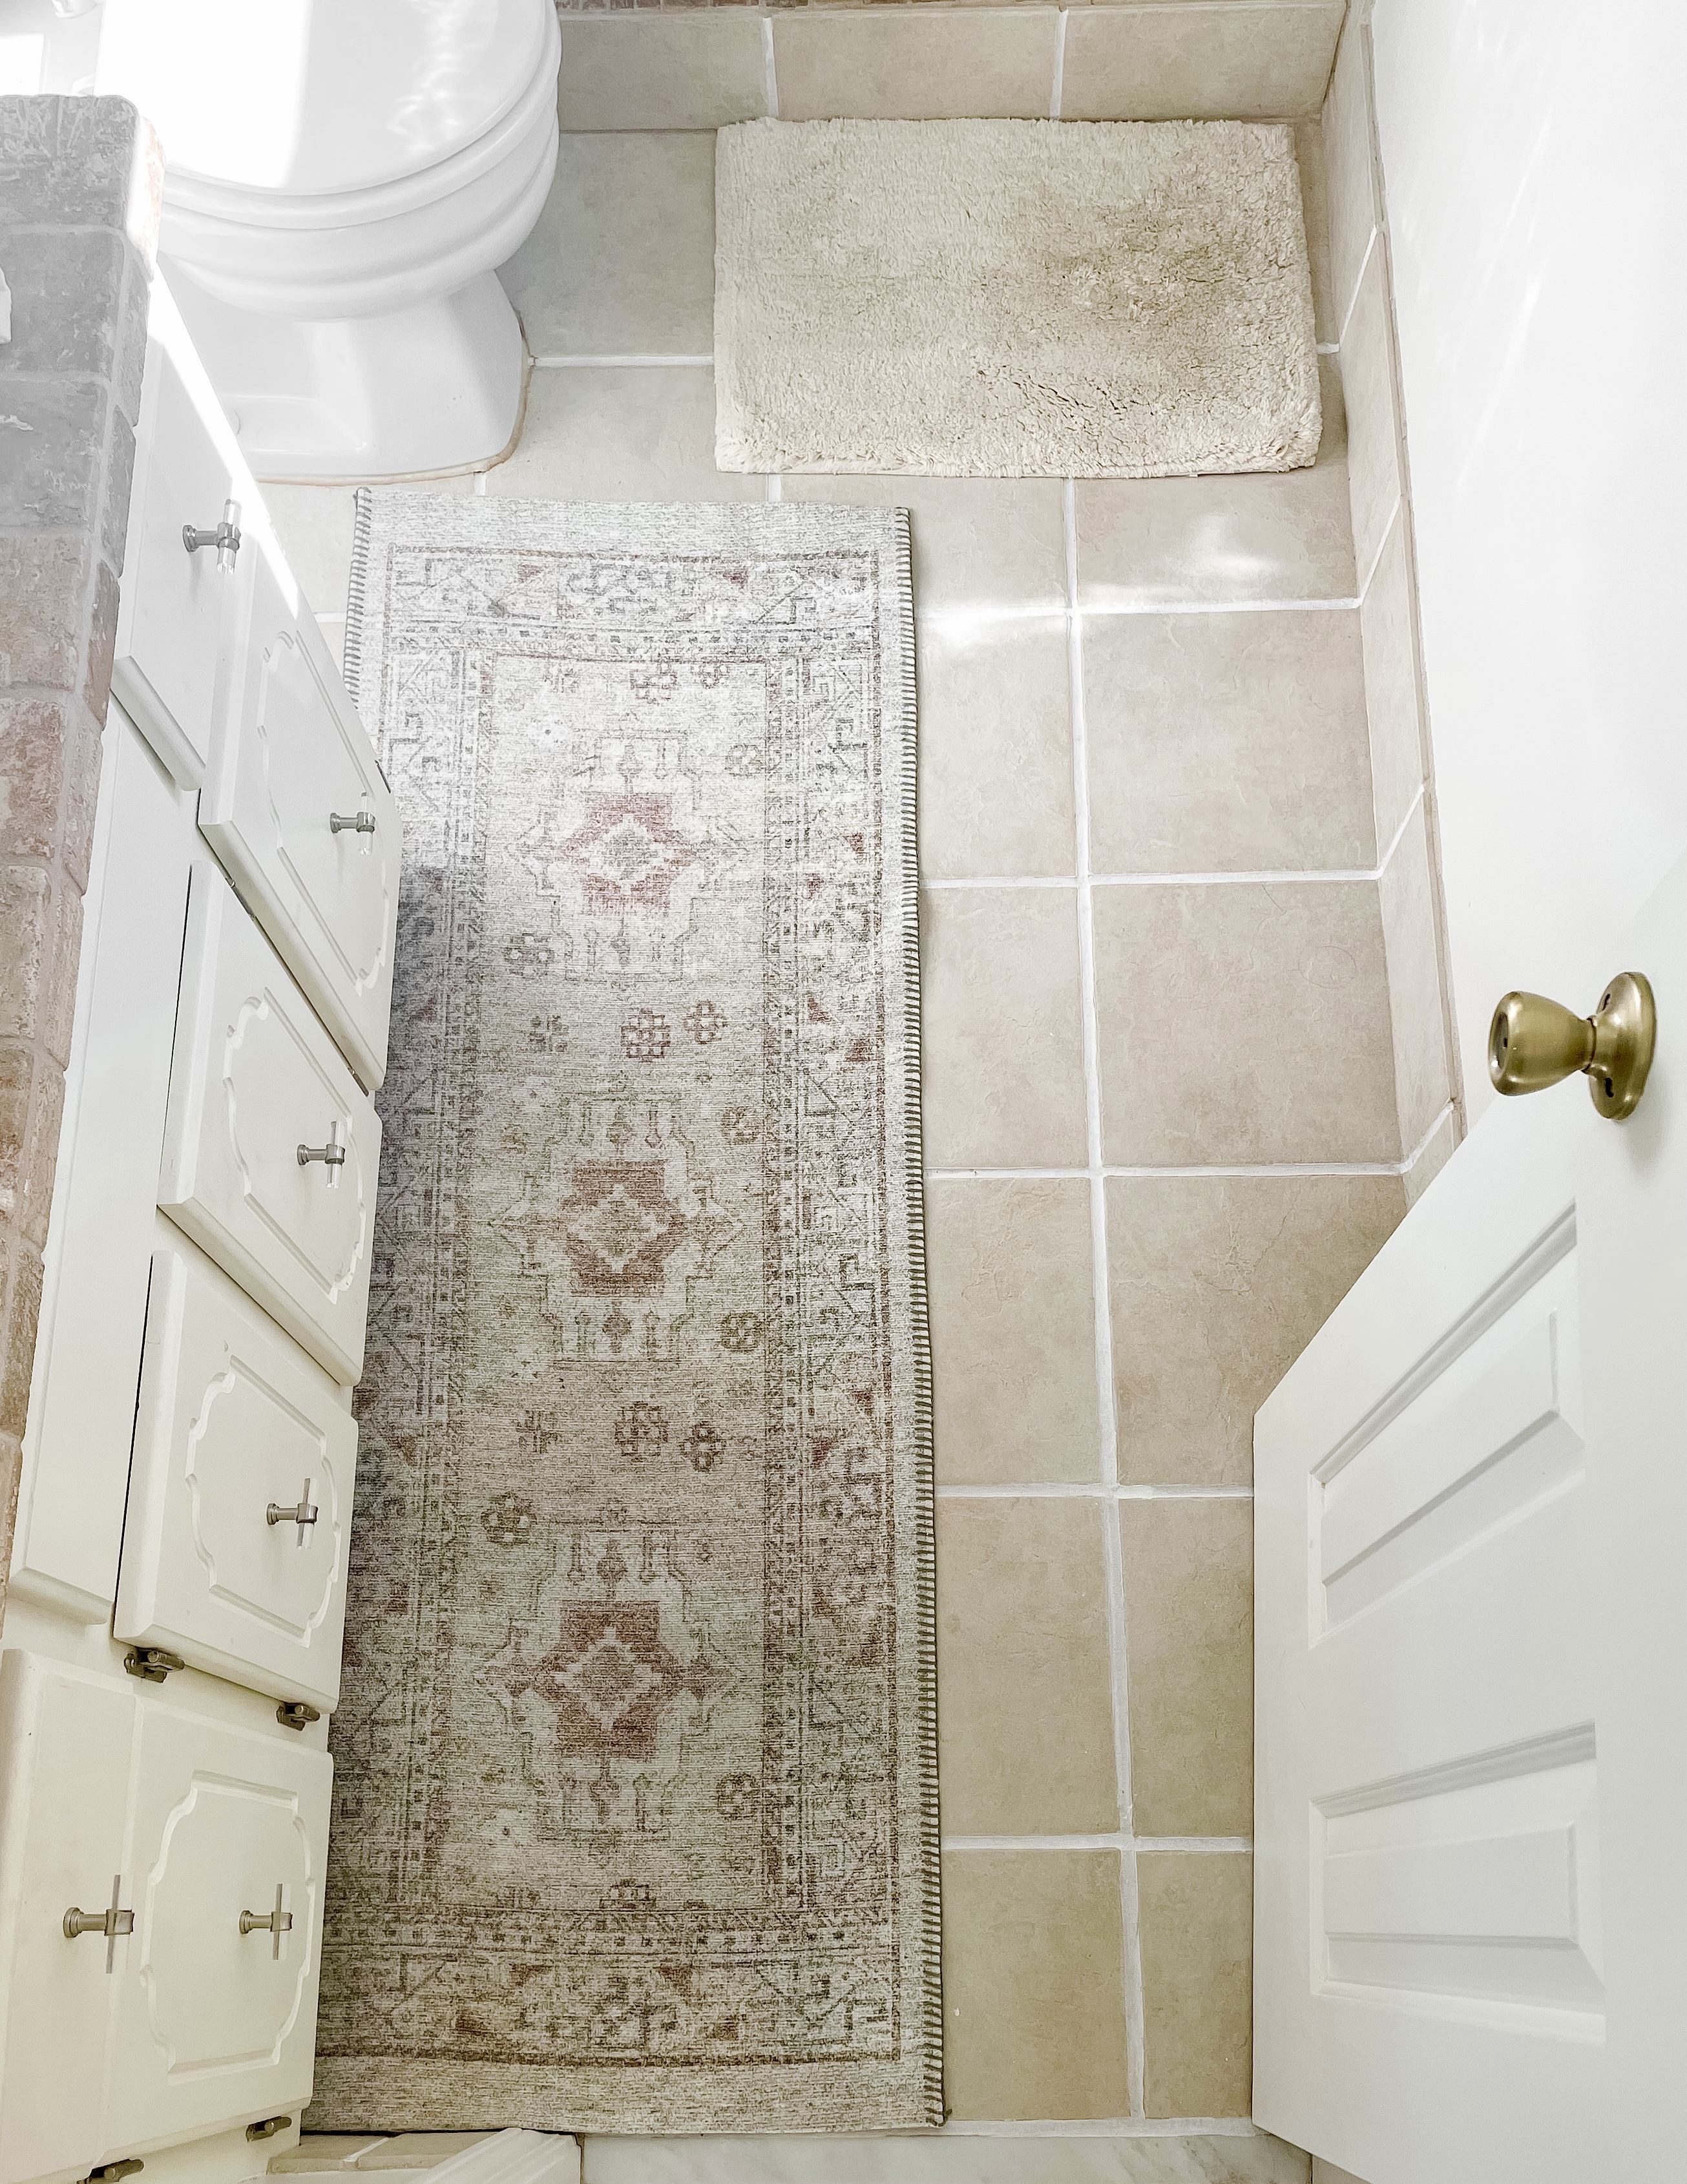
Read on to learn how to update your dated, dingy tile with ONE product under $15 in less than 30 mins! It’s called a grout pen...
Yes, you read that right. This is considered a quick “phase 1” fix, but I’m all for something cheap and easy that improves the overall appearance of a room. I have biiiiig plans for our master bathroom, but not a big budget right now. So quick and easy phase 1 fix it is.

Supplies
-Tile cleaner- I used a bucket of hot water, powdered Tide and bleach (recipe courtesy of @gocleanco), but I’ve seen others use Krud Kutter. Your preference!
-Brush- any cleaning brush is fine, but these make the task easier and more fun! You also may need a toothbrush to really get in the grout.
-Grout pen- purchase here

STEP 1: Clean your floors
This step is the most time consuming. You need to make sure and use something that will clean the grout well. You want to remove any dirt, dust, or buildup that would interfere with the application of the grout pen product. I used the drill brushes and hot water, powdered Tide and bleach to clean the whole tiled floor in the bathroom. You may need a toothbrush to really get in the grout if necessary.

STEP 2: Prep the grout pen
You want to shake the pen, and “prime” the tip by pressing down and holding for about 20 sec to get the paint flowing. Also, make sure and give the grout plenty of time to dry before application!
STEP 3: Apply product to grout lines
Run the pen along your grout lines to trace them. It comes out in a paint-like texture but works like a marker. Don’t press too hard, you’ll dull and damage the tip. If it’s primed well and the paint is flowing, you shouldn’t have to press too hard. As you work, if you get paint on the tile simply wipe it off with a lightly damp paper towel or rag. Note the grout pen comes in two sizes (I got the larger of the two, but there is a smaller one for narrower grout lines too), and multiple colors. I think white creates a clean and bright look that helps to brighten the look of the dated and dingy tile.

And that’s it! You’re done. Wasn’t that easy? My kind of project, big bang for a little buck in no time. Let me know if you use this product and how yours turns out! I’ve seen it used in bathrooms, kitchens, sunrooms, really anywhere with dated tile you want to brighten!
Did you enjoy this post? If so, read more about some of my other favorite budget friendly products great for beginners to DIY including:
–Gel stain to remodel front door
–Gel stain to create modern house numbers
–Custom, affordable chalk style paint


